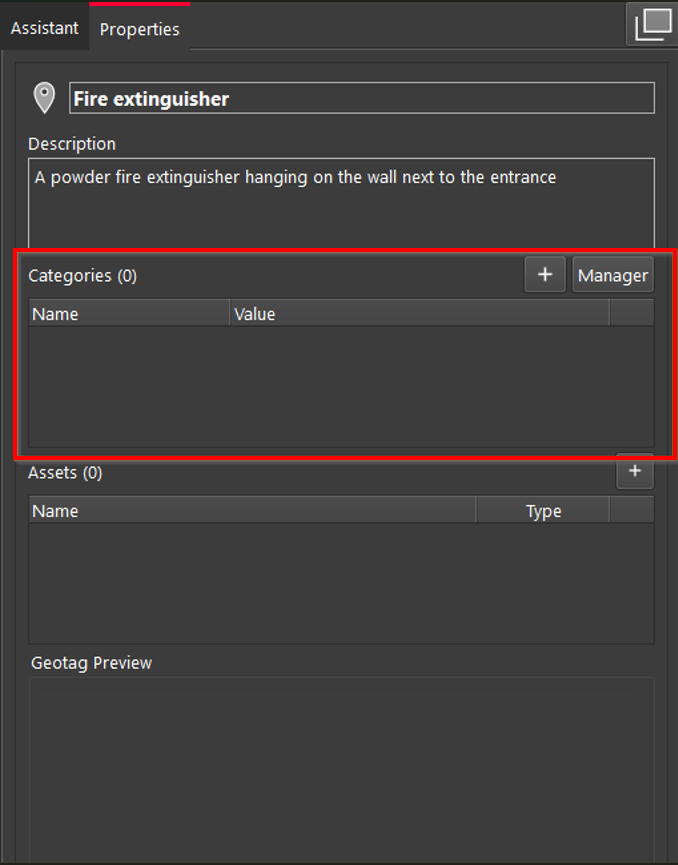
To improve data organisation within the point cloud, Cyclone REGISTER 360 PLUS allows assigning multiple categories to a single GeoTag.
Note: Categories should be created in advance using the Category Manager before they can be assigned to GeoTags.
The assignment, editing, and removal of categories from a GeoTag is managed directly within the Categories section of the Properties panel.
The header of the Categories section includes a counter that displays the number of categories currently assigned to the GeoTag. This helps users quickly assess how much metadata is linked to a specific tag.
Assigning Category to GeoTag
To assign a category to a GeoTag, follow the steps below:
-
In the Categories section of the GeoTag Properties panel, click the ➕ icon to add a new category.
-
After a dialog for category selection appears, choose the desired category from the drop-down list and click OK.
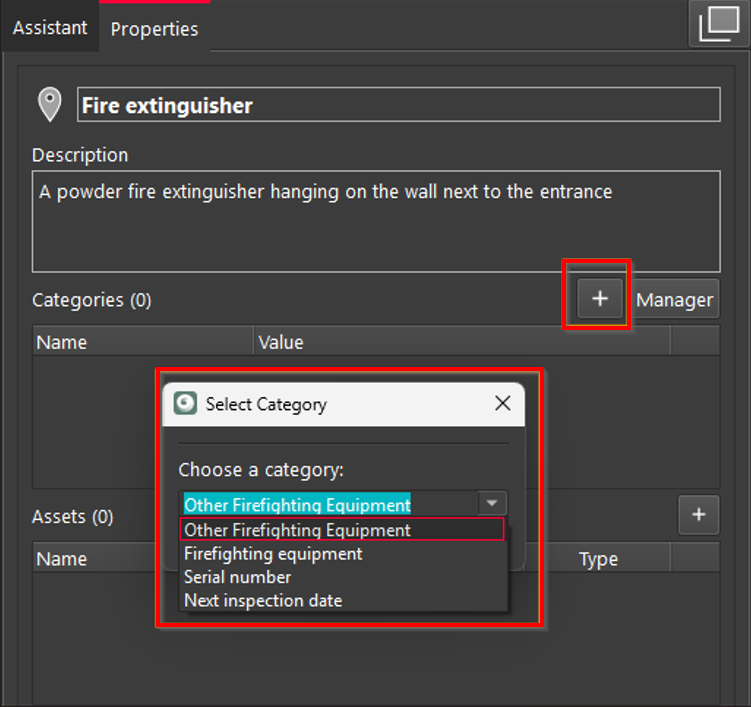
Note: Categories that have already been assigned to the GeoTag will not appear in the selection dialog when adding additional categories. This prevents duplicate assignments and ensures clarity.
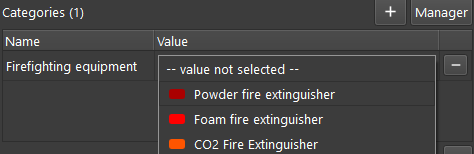
Assigning Value to List Type Category
To assign a value to the list type category, select the desired category value from the drop-down list.
You might notice that previously defined colours appear on the list now.
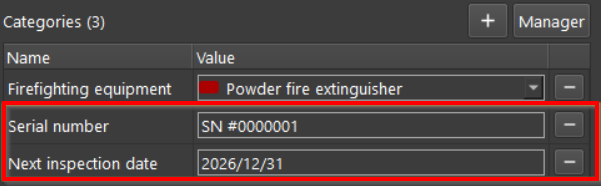
Assigning Value to Free Text Categories
To assign a value to a free text category, simply enter a string value for the desired free text category.
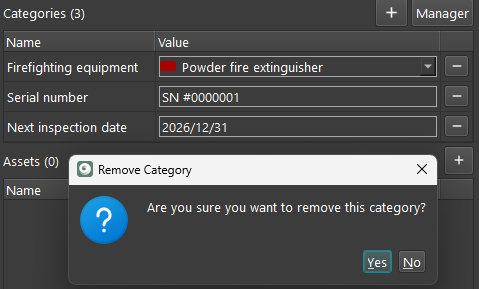
Removing Category from GeoTag
To unassign a category from a GeoTag, follow the steps below:
-
In the GeoTag Properties panel, navigate to the Categories section and find the category that needs to be removed.
-
Click the ➖ icon next to the category name.
-
In the confirmation dialog that appears, confirm the deletion of the category from the GeoTag.
Note: This operation detaches the category from the selected GeoTag without affecting the category definition in the Category Manager.