revit
Fitters | Fit Duct
This fitter allows users to fit both round and rectangular ducts using Revit families.
Using the Tool
To fit a duct, follow the steps below:
-
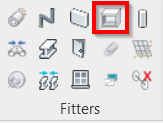
Click the Fit Duct icon in the Fitters panel.
-
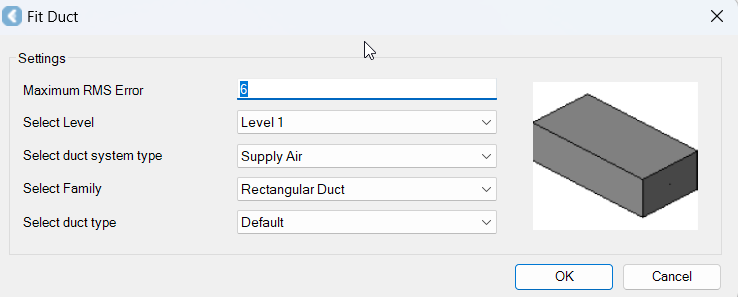
The Fit Duct dialog will open.
-
-
In the Fit Duct dialog, modify the settings as follows:
-
In the Maximum RMS Error field, specify a maximum allowable error for the fit.
-
In the Select Level field, select the level to which the element should be added.
-
In the Select duct system type field, select the duct system type.
-
In the Select Family field, select a duct family.
-
In the Select duct type field, select a duct type.
-
Click OK.
-
-
Click on the duct in the CAD window or TruSpace.
-
A dialog that prompts you to accept the suggested type from the catalog will appear. If the type is not a close enough fit, select Create new type:
-
Define the name and size of the new type.
-
A new entry will be created in the family and the new type will now appear in the list for future duct fitting.
-
Click OK, and the duct will be placed.
-