revit
Fitters | Column
This tool enables seamless, semi-automated fitting of columns from a catalogue, ensuring the swift integration of intelligent components into Revit models.
Using the Tool
To fit the column, follow the steps below:
-
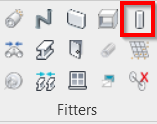
Click the Column icon in the Fitters panel.
-
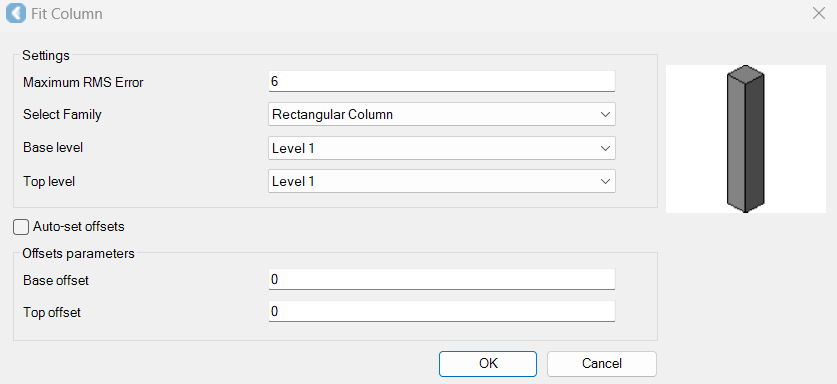
The Fit Column dialog will appear.
-
-
In the Fit Column dialog, specify a maximum allowable error.
-
Select the family depending on the column shape.
-
Specify the base and top levels to define the lower and upper planes where the column should be placed.
-
Levels are set within a Revit drawing prior to inserting modelled objects. Please refer to Revit help for instructions on setting levels.
-
-
Specify the offset parameters.
-
Select the Auto-set offsets check box to apply offset parameters automatically.
-
Click OK to save the changes.
-
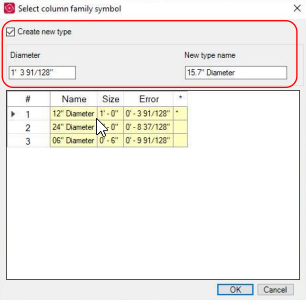
In the CAD window or TruSpace, select a column.
-
A dialog will appear, prompting you to accept the suggested type.

-
If the type is not a close enough fit, select the Create new type check box and specify the name and size of the new type.
-
A new entry will be created in the family and the new type will now appear in the list for future column fitting.
-
-
Click OK and the column will be placed.