
This guide explains how to verify field-to-finish codes and finalise the extracted linework.
Prerequisite: For full workflow context and results, review the following guides in this series:
Review Extracted Features
-
After the linework is transferred from Virtual Surveyor to the CAD drawing, turn off Point Visibility and review the extracted features.
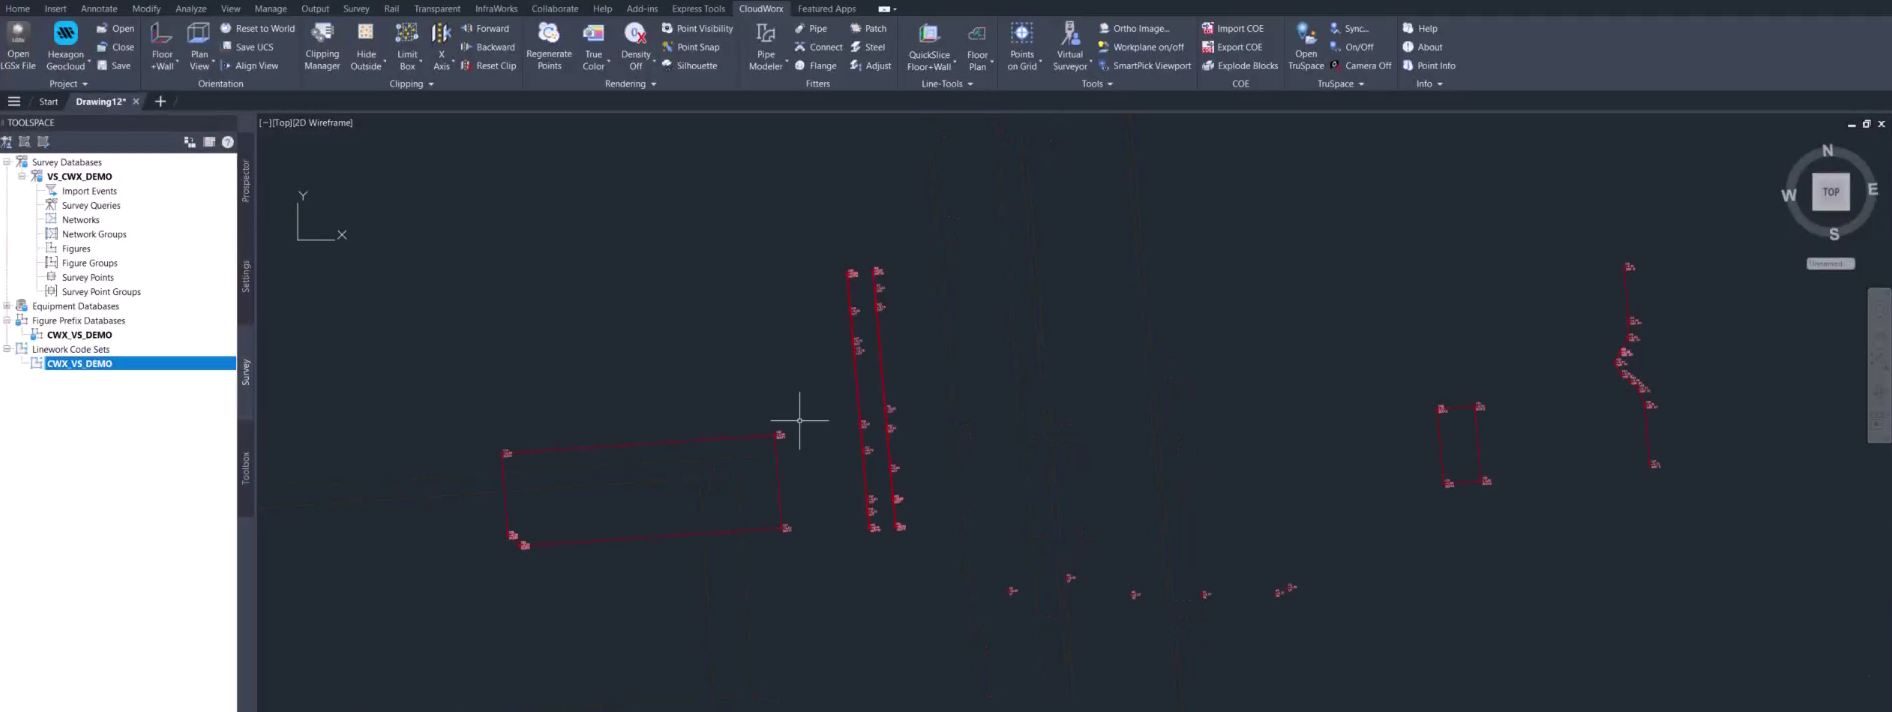
Verify Field-to-Finish Codes
-
Type SELECTSIMILAR in the command line to select all polylines and delete them.
-
Now, only points with feature codes remain visible in the drawing, which is required for the following steps.
-
-
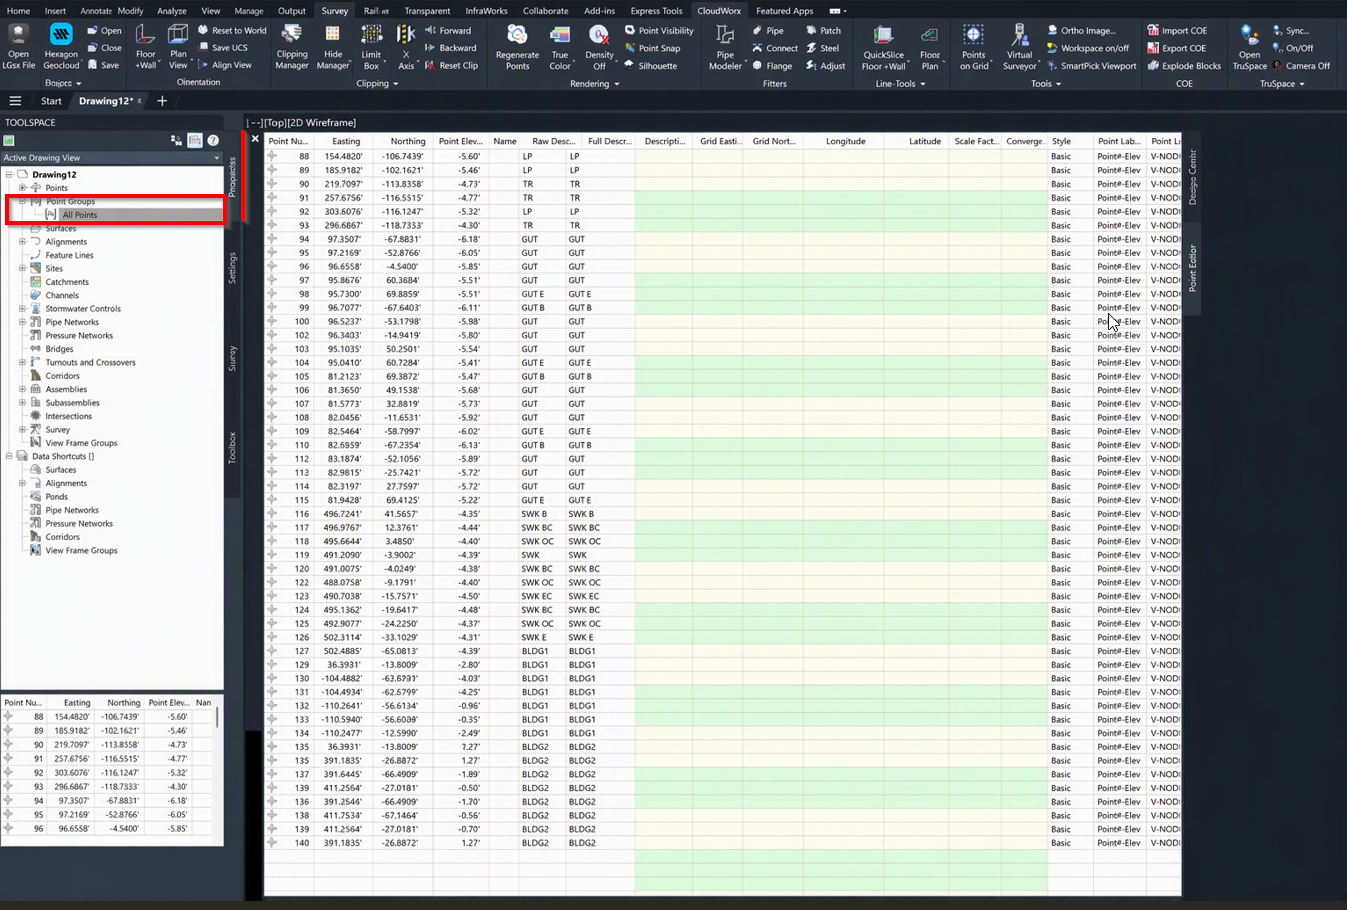
In Toolspace, navigate to Prospector | Point Groups, right-click All Points, and select Edit Points.
-
Review the point table, which contains detailed information about each point. Verify that the feature codes and point sequence are correct and that each feature has the required beginning and end points.
-
If a feature code needs to be updated, click the Raw Description field value and edit it as needed.
Apply Description Keys
-
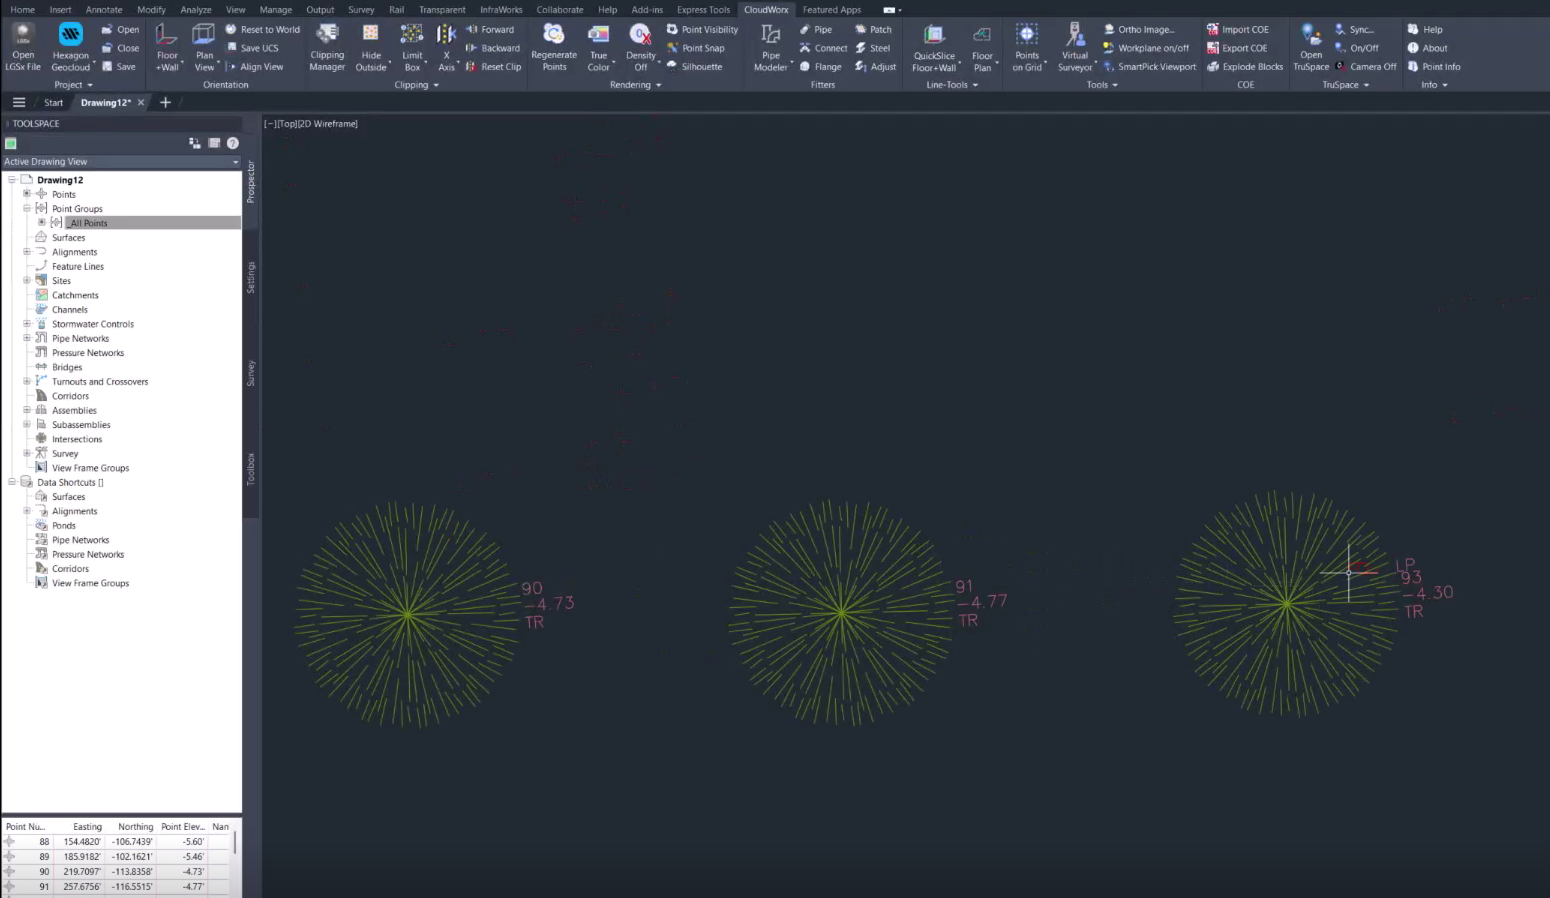
Once all points have been verified, apply description keys to assign styles to points based on their feature codes:
-
Right-click All Points again and select Apply Description Keys.
-
Import Survey Data
Now import the linework created from the extracted polyline features.
-
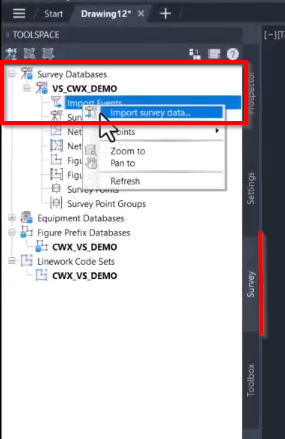
Go to Survey | Survey Databases.
-
Under the survey database created earlier for this workflow, select Import Events, right-click it, and then select Import survey data.
-
In the Import Survey Data dialog that will open, complete the following steps:
-
Verify that the correct survey database is selected. The survey database is linked automatically, so click Next.
-
Click Select points in current drawing.
-
If prompted to save the drawing, follow the prompts to save it before continuing.
-
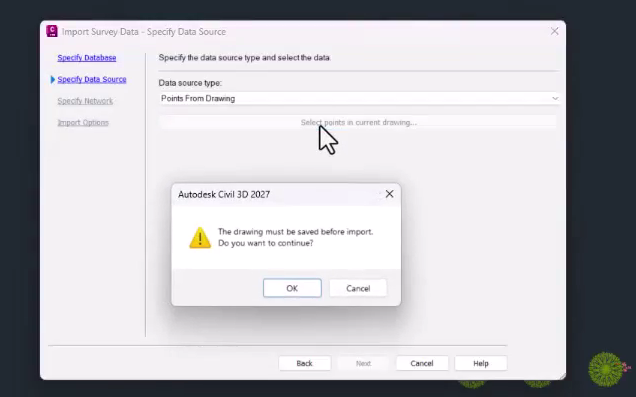
d. Once the drawing is saved, follow the prompts in the command line to specify how the points should be imported. For this exercise, select All to import all points.
e. After all points are selected, in the Import Survey Data dialog, click Next.
f. Skip the new network creation and click Next.
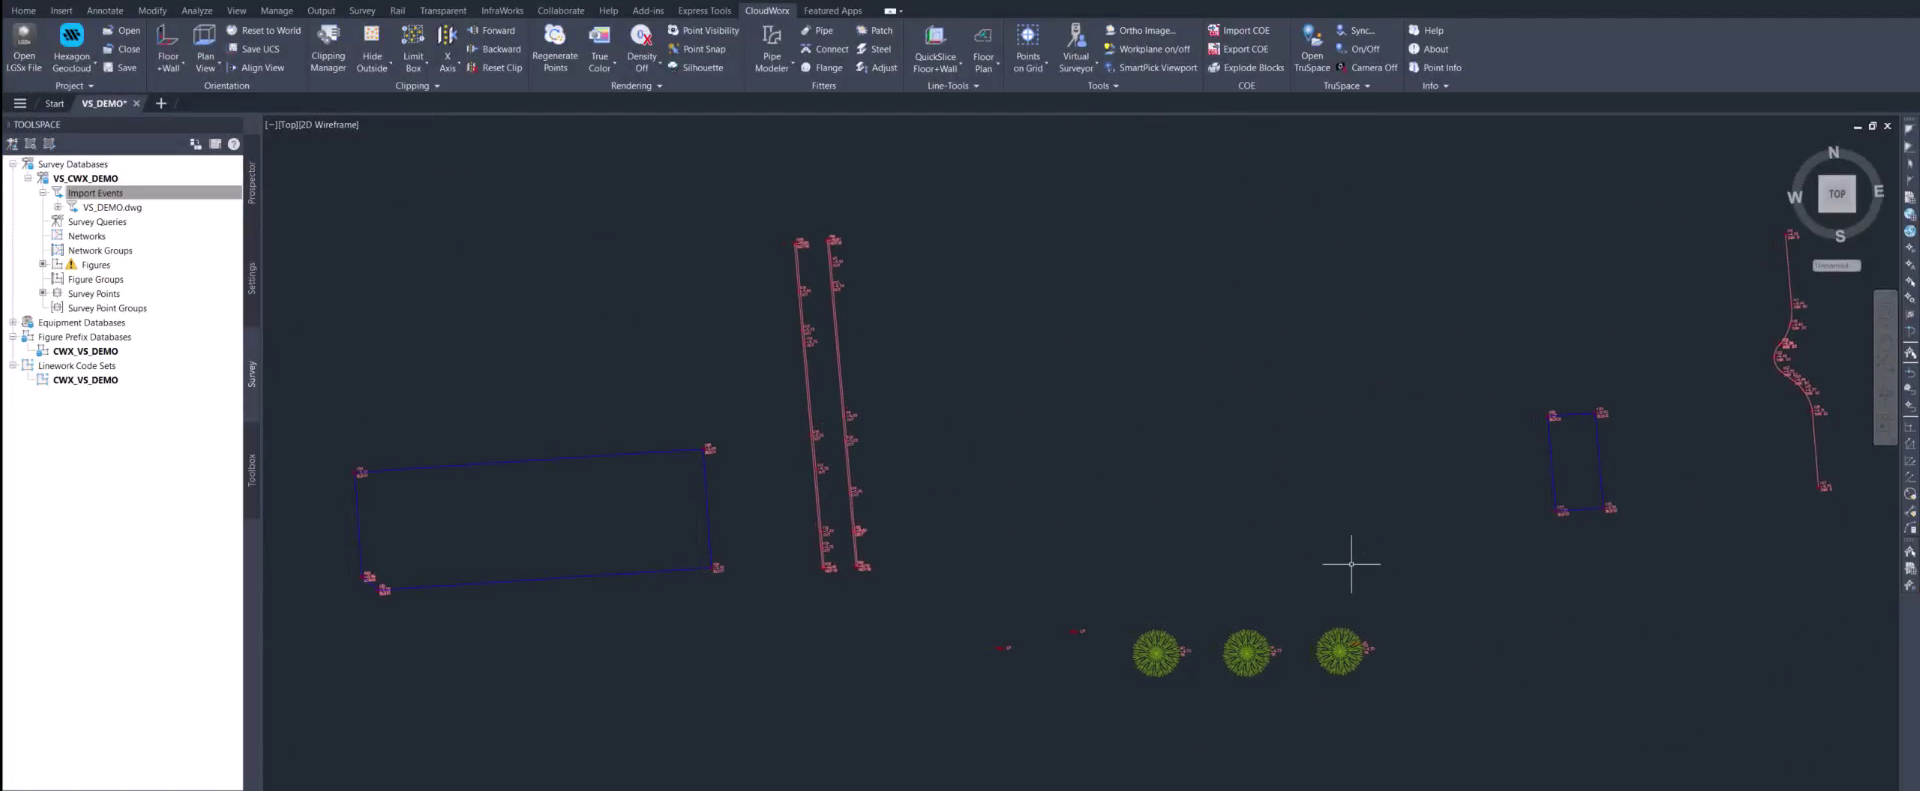
g. Review the final import settings and click Finish.
The linework is imported successfully. The extracted features, including curbs, buildings, and pavement, are created with the correct geometry and placed on the appropriate layers.
⬅️ Previous: Extracting Features in Virtual Surveyor
➡️ Next: Placing Survey Points on Grid