PinPoint Registration Tool is a high-performance 3D tool for turning raw laser scans into precise, visually rich point clouds. Using advanced splat rendering for superior visual quality, it lets you effortlessly import, align, and register point clouds.
Manage projects, clean up data, and export to the most common CAD and BIM applications - all in an intuitive workflow from scan to final result.
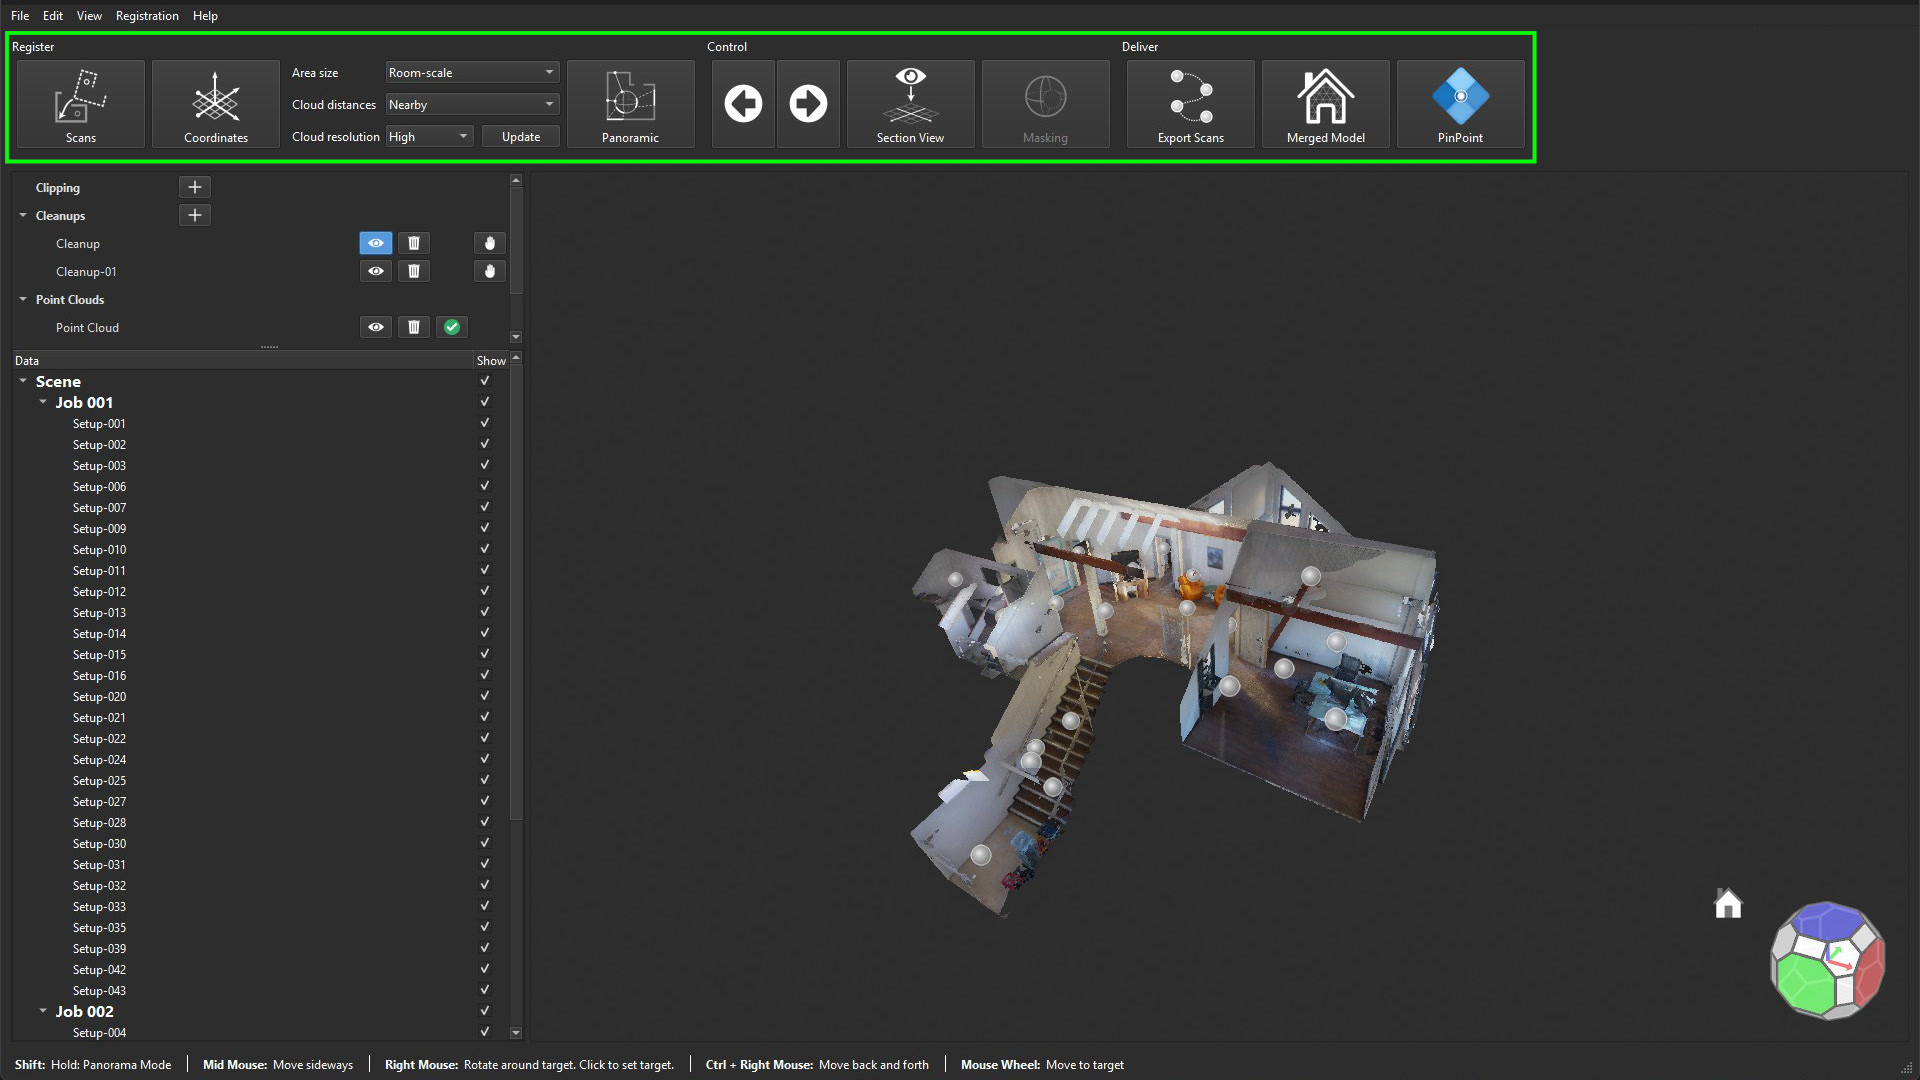
User Interface
At the top, you will find the main workflow sections:
-
The Register section is all about aligning your scans. Here, you will position individual scans relative to each other and bring them together.
-
The Control section gives you the tools needed for verification and inspection. Use it to visually and statistically assess the quality of your registration.
-
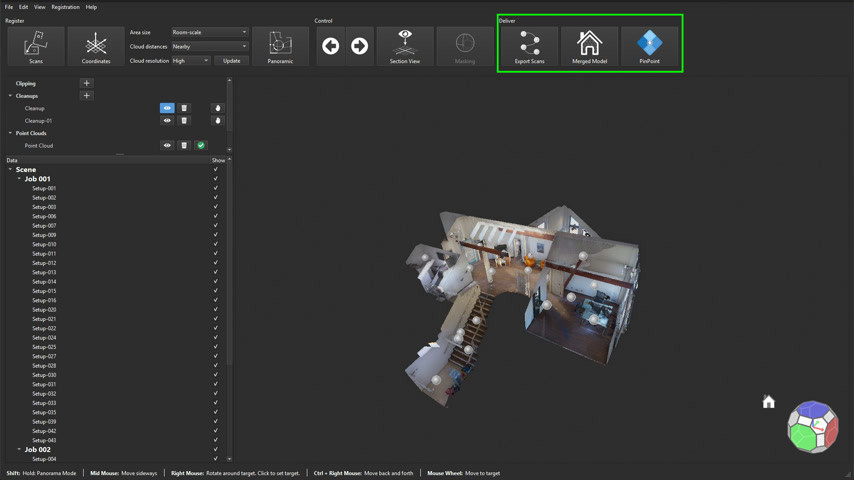
Once everything is in place, head over to the Deliver section. Here you will find export options for sharing or further processing your project, whether as individual scans, a merged model, or a PinPoint Modeler project.
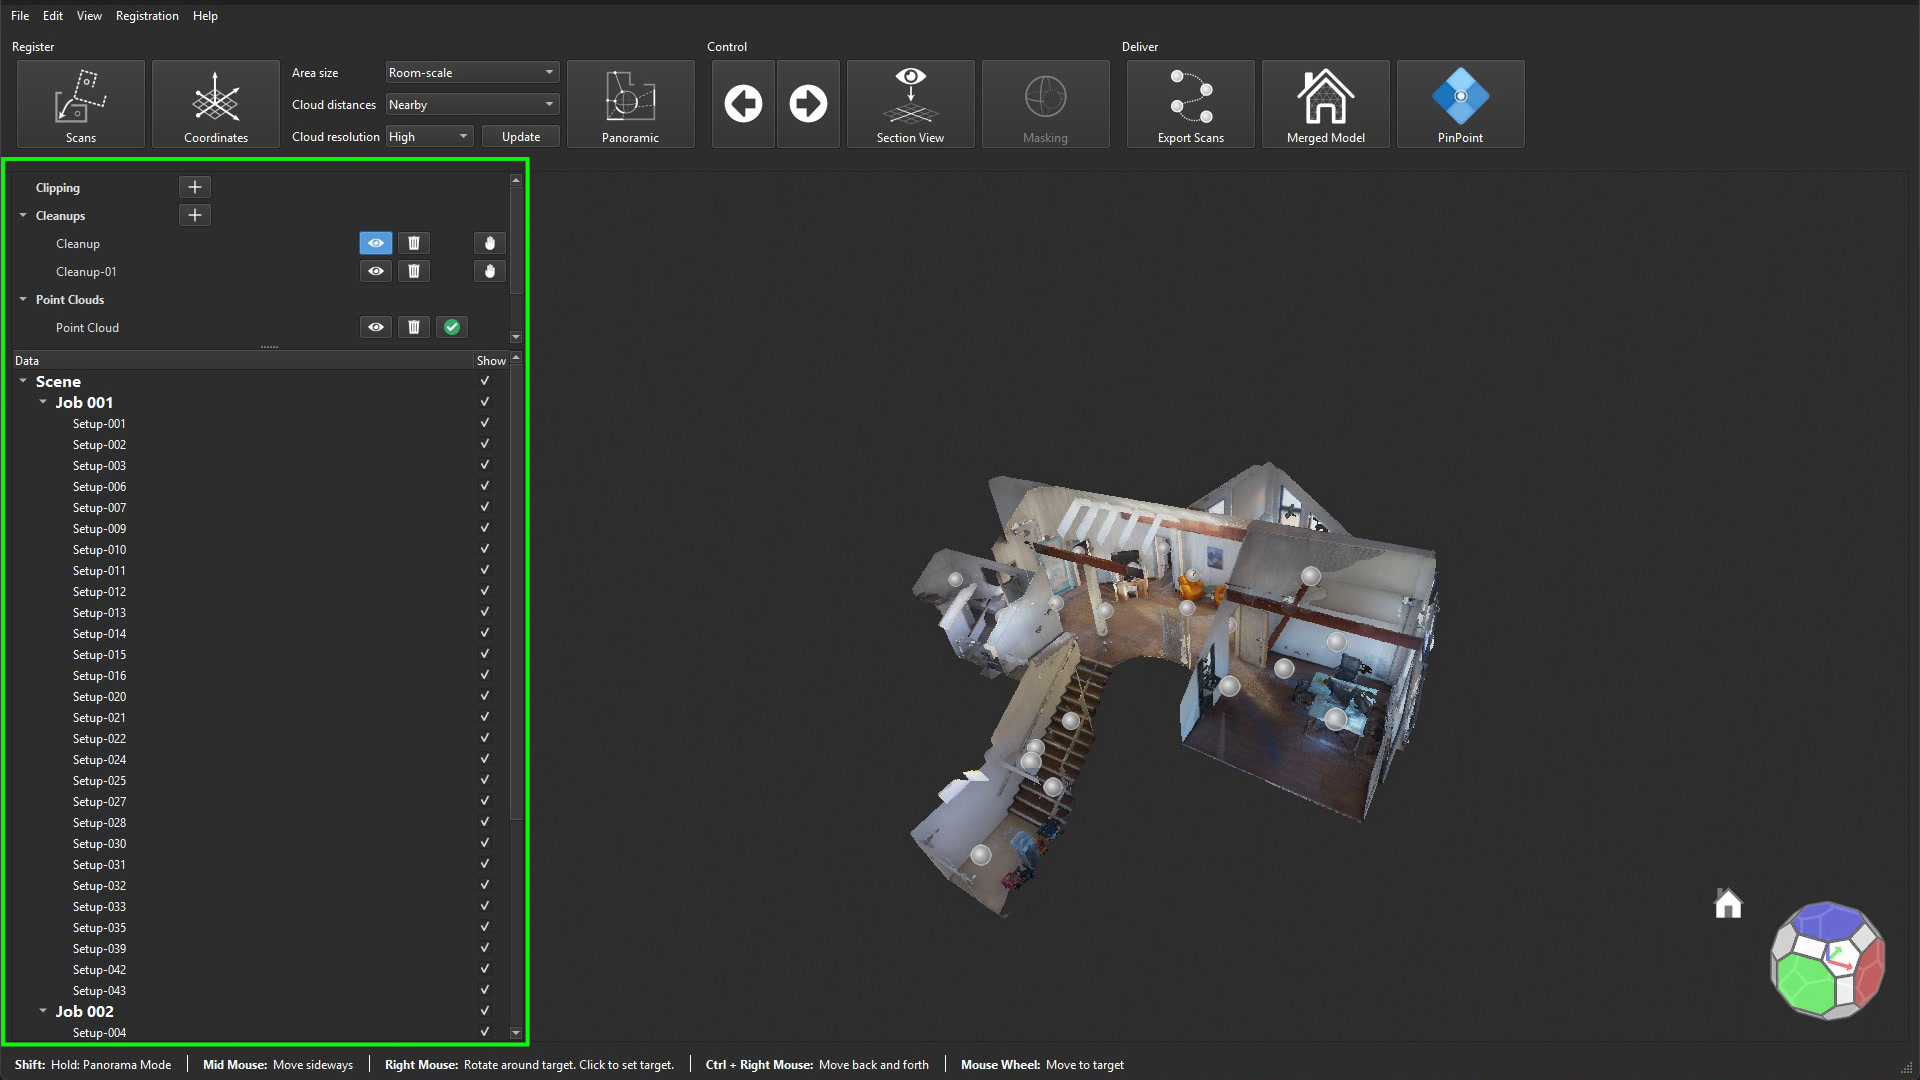
In the left-side panel, you will find essential tools for working with your data:
-
Create clippings to isolate and focus on specific parts of your scan.
-
Apply cleanups to remove unwanted geometry or split your model into meaningful parts.
-
Use the data panel to organise your imported point clouds into logical groups.
Creating a Project and Importing Data
Let's start by creating a new project in PinPoint Registration Tool.
-
In the Get Started section, click Create.
-
Specify a project name and set the file location. Once created, the project will open.
-
Now let's import data. In this workflow, we’ll use a BLK360 SE device.
Connect your BLK360 SE to your computer using a USB-C cable and then go to File | Import | BLK BLK360 SE. Click Connect, and you'll see a list of available scans.
-
Select the scans you'd like to import. By default, they'll be brought in with imagery. Then, click Import.
-
Once the import is completed, a notification indicating the number of scans successfully imported will be shown.
-
The scans will be imported, aligned, and positioned as they were in Cyclone FIELD 360.
You can always add more scans later. For example, if your scanning session was split over multiple days, you can reconnect the device again, and PinPoint will automatically preselect only the new scans that are not yet added to the project.
Now that all scan data has been imported, you'll see the scans listed in the Scene panel. From here, you can move on to the registration workflow.
Registration and Quality Check
Now that the scans are imported, let's move on to the registration and quality check.
At first glance, the scans appear well aligned, as per the pre-alignment performed in Cyclone FIELD 360.
To further optimise this alignment, let’s perform bundle alignment:
-
Navigate to Register | Scans.
-
Make all scans movable by clicking Move for the entire Scene.
-
Select Snap Scans to trigger the bundle alignment across all scan positions.
-
To review the result, open the registration statistics by clicking Statistics.
-
If any scans in the job were not properly pre-aligned in Cyclone FIELD 360, this will become apparent at this step.
-
-
Let's investigate further. In this example, you can see that Setup 24 stands out in the error metrics. Select Setup 24, then toggle between the selected scan and all scans by pressing the spacebar. It looks like the scan fits nicely in the window area, but does not align with the rest of the room.
-
To resolve this, set only Setup 24 as movable. Now we can pull it out for inspection using the left mouse button. Hold Shift + left click to rotate it around its centre.
-
Visually, it becomes clear where the scan should go. Place it back into the correct room, then rerun Snap Scans to register it more precisely.
-
The statistics update immediately. Reduced error and a small Cloud-to-Cloud distance of just 2 mm confirm that the scan is now correctly placed.
-
-
To finish up, run the bundle alignment one last time, using Very Close cloud-distance settings. This lets the Snap Scans algorithm fine-tune the final alignment.
-
For a final visual confirmation, switch to Section View either by clicking the icon or pressing T on your keyboard. You'll see a clean point cloud, without double lines for walls across all rooms - a clear sign of precise alignment.
That's it! Your registration is complete.
Clean
A basic cleanup starts by removing scanned geometry outside your region of interest - for example, trees, street areas, or parts of neighbouring buildings.
To make this process easier, it's often best to switch to a top-down, orthographic view. You can activate it by selecting View | Orthographic Projection in the menu, or simply pressing the O key. Then use the right mouse button to rotate the view and look straight down.
-
To start, click the + icon under Cleanups in the left panel. This activates a set of cleanup tools on the left, while modifiers and actions appear on the right.
-
The lasso tool is the most commonly used, and it's preselected by default:
-
Use the left mouse button to draw around the building.
-
A red outline appears, and all points inside it will be selected.
-
Double-click to confirm the selection.
-
If you missed a spot, simply draw a new polygon - it will extend the existing selection.
-
To remove from the current selection, draw a lasso while holding the Shift key. The green outline indicates that this operation will deselect points.
-
Since we want to remove the outside, click Invert on the right panel to flip the selection. Then, click the trash bin icon to flag the selected points for deletion.
-
Continue the cleanup process using the lasso tool from different viewing angles, gradually refining the dataset.
Comparing the point cloud before and after cleanup highlights how distractions are removed and a more professional dataset is created - ideal for sharing with clients or exporting to other tools.
Deliver
Once your point cloud is clean and properly registered, it's time to deliver the results.
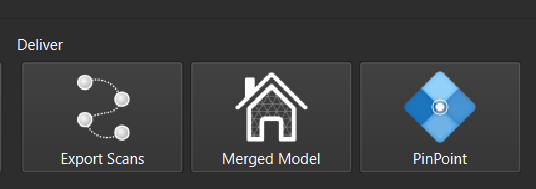
PinPoint offers three main export options, depending on your workflow needs:
-
Export Scans exports each individual scan position using the original scan data. The scans are positioned according to the registration and include any cleanup deletions. Based on user selection, the export can either include one file per scan or a single file with all scans. This method preserves high detail but results in larger files - best suited for cases where maximum fidelity is required.
-
Merged Model creates a compact and resampled 3D asset. All scans are merged into a single, optimised model without scan position metadata. This option is ideal for exporting to third-party software and is available as a resampled point cloud and/or a texturised mesh.
-
The PinPoint export option creates a PinPoint Modeler project, allowing you to seamlessly continue processing in PinPoint Modeler, including modelling, annotation, and documentation workflows.