Hexagon GeoCloud Share is the mobile companion app for Hexagon GeoCloud. Use it to move field data from Leica Zeno Mobile One and other apps that share files straight into your GeoCloud projects, without a computer, cables or email attachments.
You can also create and manage projects, upload files from your phone or tablet, and download files to your device.
Download and install GeoCloud Share from the App Store or Google Play before following these instructions.
Requirements
Android 10 or later
iOS / iPadOS 15 or later
A Hexagon GeoCloud account
The app is available in English, German, Spanish, Italian, French, Japanese, Korean and Chinese.
Note: Projects created in GeoCloud Share are stored in the default storage region, EU – Ireland. You can still view and upload to your existing projects in any region. See Global availability.
Opening GeoCloud Share
Tap the GeoCloud icon on your device's home screen.

Log in to your GeoCloud account
On the Welcome to Hexagon GeoCloud Share screen, read the terms of use and tap Accept and continue.
Tap Log in.
Enter the email address of your GeoCloud account and tap Continue, then enter your password.
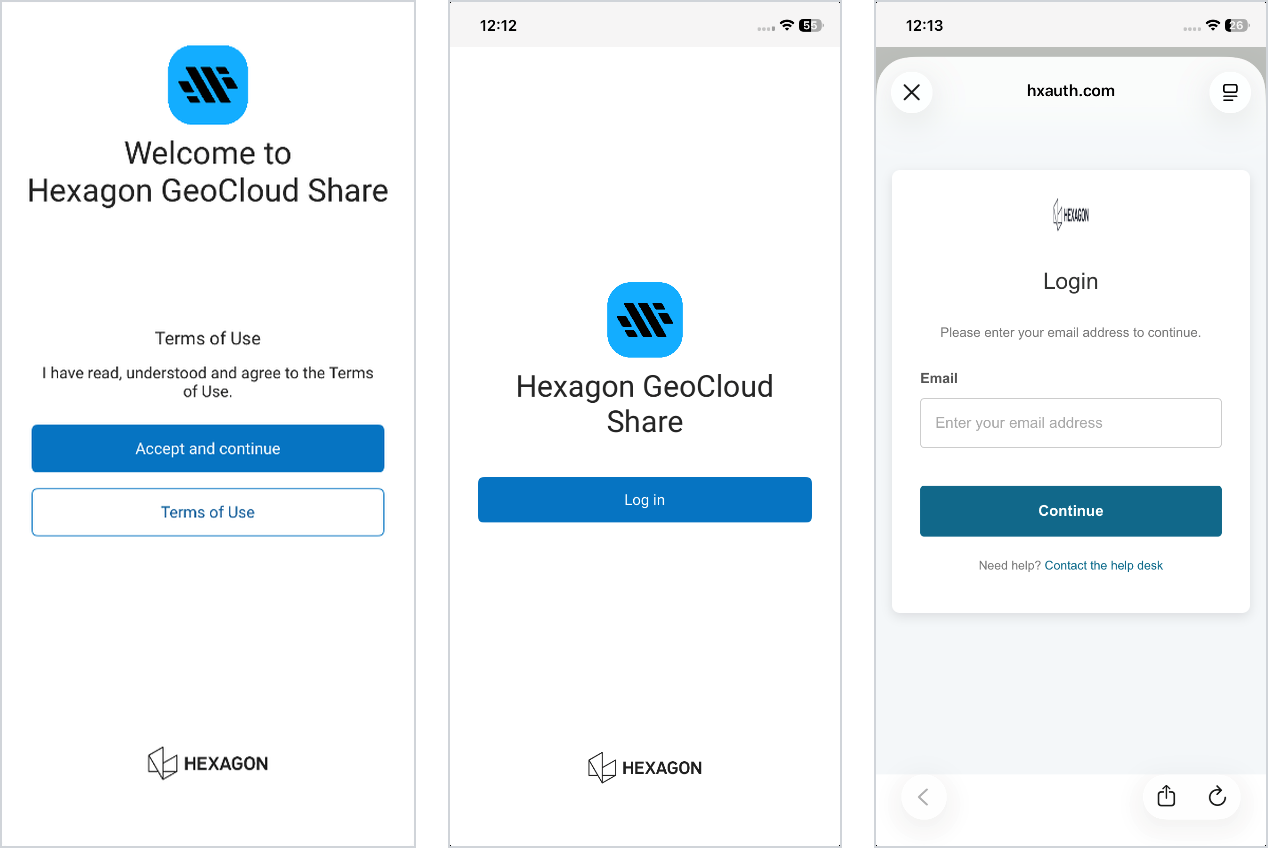
You are now logged in, and your projects are listed.
View the project list
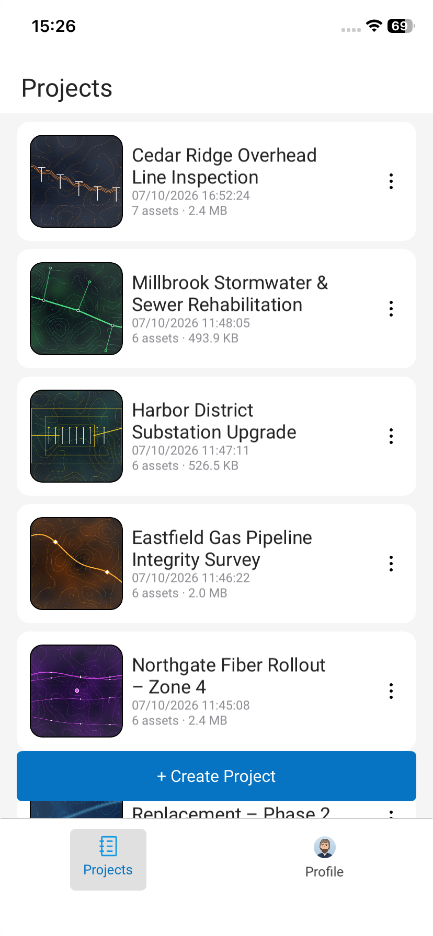
The app has two tabs at the bottom of the screen:
Projects – all projects you have access to.
Profile – your account details and app information.
Each project is shown as a card with its cover image, name, creation date and time, number of assets and total size. Scroll to see more projects, and swipe down to refresh the list. The + Create Project button stays at the bottom of the list.
View your profile
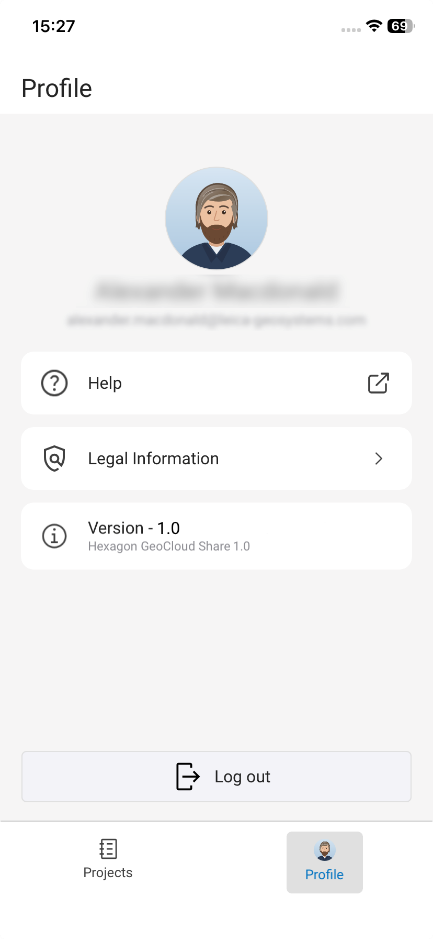
Tap the Profile tab.
The Profile screen shows:
Your name and email address
Help – opens the help pages in your browser
Legal Information – terms and legal notices
Version – the version number of the installed app
Log out – signs you out of the app
Tap the Projects tab to return to your projects.
Create a project
On the Projects tab, tap + Create Project.
Fill in the Create Project form:
Project name (required) – Create stays greyed out until you enter a name.
Description (optional) – a short summary of the project.
Labels (optional, up to 10) – labels to identify the project.
Cover Image (optional) – tap Upload or take a photo and choose an image. JPG or PNG, up to 5 MB. To remove it, tap the × in its top-right corner.
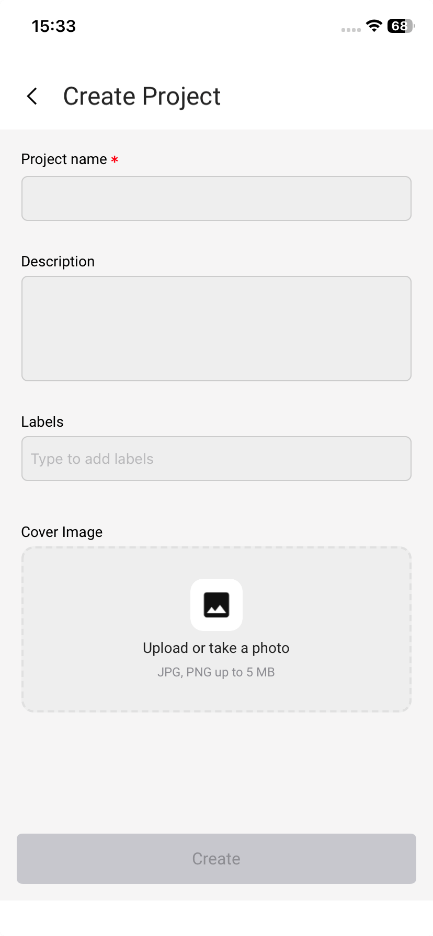
Tap Create. The new project appears at the top of the Projects list.
Edit a project
On the Projects tab, tap ⋮ on the project card.
Tap Edit Project.
Change the name, description, labels or cover image.
Tap Update Project. You return to the Projects list with your changes applied.
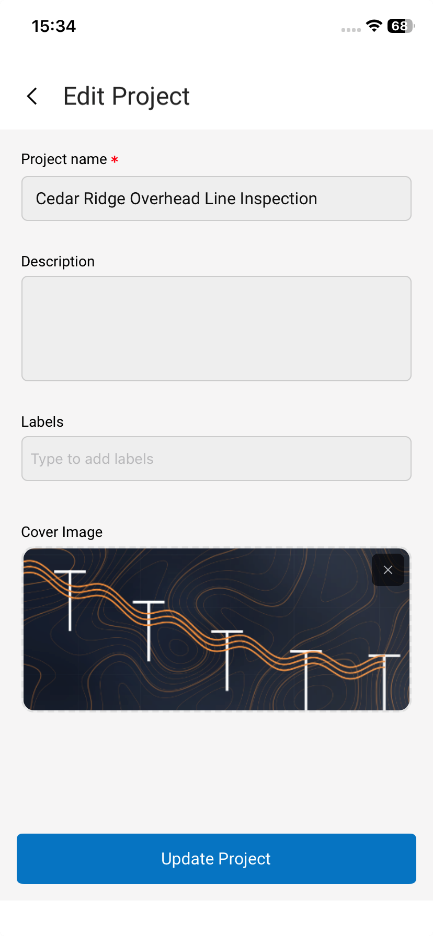
Note: Changes to a shared project apply for all users with access to it.
Delete a project
Tap ⋮ on the project card.
Tap Delete, then tap Delete again to confirm.
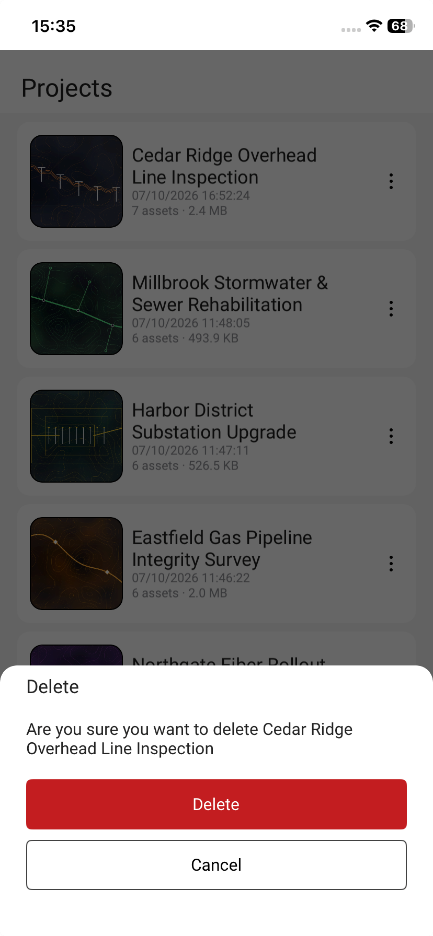
The project is removed from the Projects list.
Warning: Deleting a shared project permanently deletes it for all users with access to it.
Open a project
On the Projects tab, tap a project card.
The project opens on the Content tab, which lists its folders and files. A new project is empty. Each project has two tabs at the bottom:
Content – folders and files, with the New Folder and Upload buttons.
Details – the project name and information.
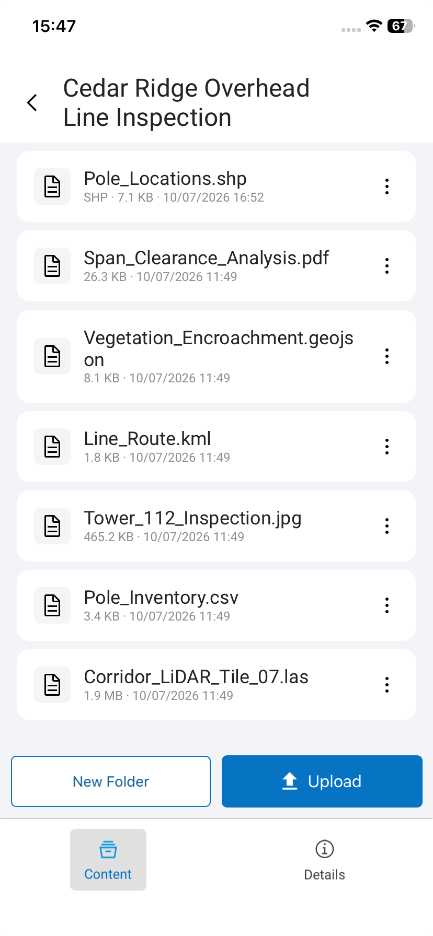
Tap ‹ in the top-left corner to return to the Projects list.
Create a folder
In the project's Content tab, tap New Folder.
Enter a folder name.
Tap Create. The folder appears in the content list.
Rename a folder or file
Tap ⋮ next to the folder or file.
Tap Rename.
Enter the new name and tap Save.
Delete a folder or file
Tap ⋮ next to the folder or file.
Tap Delete and confirm.
Upload files
Besides receiving files shared from other apps, GeoCloud Share lets you upload files to a project directly from your device's internal storage or from other installed apps.
Open the project or folder you want to upload to.
Tap Upload. Your device's file browser opens.
Select one or more files.
Each file appears in the list with a progress bar. When it finishes, Upload succeeded is shown and the file lists its type, size and upload date and time.
Note: On Android, uploads continue in the background and you can follow the progress in the notification bar. On iOS / iPadOS, keep the app open until the upload finishes.
GeoCloud Share recognises common field data formats, such as Leica Zeno Mobile One projects, Esri Shapefiles and CAD files. Any other file type uploads in the same way.
Upload into a folder
In the Content tab, tap the folder to open it. The breadcrumb at the top shows where you are; tap the project name in the breadcrumb to go back up.
Tap Upload and follow the steps in Upload files.
Download a file to your device
Tap ⋮ next to the file.
Tap Download. A progress window appears; tap Cancel to stop the download.
When your device's file browser opens, choose where to save the file and tap Save.
Send files from other apps
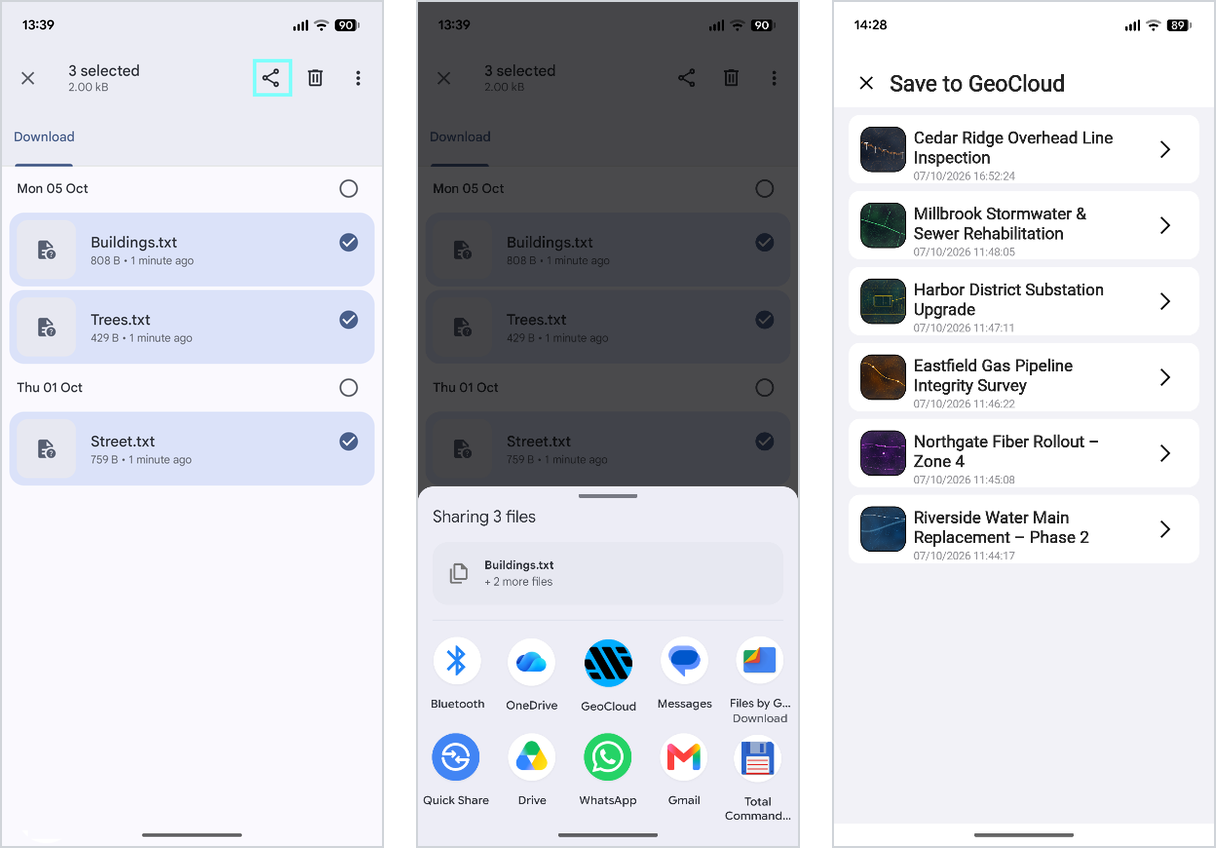
GeoCloud Share appears in your device's share sheet, so you can send files to a GeoCloud project from your file browser or from apps that can share files, such as Leica Zeno Mobile One.
Android
Select the files you want to send.
Tap the share icon at the top of the file browser.
On the share sheet, tap GeoCloud.
On the Save to GeoCloud screen, choose the project to save the files to.
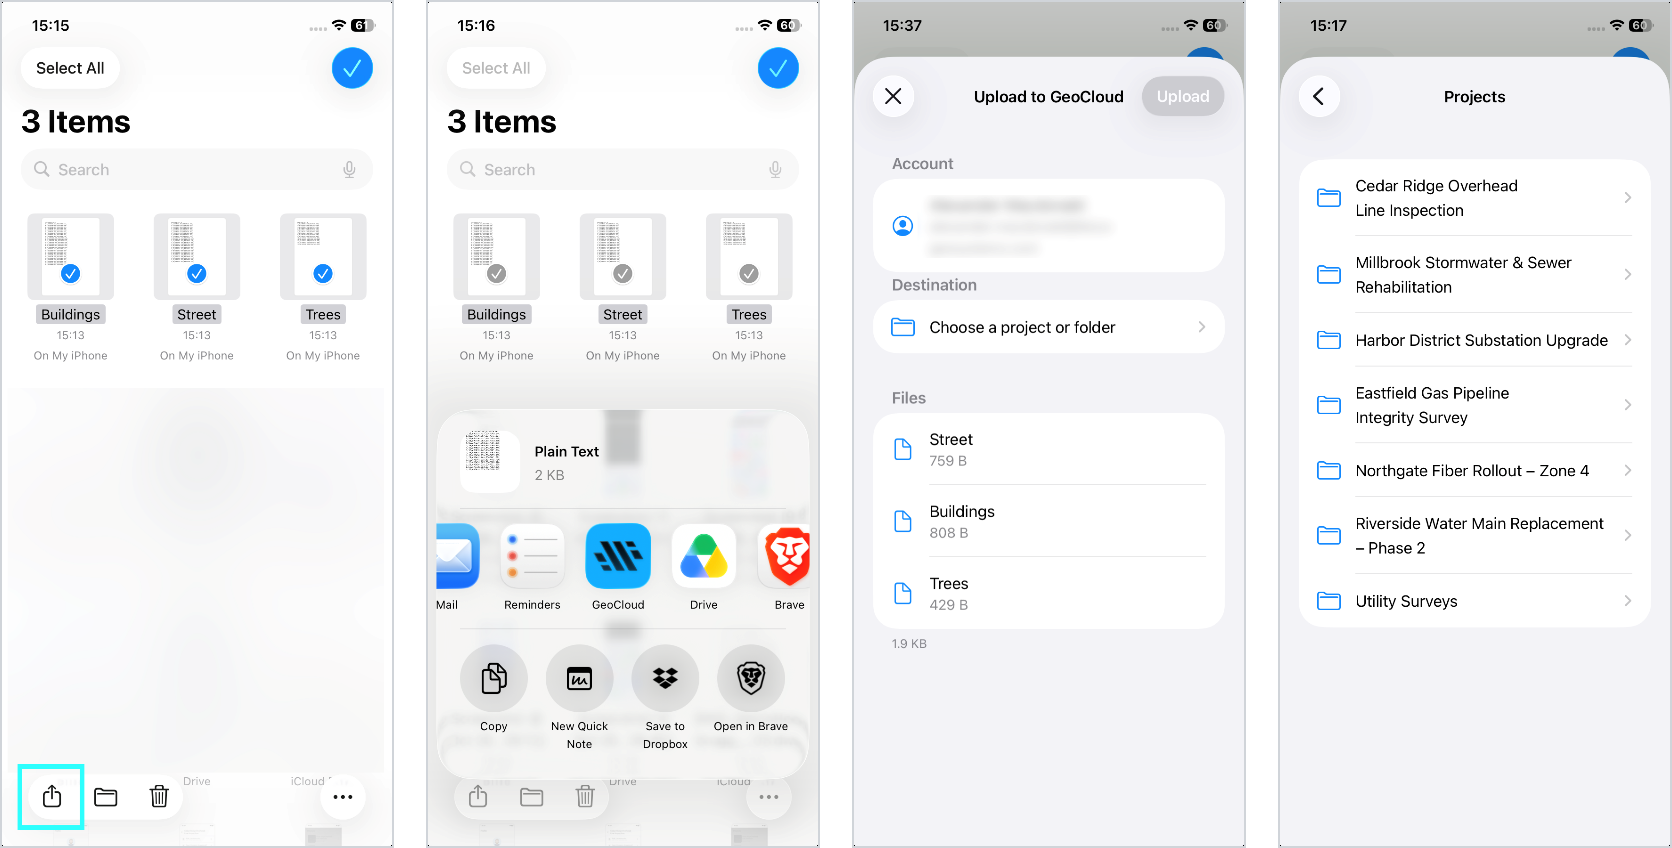
iOS / iPadOS
Select the files you want to send.
Tap the share icon in the bottom-left corner of the file browser.
On the share sheet, tap GeoCloud.
On the Upload to GeoCloud screen, tap Choose a project or folder and select the destination.
Tap Upload. Keep the Upload to GeoCloud screen open until the upload finishes, because iOS stops the upload if you leave it.