Fit Wall
REVIT
Fitters | Wall
Using the Tool
To fit a wall, follow the steps below:
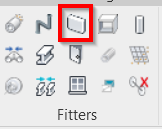
Click the Wall icon in the Fitters panel.
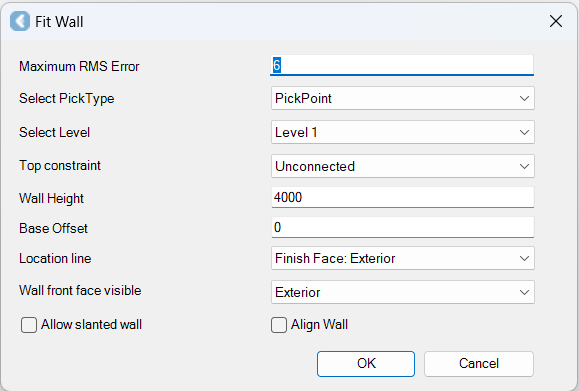
The Fit Wall dialog will appear.

In the Fit Wall dialog:
In the Maximum RMS Error field, specify a maximum allowable error for the fit.
In the Select PickType field, select a desired PickType.
In the Select Level field, select a level to set as the lower plane for fitting the wall. Levels are set within a Revit drawing prior to inserting modelled objects. Please refer to Revit help for instructions on setting levels.
In the Top constraint field, select a top constraint to define the upper plane for fitting the wall.
In the Wall Height field, specify the height of a wall.
In the Base Offset field, specify the base offset.
In the Location line field, select a location line that corresponds to the precise point on the scanned wall to which the wall should be matched.
In the Wall front face visible field, specify whether the wall's visible side faces the outside or the inside of the structure.
If you believe that the wall you are fitting to is slanted (a wall is considered slanted if it exceeds a 5-degree tilt between two levels), select the Allow slanted wall check box.
Click OK.
Pick a point on the point cloud to grow a wall.

