Workflow one: Setting UCS by a plane created from region grow corner
The method uses the planes created by the corner grow to set X or Y and the corner Vertex to set the UCS.
-
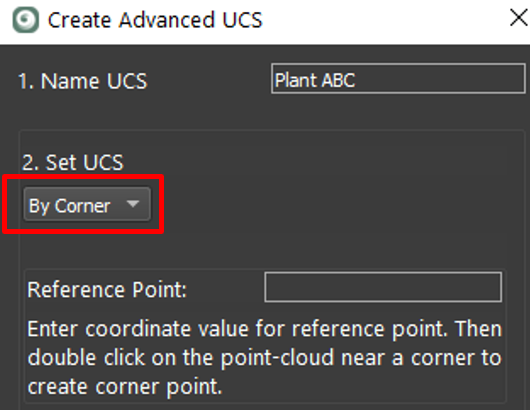
Name the UCS
-
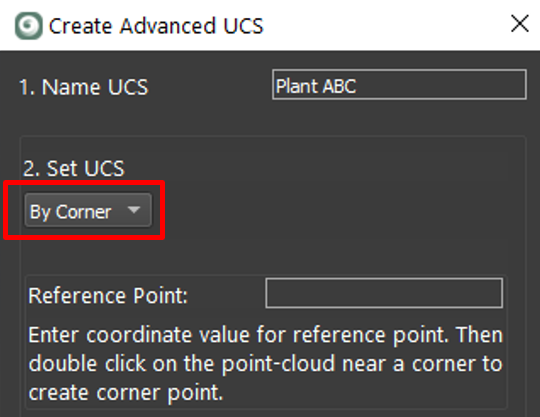
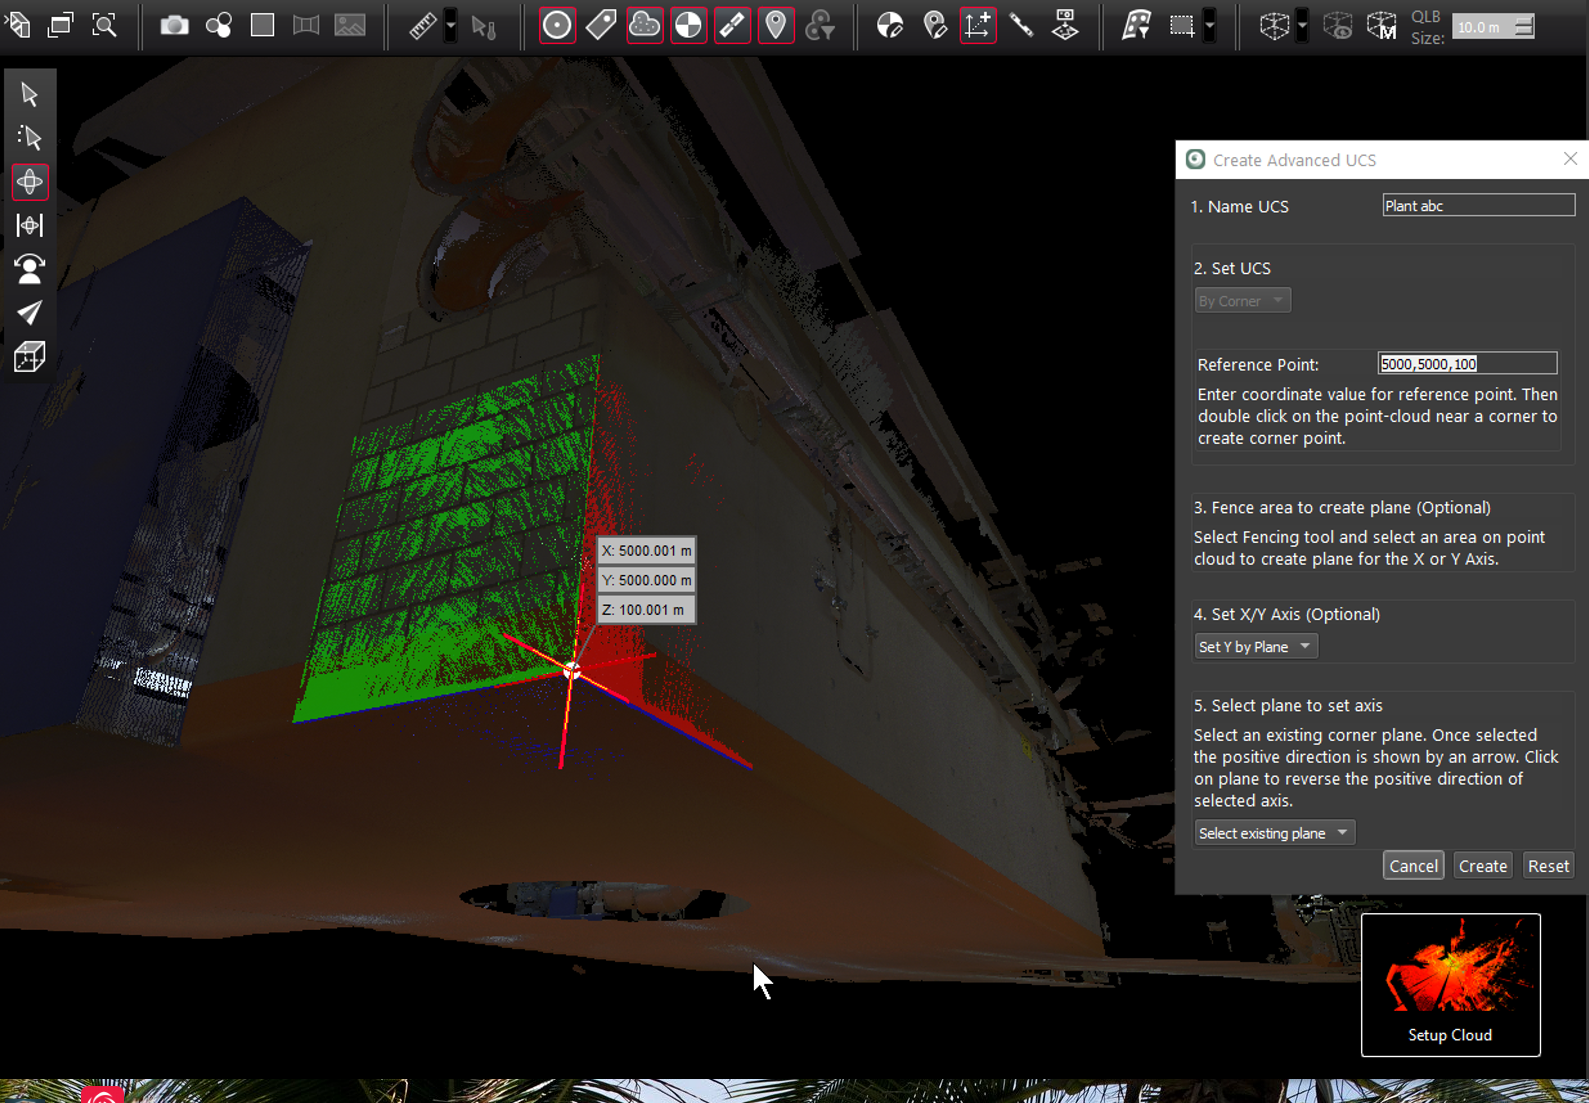
Select UCS creation method By Corner.
-
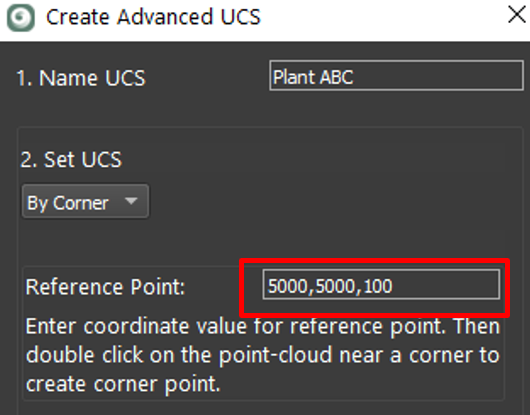
Enter coordinates that will be assigned to the vertex representing the corner.
-
Double click on the floor or ground surface no more than 0.15 meters or six inches from the corner.
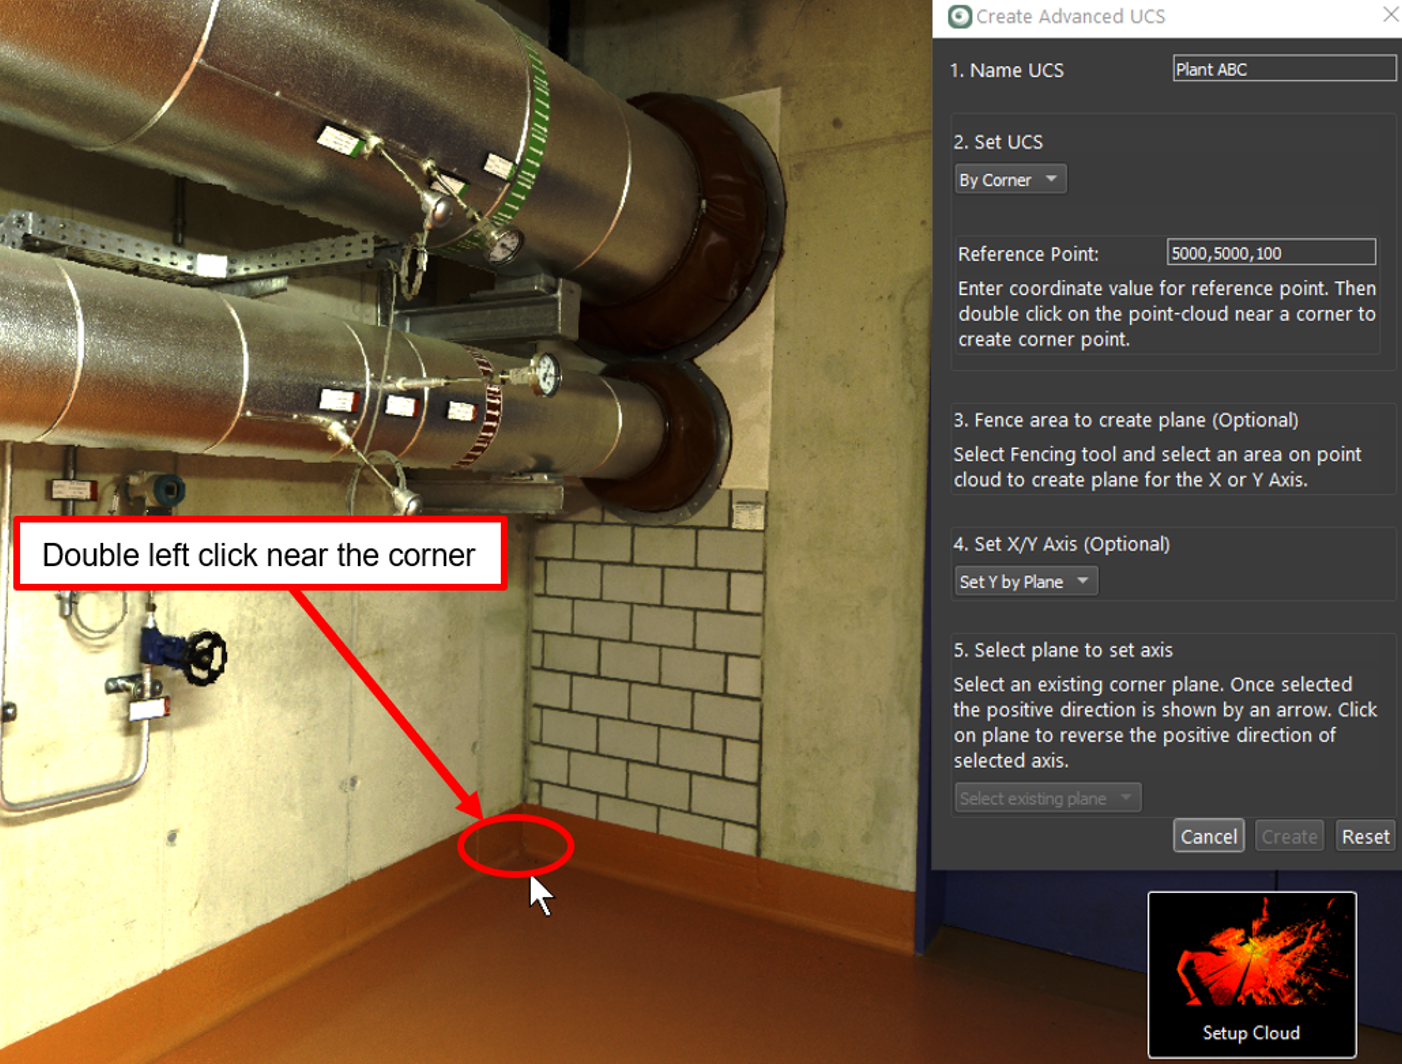
Three planes will be created representing the surfaces of the point cloud forming a corner.
A Vertex will be created at the intersection of the planes with the coordinate entered in step 3 above.
-
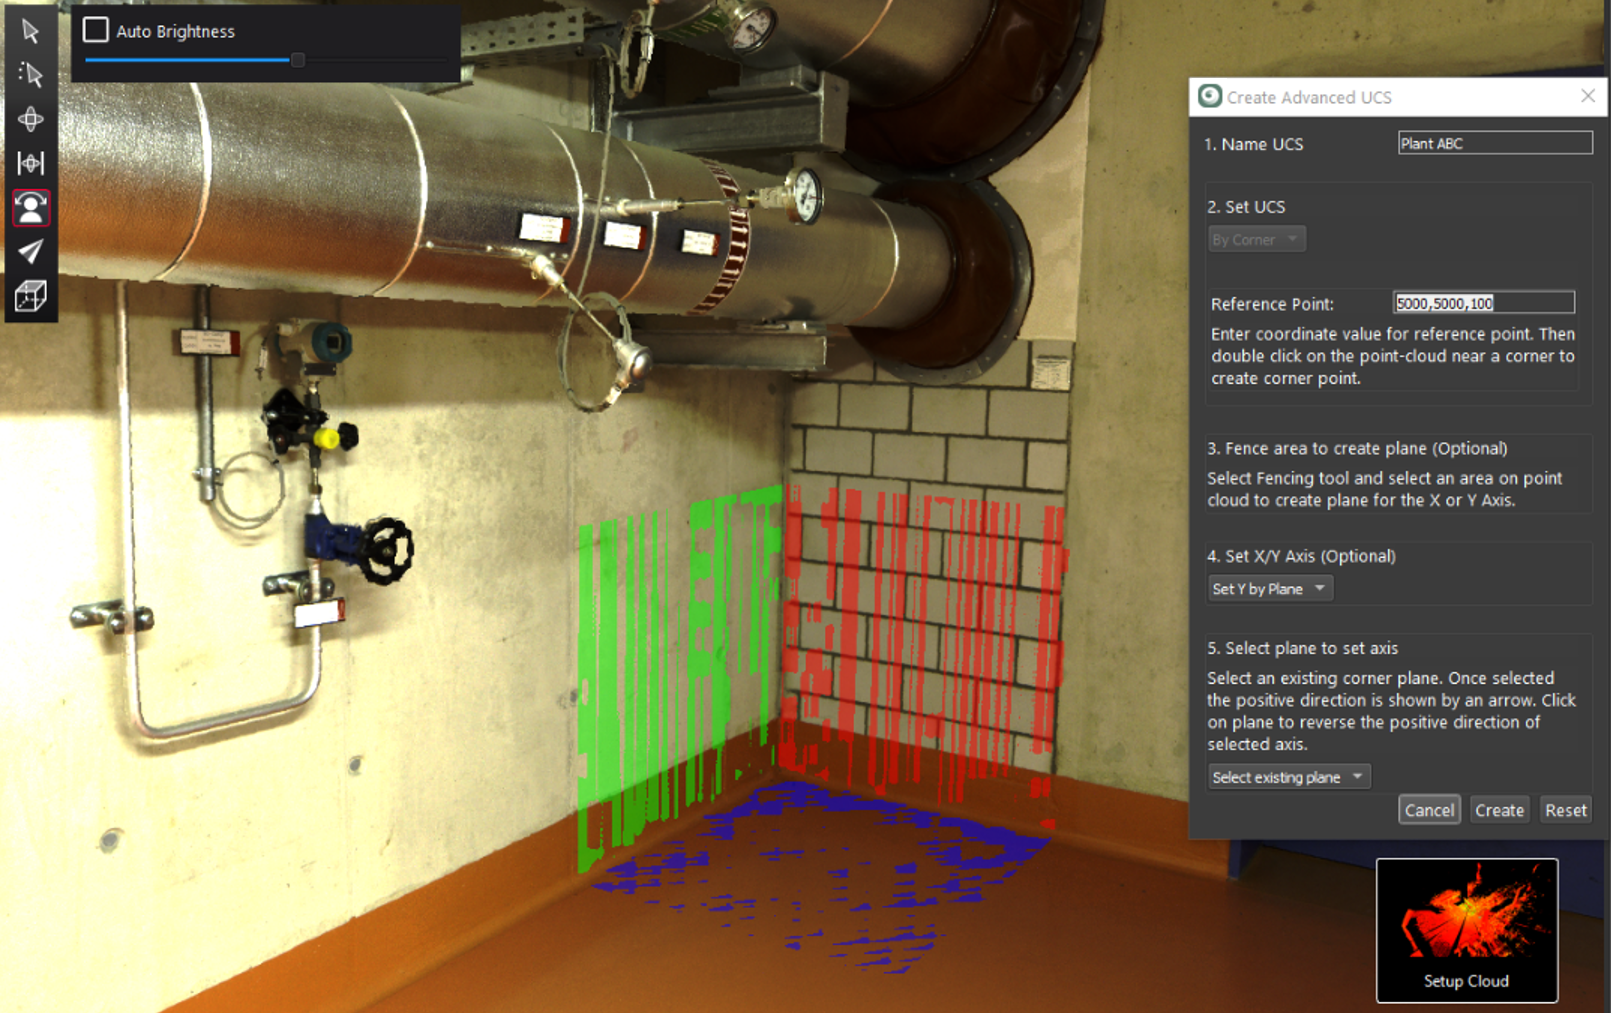
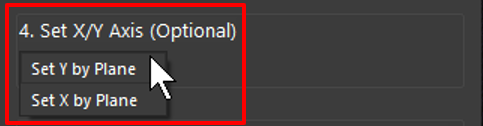
Set the plane axis X or Y from the pull down. Select Use existing plane from the pull down.
-
Click on one of the existing corner planes to set Y or X axis based in the selection in step 7 above. In this example the Y axis is set to the red plane with the positive direction indicated by the arrow.

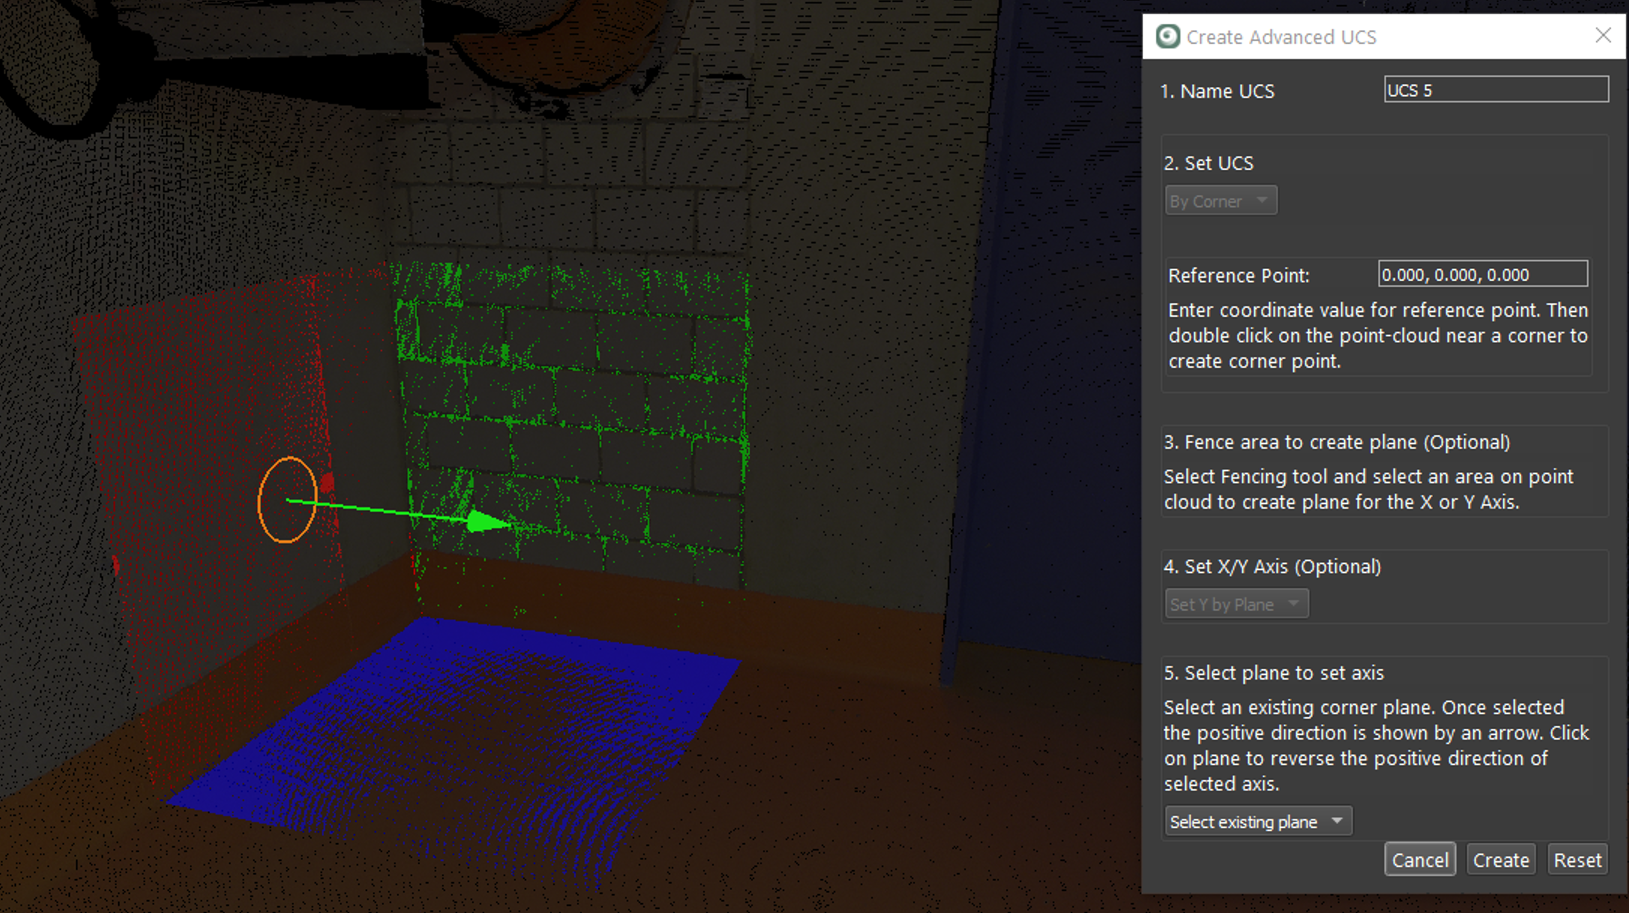
Click again to change the positive direction of the Y axis, if desired. Click the Create button to finish.
Workflow two: Setting a UCS by region growing another plane to set the X or Y direction
The method uses the vertex from the region grow corner to set the UCS, but instead of using the corner planes to set X or Y, the user clicks on another area to grow a plane to set X or Y.
-
Name the UCS
-
Select UCS creation method By Corner.
-
Using the fence tool, highlight an area to constrain the plane grower:
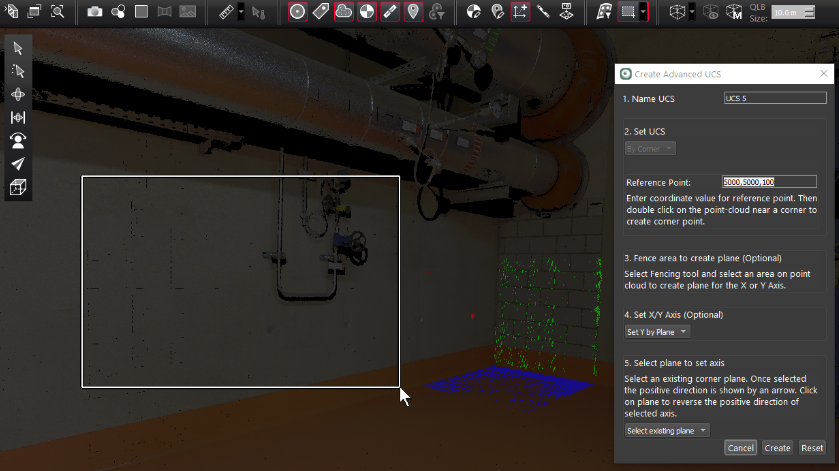
Skip step 4) Set X/Y Axis (Optional) for now.
-
Select Create Plane from the pull-down:
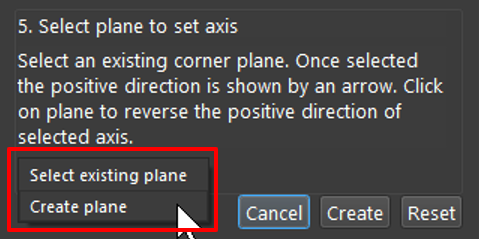
Double click on the highlighted area to grow a plane.
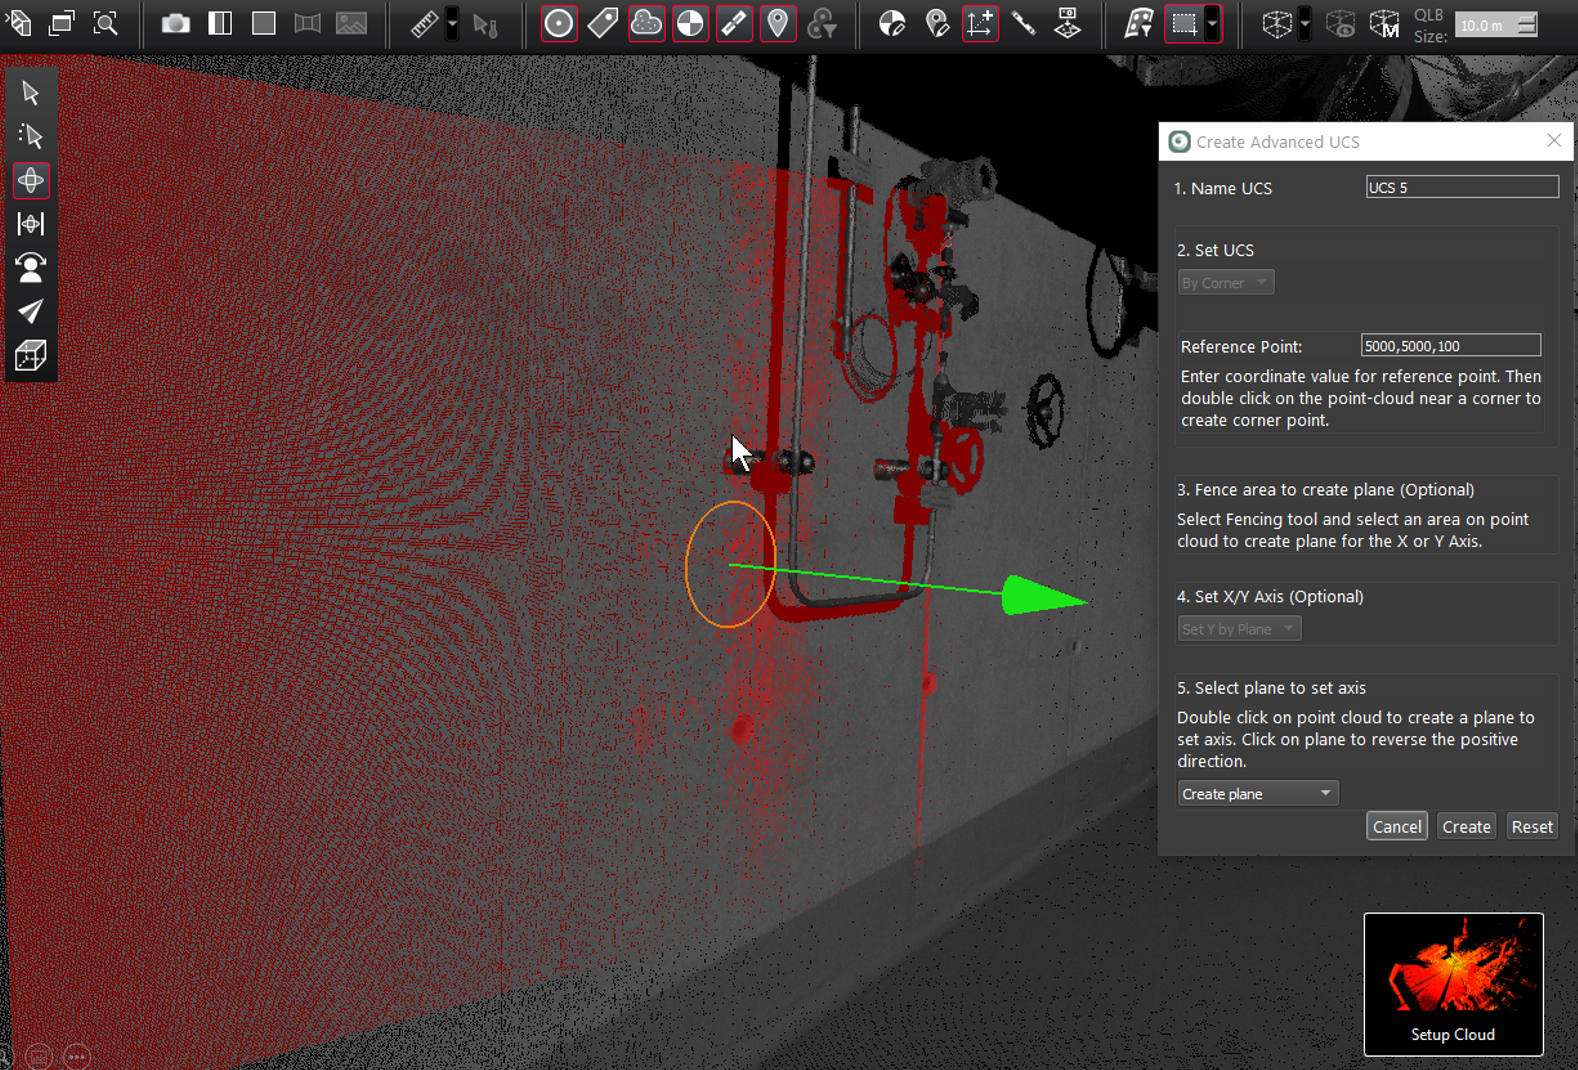
If desired, change the positive direction of the axis by clicking on the plane again.
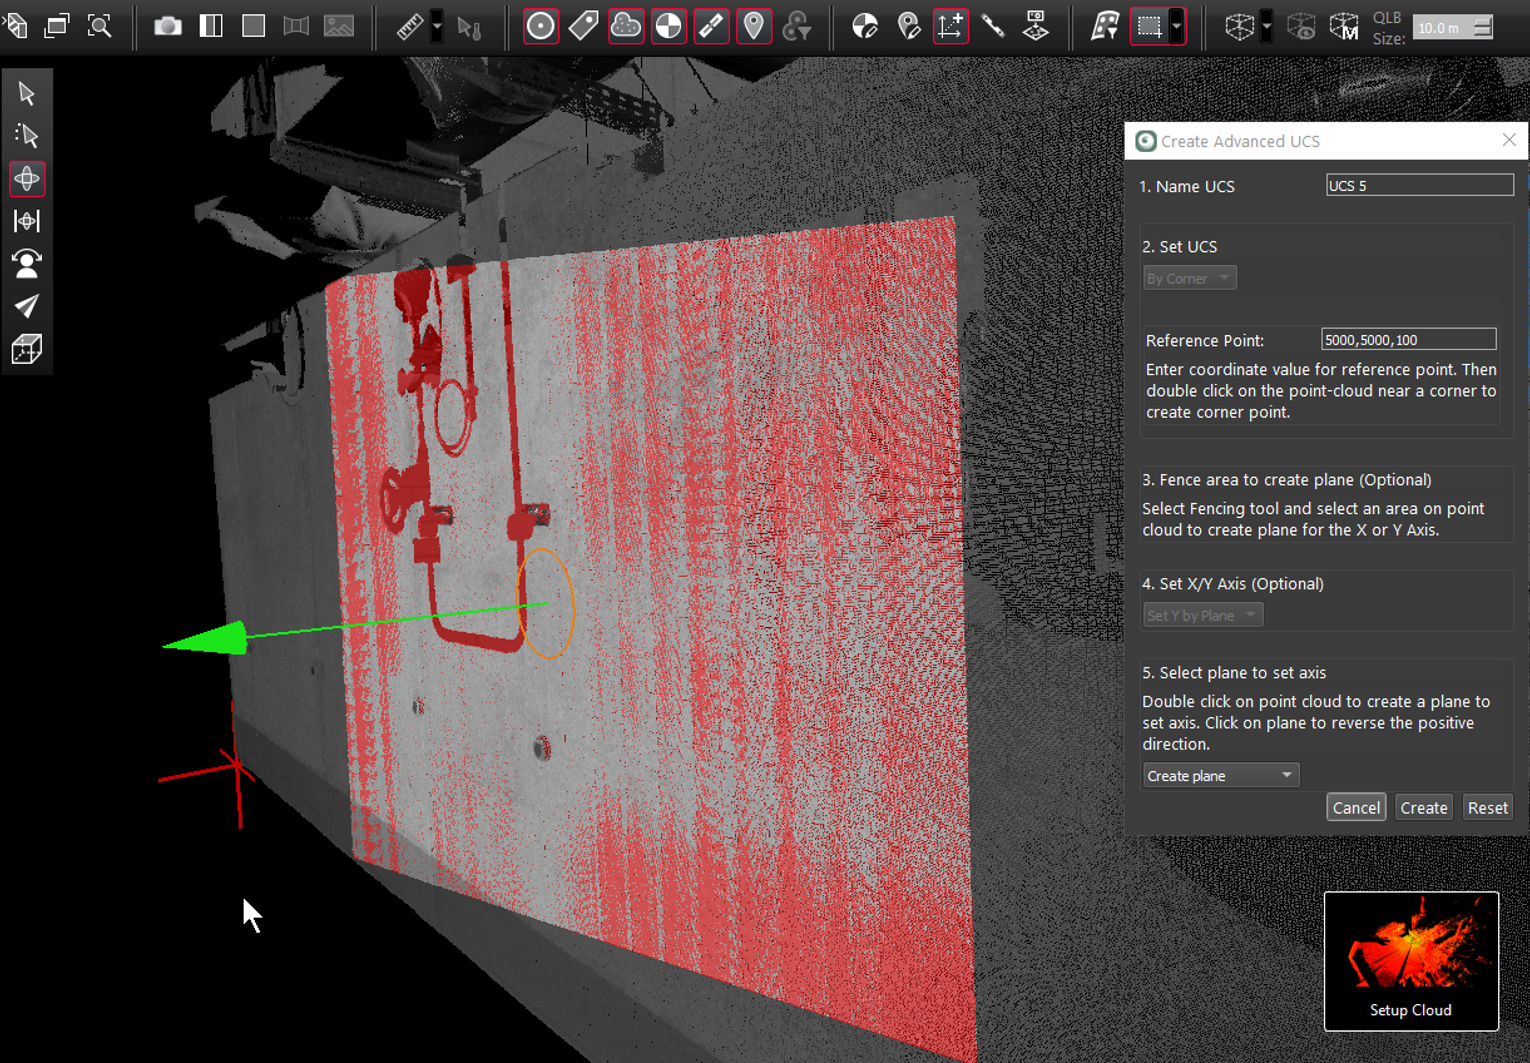
Click the Create button to create the UCS.