Skip table of contents

Adjust Textures

This command allows you to manually choose which texture will be selected for each triangle, or to delineate the area where the texture will be applied (see command Estimate Pose).

Requirements

Select a textured mesh and launch the command.


Command

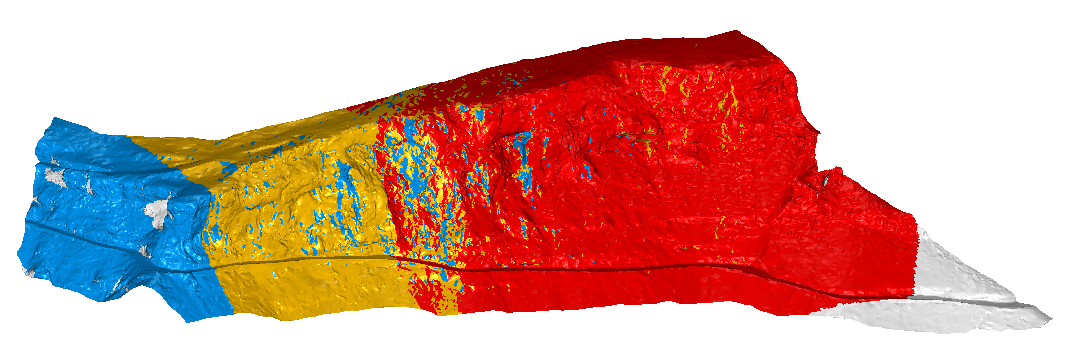
  1. All the Textures of the input mesh are listed and one color is randomly chosen for each of them.

    • You can change the color with the color button.

    • You can remove a texture from your mesh with the delete button.

    • The button Pick texture allows checking which texture is associated to a clicked point. Press ENTER or ESC to exit the tool.

  2. Navigation allows 

    • Go to camera viewpoint, this will bring you to the point of view of the camera. 

    • Navigate to current texture: when this mode is active, camera will follow the camera viewpoint when changing the selected texture. 

  3. There is 3 options to Display the mesh.

    • Colors.jpg Colors: the textures are replaced by solid colors to better visualize overlapping.

    • currentTexture.jpg Current: only the selected texture from the list is applied to the mesh.

    • All: the mesh is rendered with all its textures.

Toolbar

The toolbar contains 4 categories of options;

  1.  The selection Tools allow you to choose what kind of shape to use to apply the textures.

    • Free Hand tool: hold the left button down and move it on the mesh in order to draw a contour. The triangles inside the contour will be selected.

    • Polyline tool: click points to draw a polygon. The triangles inside the contour will be selected. Press Enter to validate.

    • Rectangle tool: draw a rectangle either by clicking and dragging or by clicking 3 points (basis and height). 

    • Circle tool: draw a circle either by clicking the center point and dragging the mouse or by clicking 3 points on the circle itself.

  2. You have 2 different User Viewpoint Filtering options to select triangles according to the user viewpoint (what you can see in the 3D scene).

    • SelectThrough.jpg Select Through: select all triangles through the mesh.

    • OnlyVisible.jpg Only Visible: only select triangles visible.

  3. You have 3 different Camera Viewpoint Filtering options to select triangles according to the camera viewpoint (what the camera can see from its attitude).

    • NoFilter.jpg No Filter: all triangles within the contour are selected for edition.

    • PartiallyVisible.jpg Partially Visible: if no vertex of a triangle is visible from the texture, this triangle is filtered out.

    • FullyVisible.jpg Fully Visible: if all 3 vertices of a triangle are not visible from the texture, this triangle is filtered out.

  4. The Edition mode option:

    • Fill: apply the texture to selected triangles not yet textured.

    • Update: to apply the current texture selected to selected triangles.

    • RemoveCurrentTextures.jpg Remove Current Texture: remove only the current texture to selected triangles.

    • Remove All Texture: remove texture to selected triangles.

Notes

  • Current texture and Camera Viewpoint Filtering options are only available on texture defined by a camera model (see Standard Texture).

  • Toolbar: a message will be displayed if no triangles are selected or if the texture cannot be applied.

Technical information

image2015-12-14 17_23_55.png

Fig. Sample with the file “TextureParam&CameraPath.rsh”

JavaScript errors detected

Please note, these errors can depend on your browser setup.

If this problem persists, please contact our support.