Now let's start using Hexagon GeoCloud by creating our first project!
Select the menu (☰) on the left-hand side of the screen, then select Hexagon GeoCloud › Projects.
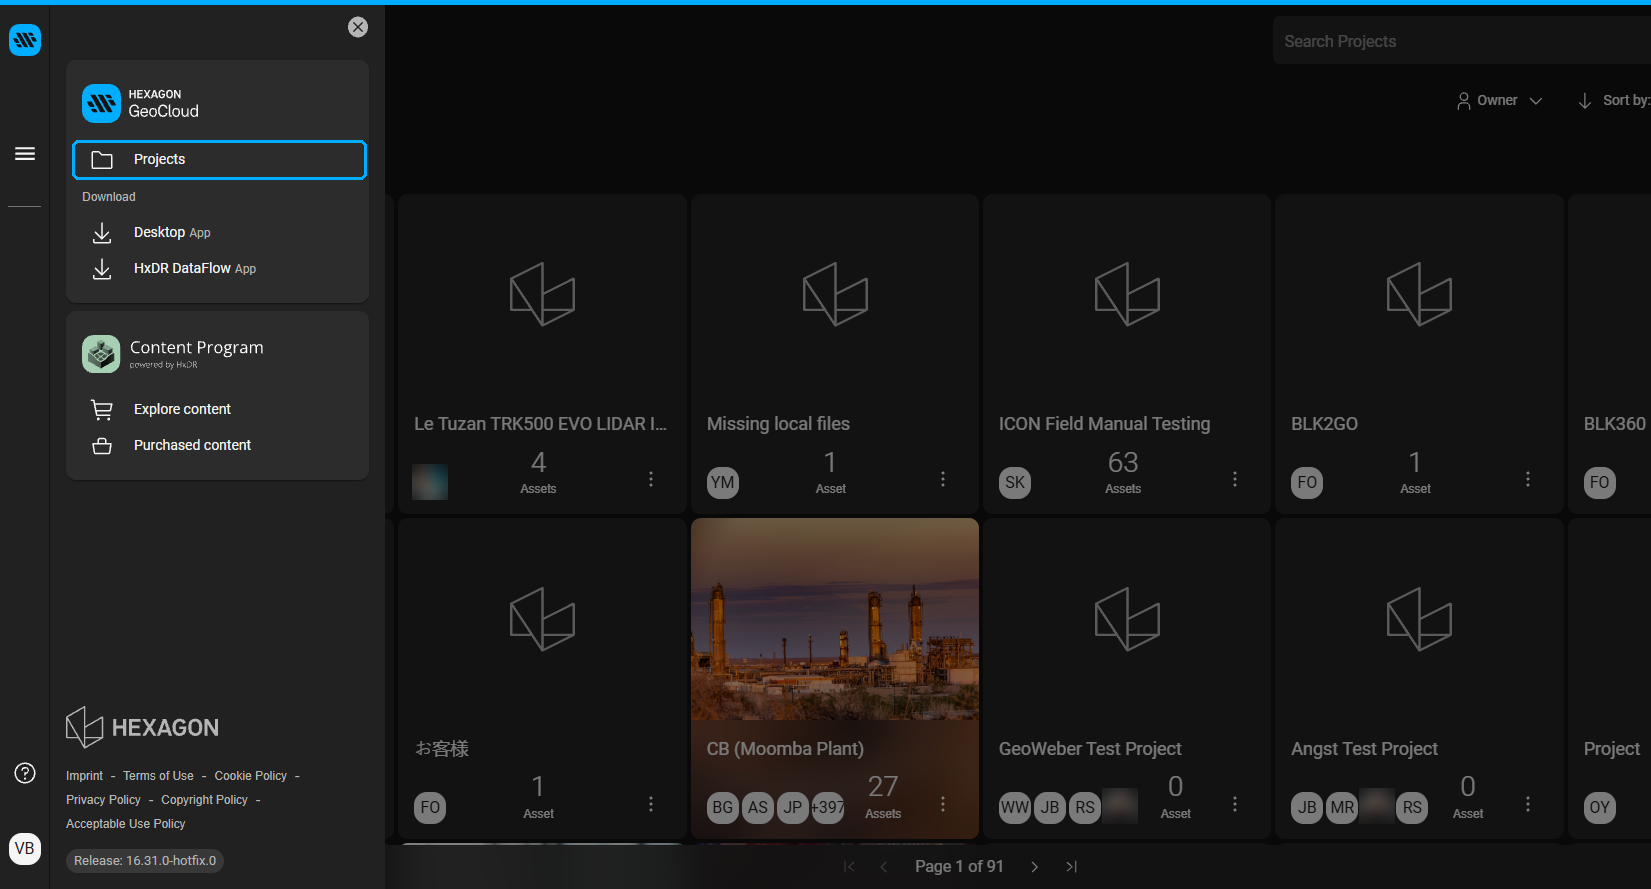
When you first log into the platform you will notice that there are no projects and no data - so let's quickly remedy that by creating our first project within GeoCloud.
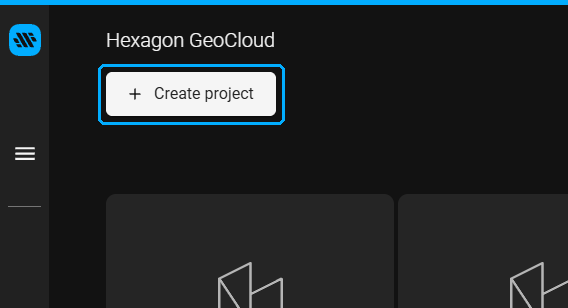
Click Create project
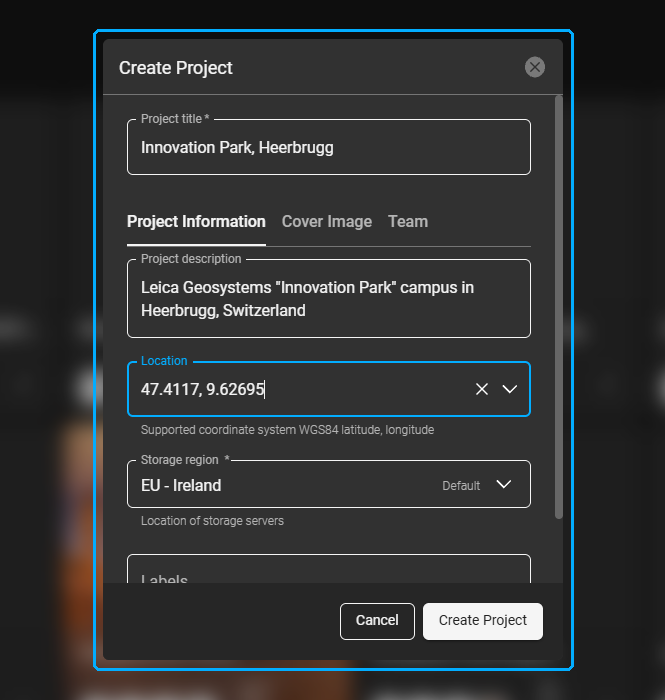
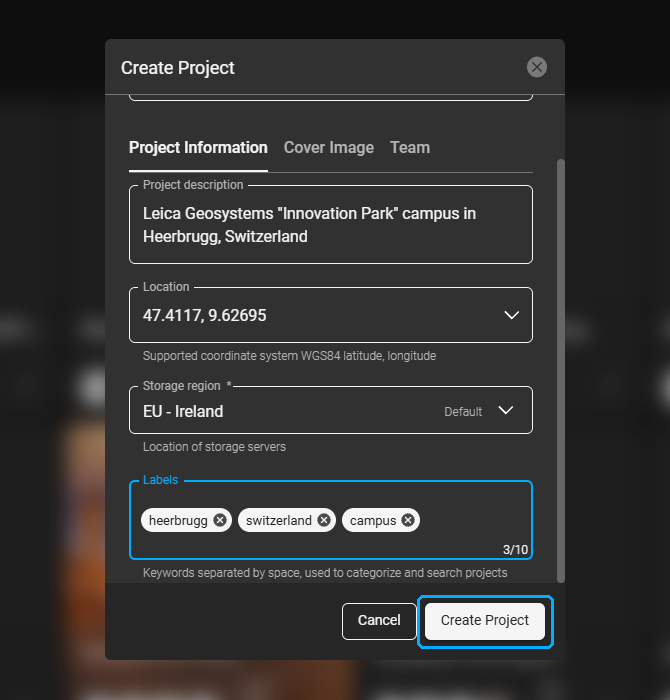
After you have clicked create project you are presented with a small dialogue box which allows you to create the project name and a project description, add a location for your project, and add any labels which will allow you to track different types of projects across GeoCloud.
Choose the Storage region. Your company account's default region is preselected and marked Default in the list. The storage region cannot be changed after the project is created.
The list also includes four additional storage regions: AP - Japan, EU - Germany, EU - England and Wales and AP - India. Your uploaded files and processed results are stored in the region you choose. Processing and streaming run in a full Hexagon GeoCloud region, so streaming can be slightly slower.
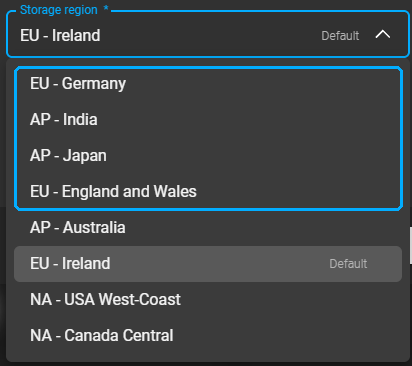
Storage region list
You're also able to add a cover image which will make the project easily recognizable in the project list.
You may also add team members and assign roles within a given project at this stage.
You can always come back in the future and edit these details at any point, so if for example you want to change your cover image you can do that by editing your project information.
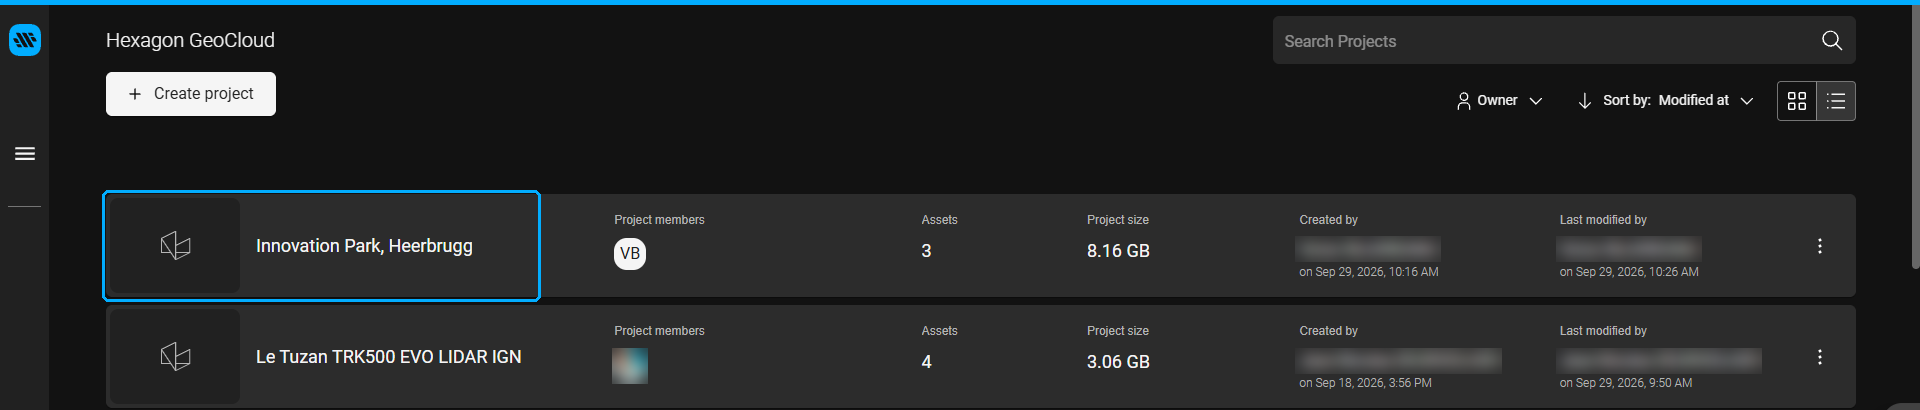
Once you are happy with all the information that you have provided, select Create Project. The project appears at the top of the project list and a confirmation message is shown; select Go to project to open it.
Click on the project in order to access it
Once every 24 hours you will be asked to confirm that you have read the terms and conditions related to uploading data.
Please ensure you click confirm in order to continue.
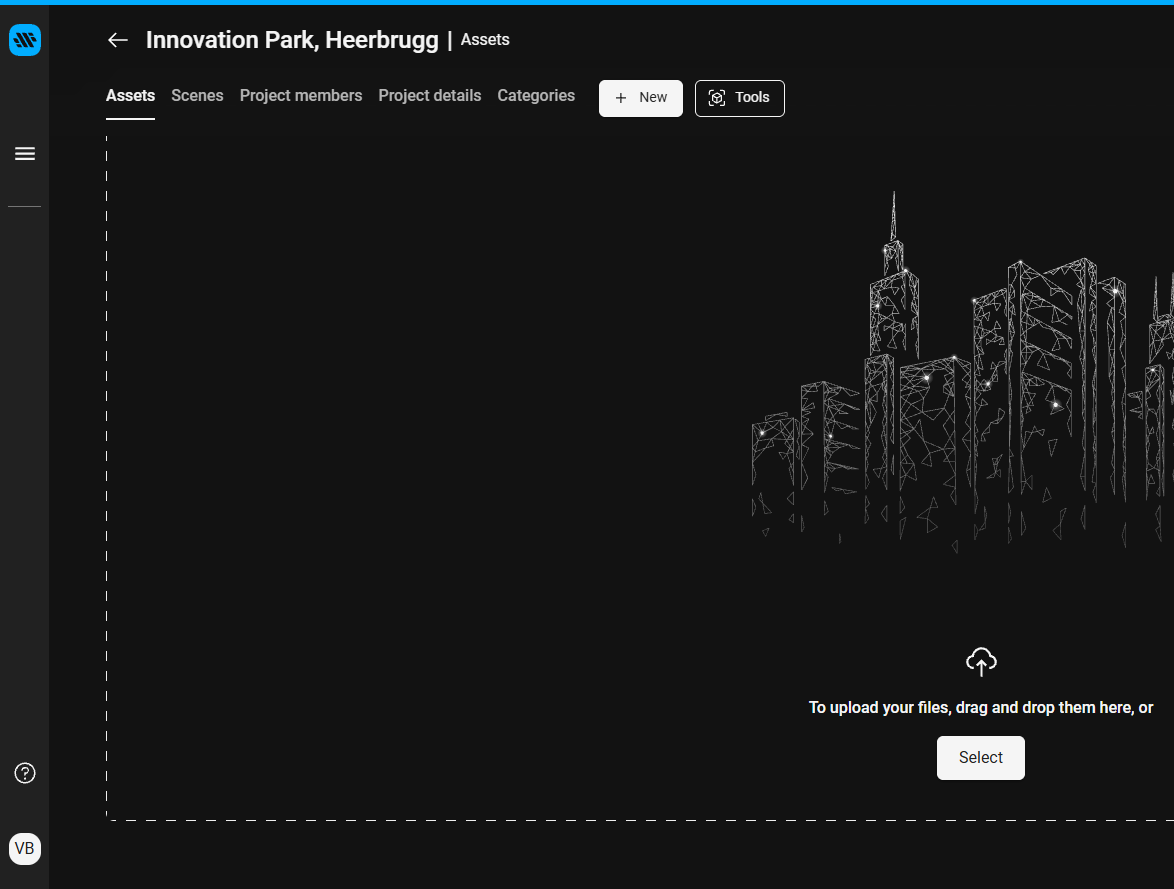
Uploading data to your project
Now we would like to add some data to our account.
Use the Data Flow Utility to upload your files — it is more reliable than dragging and dropping directly into the browser, especially for large files, and will automatically resume if the upload is interrupted.
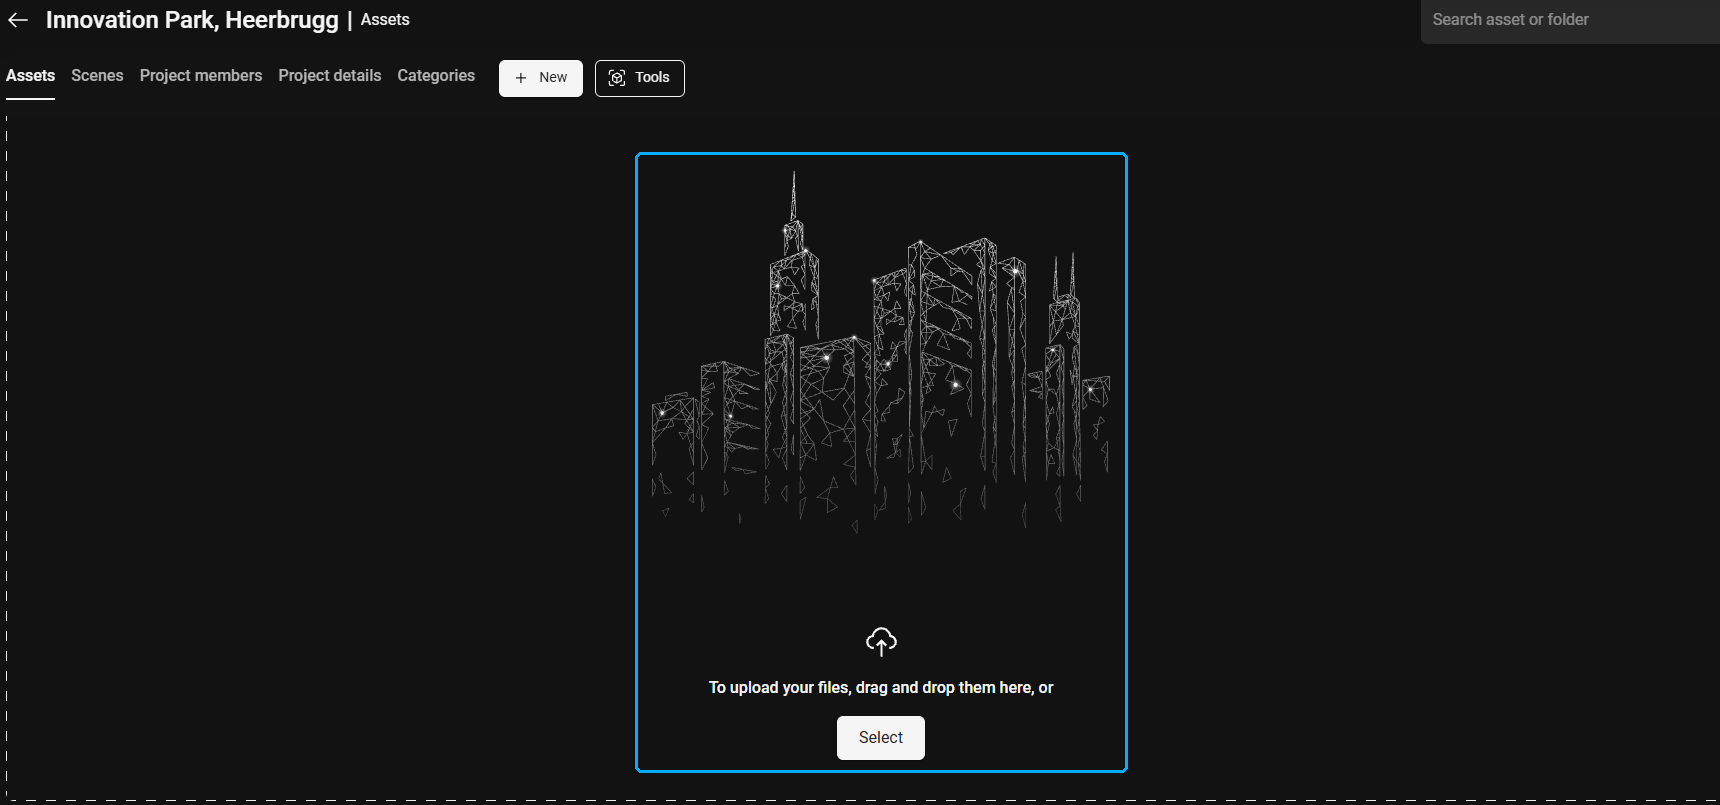
You are able to upload a large variety of file formats to GeoCloud. You can find a list of all the files that the platform supports here Import and Supported File Formats
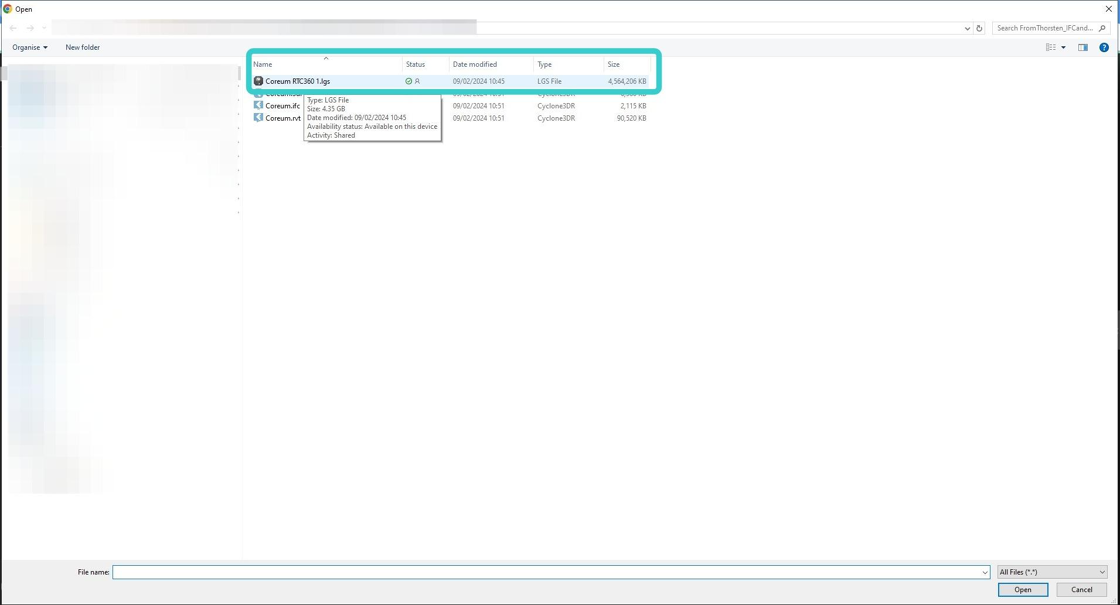
For this example, we are uploading an *.LGS file which has been produced using Leica Cyclone REGISTER 360 PLUS.
After you have selected your file click Open to begin the upload process
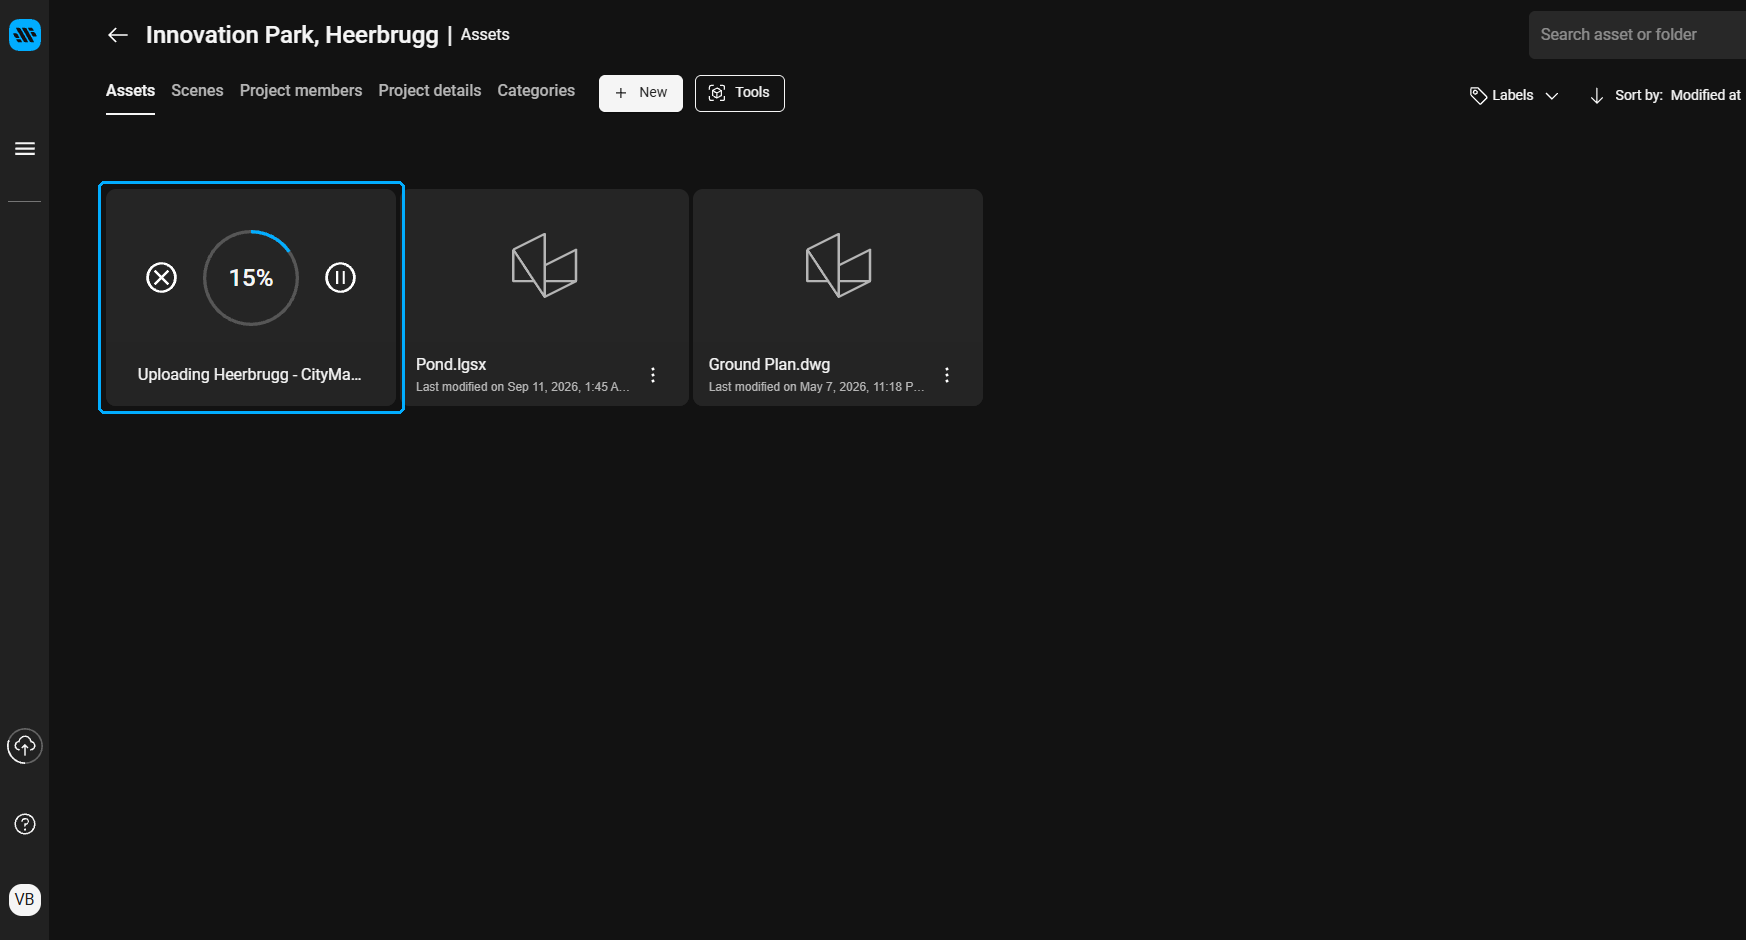
The data will immediately start to upload. The speed of upload will depend on both the size of your file and the speed of your broadband connection.
You can now continue to use the platform while the upload is processed in the background.
We will cover the process of opening the data and navigation within your uploaded asset as a separate training workflow.