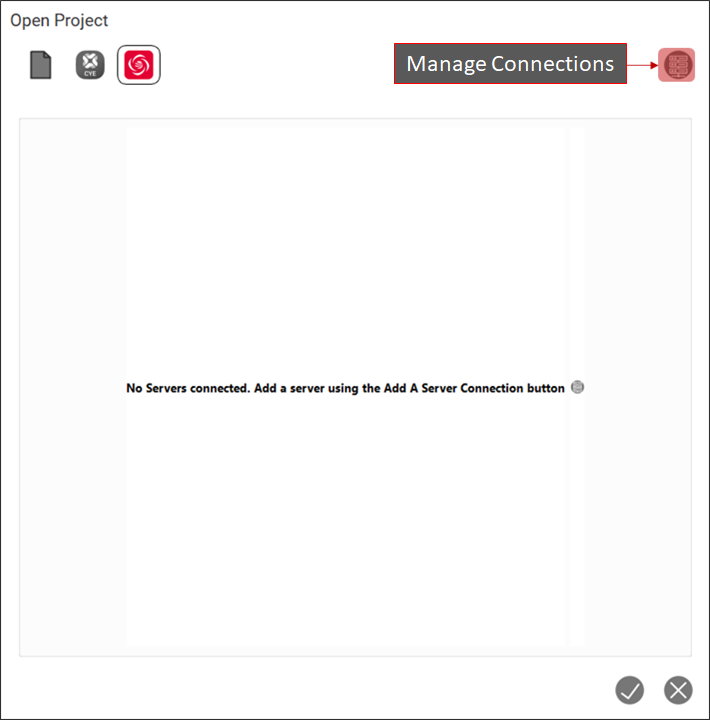
To open a JetStream Enterprise project select the Browse JetStream Enterprise Projects tab. When selecting this tab for the first time you will be prompted to add a JetStream Enterprise connection.
-
To add a JetStream Enterprise connection, select the Manage Server Connections button at the top right-hand corner of the browse dialog.
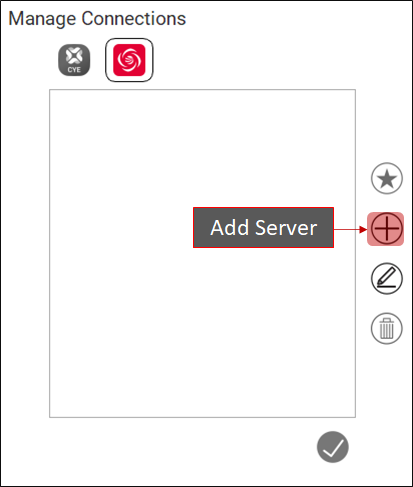
2. When the server connection dialog opens select the Add Server button.
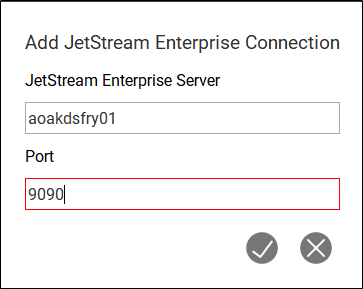
3. Add the name of the server that you would like to connect to, and the port number then click the OK button.
4. Once the server is added, it will automatically become the default server. The default server will be in bold. If another server is added to the connection list, it will become the active server.
The status of existing servers are indicated by the icon next to the server name. Connected servers will have a green check mark next to them and disconnected servers will have a red X next to them.
-
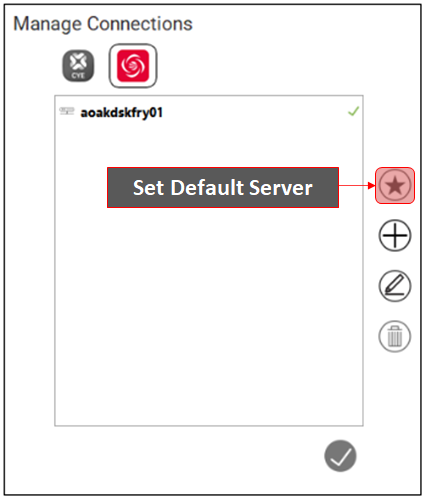
The active server can be changed by selecting it from the list then clicking on the Set Default Server button
-
A server can be removed from the list by selecting it then clicking on the Remove Server button.
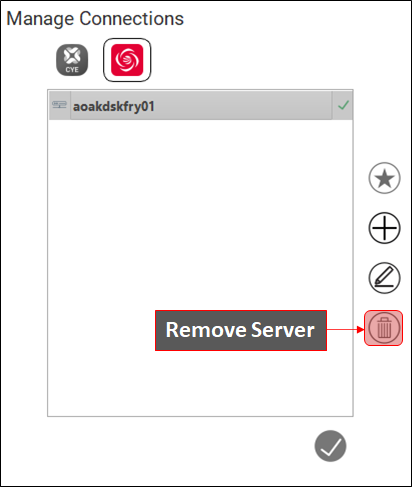
The default server cannot be removed from the list.
-
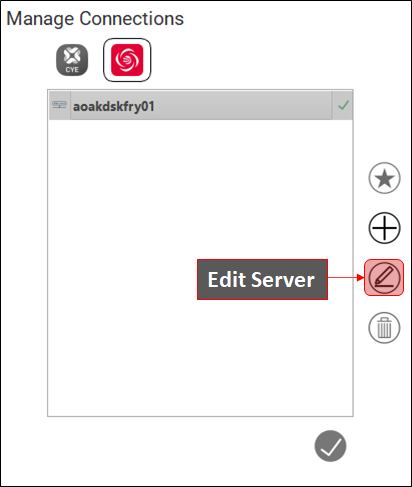
A server can be edited by selecting the Edit Server button.
-
Once the server has been added click the OK button to close the connections dialog.
-
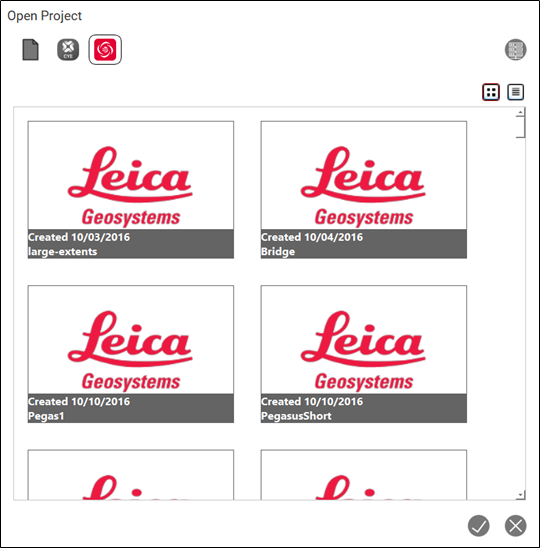
You will be able to browse JetStream Enterprise projects from that server. Click on project to open it in TruView.
-
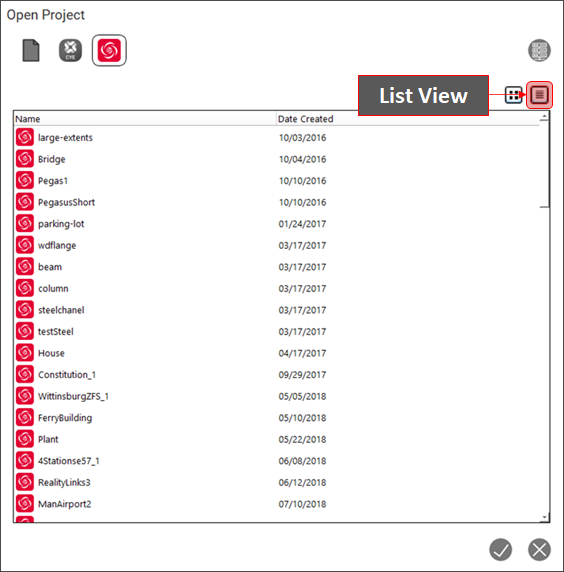
By default the JetStream Enterprise browse dialog opens in thumbnail view. If you would like to switch to list view, click on the List View button. While in list view, you can sort projects by Name or Date Created.