Function
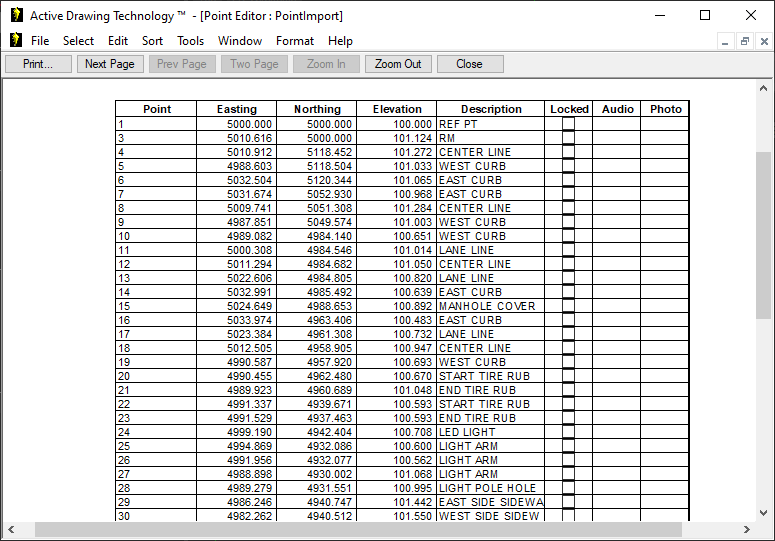
The Active Editor is a core component of Map360's Active Drawing Technology. The Active Editor is a spreadsheet-like grid browser/editor that allows you to work interactively with your drawing and your project coordinate data, raw traverse data and batch COGO data. The Active Editor is represented by a customizable frame window with a menu bar. You can have many different files open in the Active Editor at one time, each of the files (or documents as they may be referred to) is represented by a View window in the Active Editor. We have designated different view types corresponding to the three data types mentioned above, namely:
-
Active Coordinate Editor – a view of the project coordinate database.
-
Active Traverse Editor – a view of a raw traverse file.
-
Active Triangulation Editor - a view of a batch Triangulation file.
Each of these document types has its own set of menus and functions that are available to manipulate your data. The menu bar and available functions will change based on the document type you have selected as your current document.
Procedure
Common To All Document Types
Tiling the Active Editor in the Drawing Window
Coordinate, Traverse or Batch COGO documents can be tiled into the frame window which can, in turn, be tiled into the drawing window. In order to work effectively with your drawing and the Active Editor on single monitor systems, the Active Editor is designed to tile into the drawing window using the Window menu commands:
A number of features in the Editors are common to all Document types. This information is listed here:
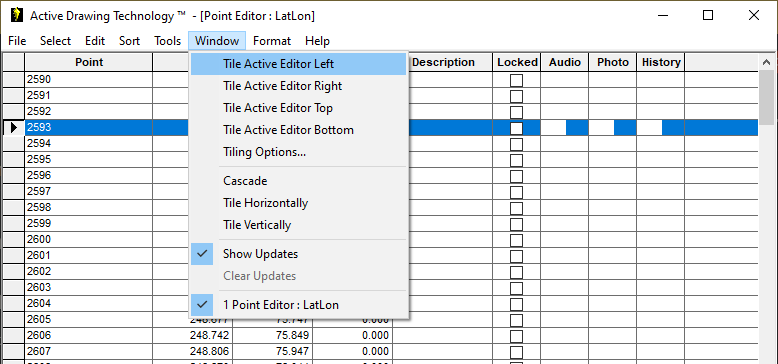
Tile Active Editor Left
Tiles the Active Editor on the left edge of the drawing, using the specified percentage of the drawing window (see Tiling Options below).
Tile Active Editor Right
Tiles the Active Editor on the right edge of the drawing, using the specified percentage of the drawing window (see Tiling Options below).
Tile Active Editor Top
Tiles the Active Editor on the top edge of the drawing, using the specified percentage of the drawing window (see Tiling Options below).
Tile Active Editor Bottom
Tiles the Active Editor on the bottom edge of the drawing, using the specified percentage of the drawing window (see Tiling Options below).
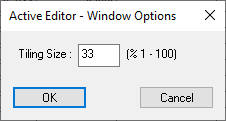
Tiling Options
The Tiling Option allows you to set a percentage which controls how much of the drawing window can be taken over by the Active Editor Window Frame.
Working with Views within the Active Editor
The Active Editor is capable of displaying views of many different data files (documents) concurrently. Each of these document views represents files of one of the supported data types, currently these types are: Coordinate data, Traverse data and Batch COGO data. Organization and layout of these document views will make for more effective and powerful use of Active Drawing Technology.
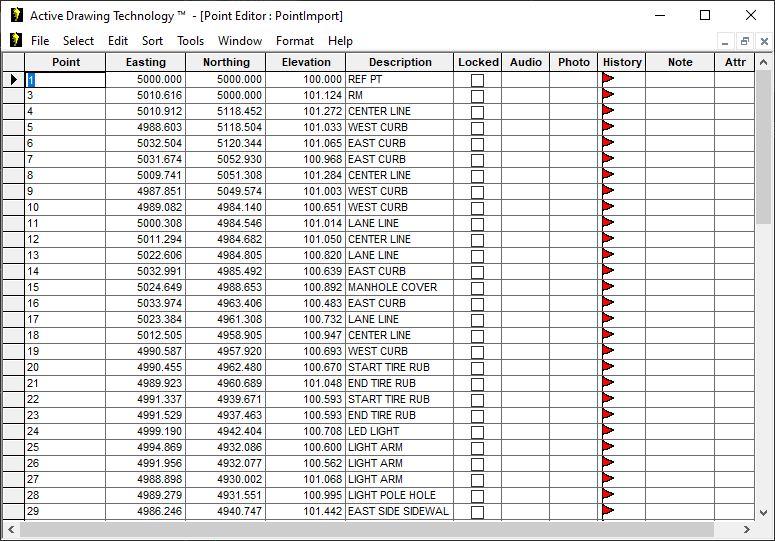
Maximizing Views
The first time the Active Editor is opened, the view will be maximized for the current document. As you open more documents the Window menu will maintain a list from which you may choose the new active document.
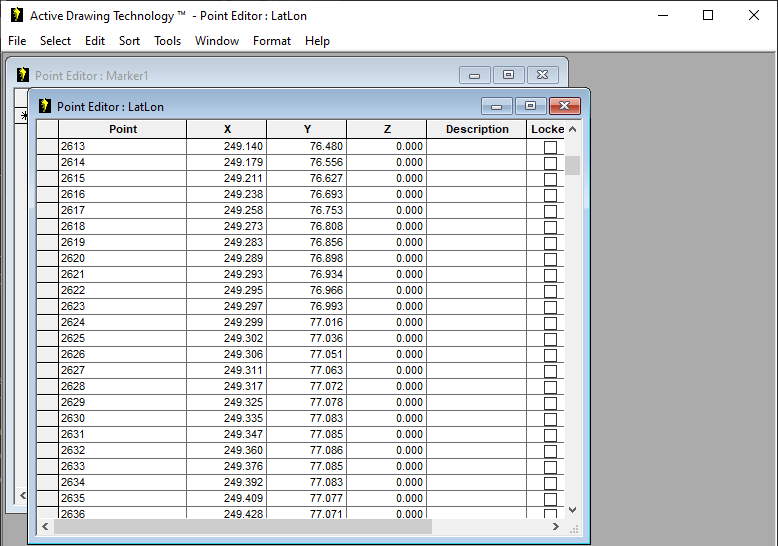
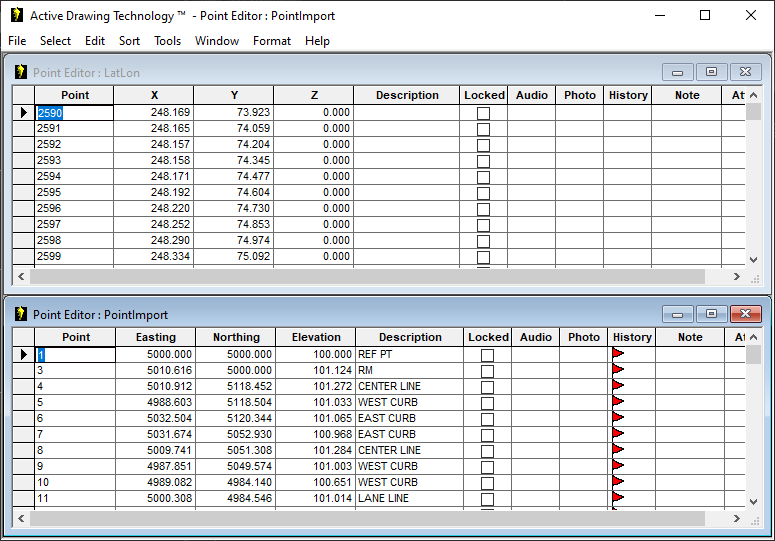
Cascading Views
Use Window | Cascade to get a cascading view of all active documents. The following figure shows the result of a Cascade command.
Tiling Views
Views may also be horizontally or vertically tiled to take advantage of the Active Editor Window Frame size and dimension. Horizontal tiling may be more useful for an Active Editor window that is taller and narrower, whereas vertical tiling may be more appropriate for working within a wide but short window.

Intellimouse Support
The IntelliMouse support in the Active Editor is very similar to the IntelliMouse support in Microsoft Excel and Microsoft Internet Explorer. Active Editor supports the following features:
-
Scrolling by rolling the mouse wheel
-
Scroll horizontally by clicking SHIFT and rolling the mouse wheel
-
Zoom in and out by clicking CTRL and rolling the mouse wheel
-
Auto scrolling by clicking the mouse wheel button and dragging the mouse up, down, to the left or right.
-
ClickLock for the mouse wheel button: Just click and hold down the mouse wheel button for a moment and your click is locked. With ClickLock you can scroll the grid very easy by simply dragging the mouse (just as with Autoscroll but you don't have to hold the mouse wheel button down). Click again to release ClickLock.
Printing from the Active Editor
The Active Editor supports integrated Windows™ printing and print previewing for all data types. You can use the File | Print and File | Print Preview commands to print coordinate, traverse or Batch COGO listings.
FILE Menu
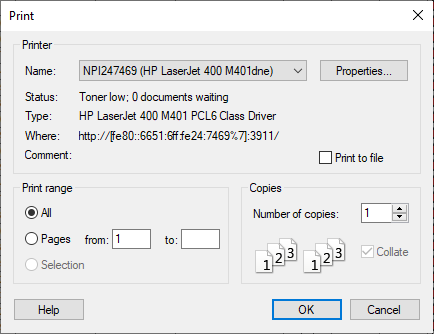
Print
Choose the correct printer and the number of pages/copies to print.
Print Preview
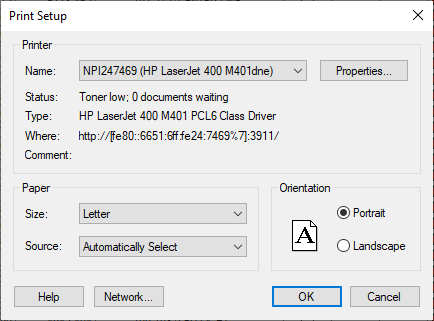
Print Setup
Sets print properties and options for your printer.
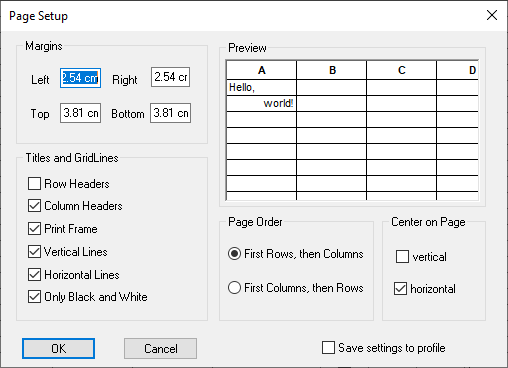
Page Setup
Use Page Setup to define the properties of the Active Editor grid data on the printed page. This following dialog allows you to adjust the page settings listed here:
|
Margins |
Used to specify the print margins. |
|---|---|
|
Preview |
Preview grid that allows the user to see the changes in real time, before applying them back to the grid. |
|
Page Order |
Radio buttons used to specify the page order when printing a grid across multiple pages. |
|
Center on Page |
Check boxes used to specify vertical and horizontal centering when printing a grid. The following check boxes allow you to customize the column/row headers and gridlines: |
|
Row Headers |
Specifies if row headers should be printed. |
|
Column Headers |
Specifies if column headers should be printed. |
|
Print Frame |
Specifies if a frame should be drawn around the grid when printed. |
|
Vertical Lines |
Specifies if vertical grid lines should be printed. |
|
Horizontal Lines |
Specifies if horizontal grid lines should be printed. |
|
Only Black and White |
Specifies if the grid should be printed only with black and white colors. |
|
Save Settings to Profile |
Use the Save settings to profile checkbox to preserve your page settings. |
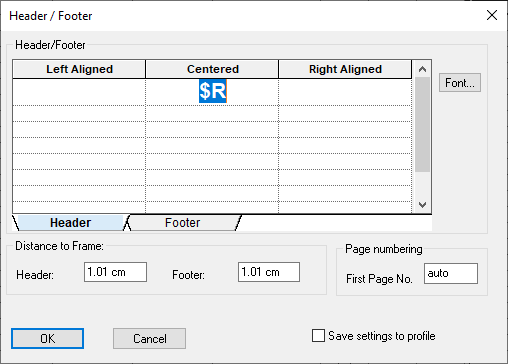
Header/Footer
You can use the Header/Footer dialog to enter specific information that you would like included as a header or footer information on all your printed output, as well as set some options such as automatic page numbering.
The Header/Footer dialog allows you to enter both literal text such as your company name or project name, or you can use tokens such as $D (current date) that will be substituted for a value at printing time.
Currently, the following tokens are supported:
-
$F - Document file name
-
$P - Current page number
-
$N - Total number of pages
-
$D - Current date
The font can be changed by selecting a cell or range of cells, and then clicking the font button. A standard font dialog will be displayed and the user can make the necessary changes. When the font dialog is closed via its OK button, the changes will be applied back to the selected cells.
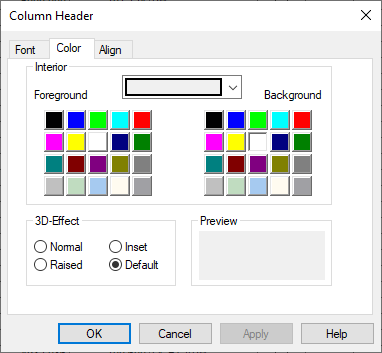
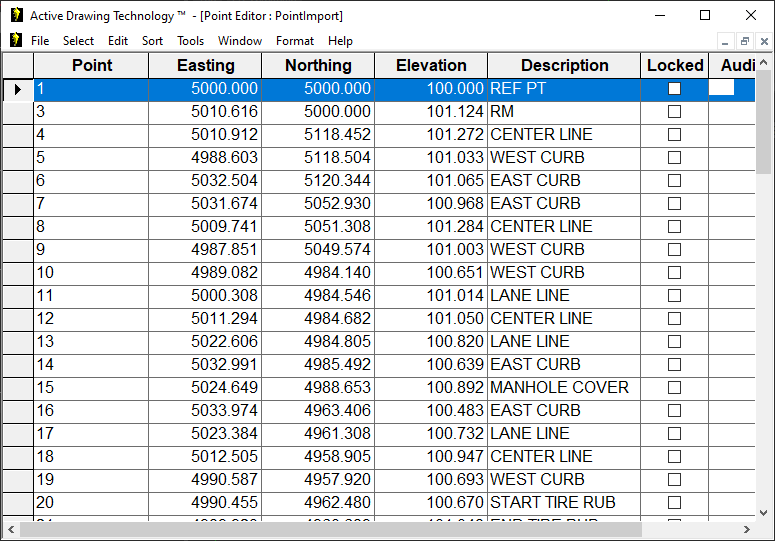
Preferences
You can use the File | Preferences option to set the colors, fonts and alignment properties for the displayed coordinate data. The Styles dialog displays three styles: Standard, Row Header and Column Header. To change the appearance of the displayed coordinate data, select the Standard style from the list and click on the Change>> button.
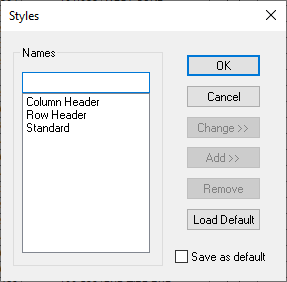
The preferences dialog will display three tabs: Color, Font and Align. The color page can be used to choose the background color for the Active Coordinate Editor grid. Using the font page you can set the font type, size and color. Click on OK once you have set the desired color and font characteristics. From the Styles dialog, be sure to check the Save as default option if you want to save your settings. Click on the OK button to apply your changes and exit.