revit
Tools | Auto Align
This tool automatically adjusts the point cloud position to align it with the modelled object.

Using the Tool
To align the point cloud with the model, follow the steps below:
Select Auto Align in the Tools panel.
In the Align to model automatically dialog that appears, select the desired alignment method and click OK.
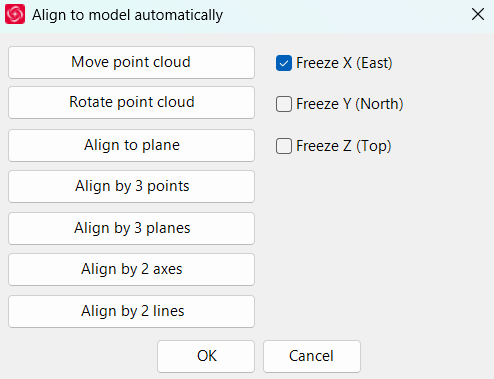
Move point cloud: Select a point on the point cloud, then select a point on the model. The point cloud is moved so that the selected cloud point matches the selected model point.
Rotate point cloud: Select a pivot point and an origin point on the point cloud, then select a destination point on the model or on the point cloud itself. The point cloud is rotated so that the origin point aligns with the destination point.
Align to plane: Select a point on the point cloud to define a plane, then select a plane on the model. The point cloud is adjusted to align the two planes.
Align by 3 points: Select three points on the point cloud, then select the corresponding three points on the model. The point cloud is aligned using the selected point pairs.
Align by 3 planes: Select three planes on the point cloud, then select the corresponding three planes on the model. The point cloud is aligned using the selected pairs of planes.
Align by 2 axes: Select two pipes on the point cloud to grow two cylinders, then select the corresponding cylinders on the model. The point cloud is aligned using the selected axes.
Align by 2 lines: Define a line by selecting two points on the point cloud, then define a corresponding line on the model. The point cloud is aligned to match the model line.
Freeze X / Y / Z: Select the desired check boxes to prevent translation about the selected axes during alignment.