The Smooth Surface tool will find continuous ground surfaces in data types supported by Cyclone REGISTER 360 PLUS.
The Smooth Surface tool is not designed to work with LGSx files.
After running Smooth Surface, the user will be presented with “good” and “bad” points, which they can then keep or discard either by fencing off certain areas for removal or removing all “bad” points. The cleaned surface can then be exported to supported formats.
Smooth Surface cleaning works rapidly on projects of all sizes by detecting the overlapping points only in the region specified by the user and works on both single scans or Bundles. Unification of the data is not necessary. Once initial results are delivered, additional picks will refine the results.
Deleted points can be restored. However, restoring points will result in the restoration of all points.
Note: Editing the Cloud-to-Cloud points while using the Smooth Surface command is not supported; only the visual points are edited.
To use the Smooth Surface tool, the user should follow the steps below:
-
Open a project containing a Bundle of Setups.
-
Go to the Bundle Cloud view or Setup Cloud view.
-
Click the icon located in the middle toolbar on the right. The tooltip is Find Smooth Surface.
-
If the data was imported into Cyclone REGISTER 360 PLUS version 1.7 or higher, there is no preparation step. Otherwise, the data will go through a preparation phase. The length of the preparation phase will depend on the size of the user’s data.
-
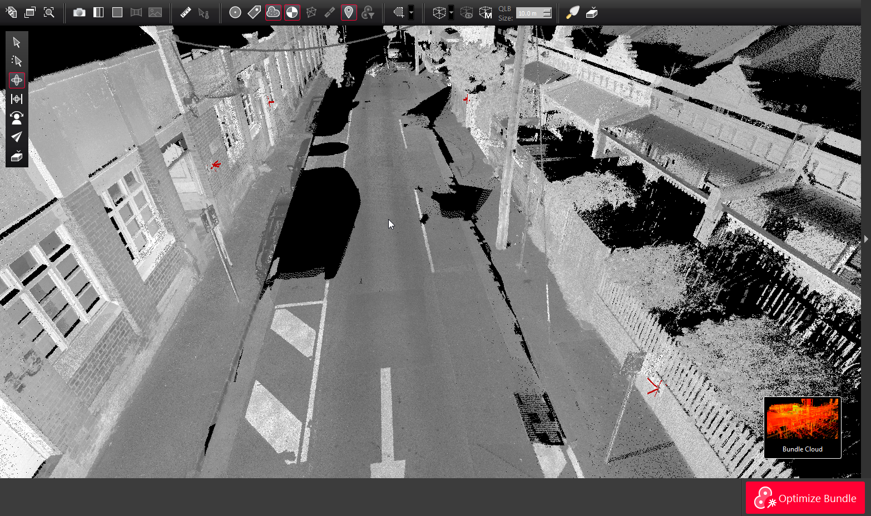
The color mapping will turn to greyscale.
-
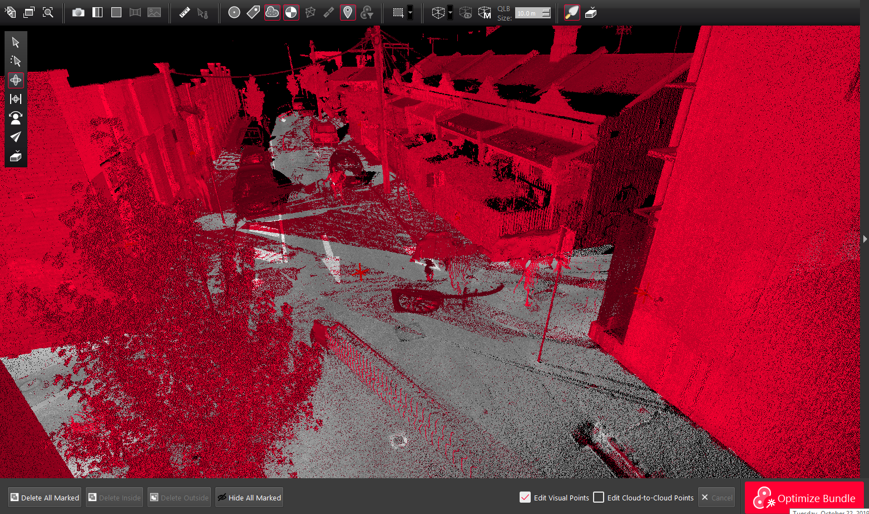
Double-click a central location on a representative surface to begin the detection process.
-
The detection process will run and expose the initial result in greyscale, while the non-surface data or “bad points” are shown in red.
-
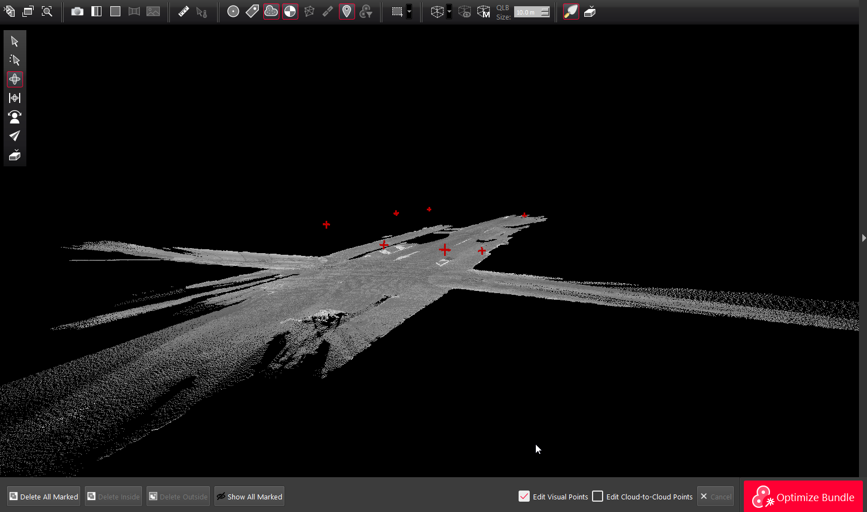
Click Hide All Marked points to see how the detection is working, click Hide All Marked points again to expose the red marked points.

-
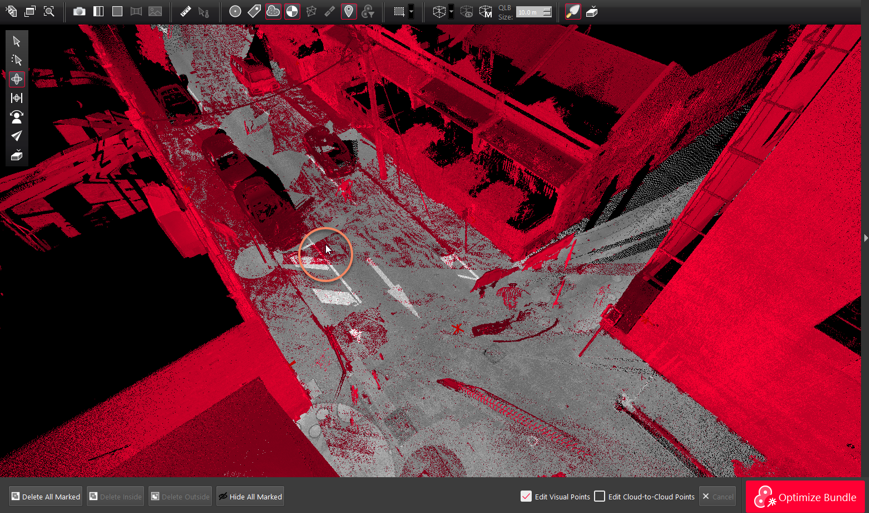
Click the areas that have overlapping red and grey points to refine the results in those areas.
-
Continue this process until the desired smooth surface is fully detected.
-
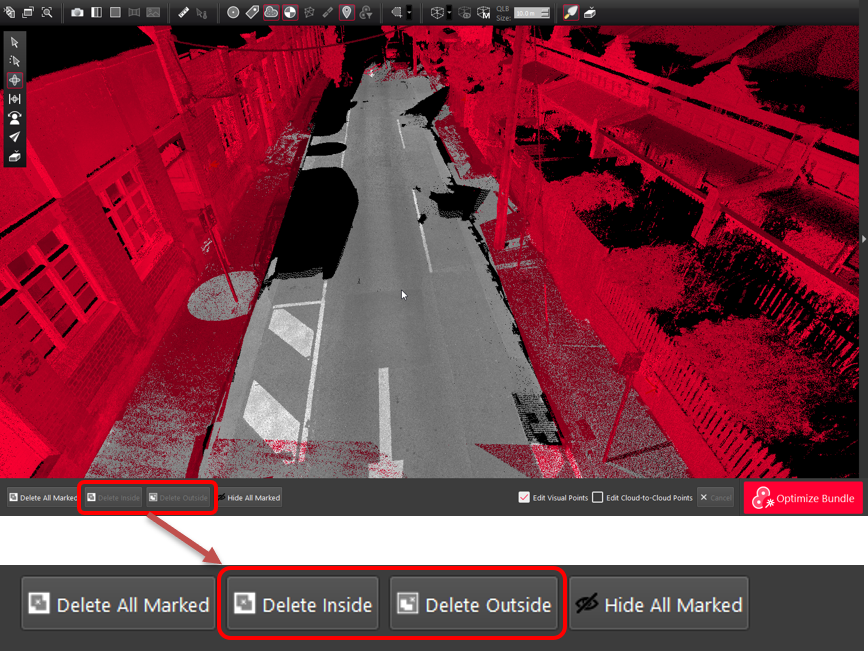
Using the standard fencing tools, fence the desired area and then use Delete Inside or Delete Outside of fence to remove only the red-marked points.
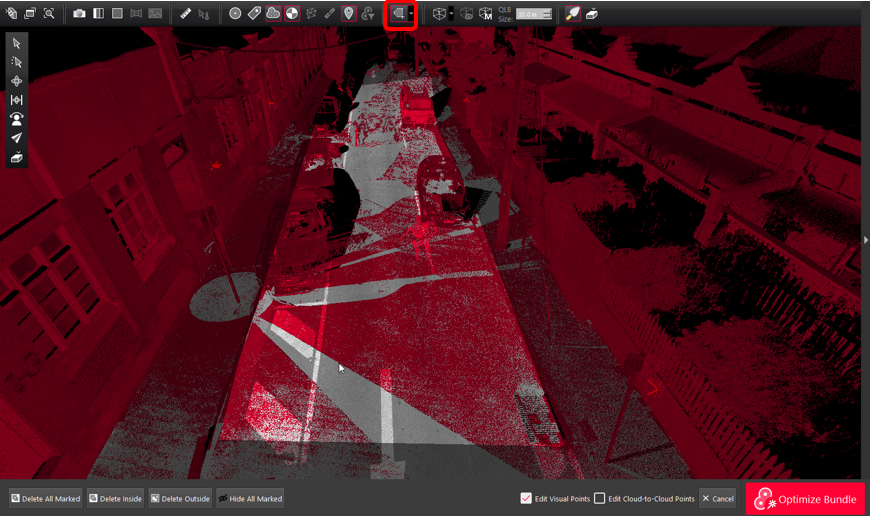
Note: Click Delete Inside or Delete Outside to remove the red-marked points inside the fence, depending on the fenced selection.
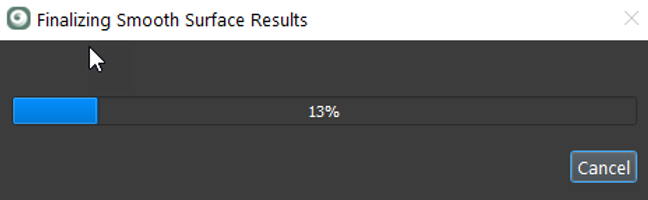
Note: To finish the process and combine the greyscale smooth surface with the desired red-marked points, click the Smooth Surface icon again.
The final cloud will be shown.
Note: To undo the cleaning, select the relevant Setups, right-click each, and use the Restore command.
-
Alternatively, the user may choose Delete All Marked after Step 10 above to accept the results as they are and delete all the red points.
Note: Click the Smooth Surface icon again to finalise the results.

