By Pick will allow the location of a pick point on the point cloud to adopt the coordinate set by the user, then optionally, the user can create a plane to set the X or Y axis.
To set a UCS by pick, the user should follow the steps below:
-
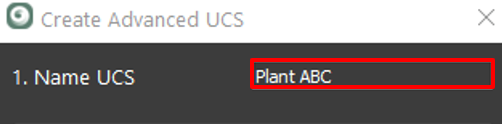
Name the UCS.
-
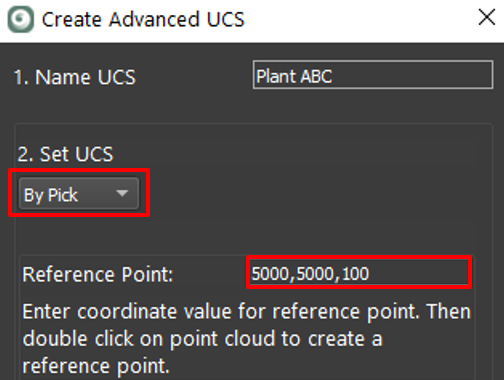
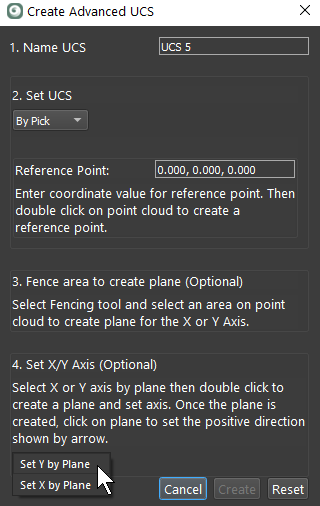
Select By Pick as the UCS creation method.
-
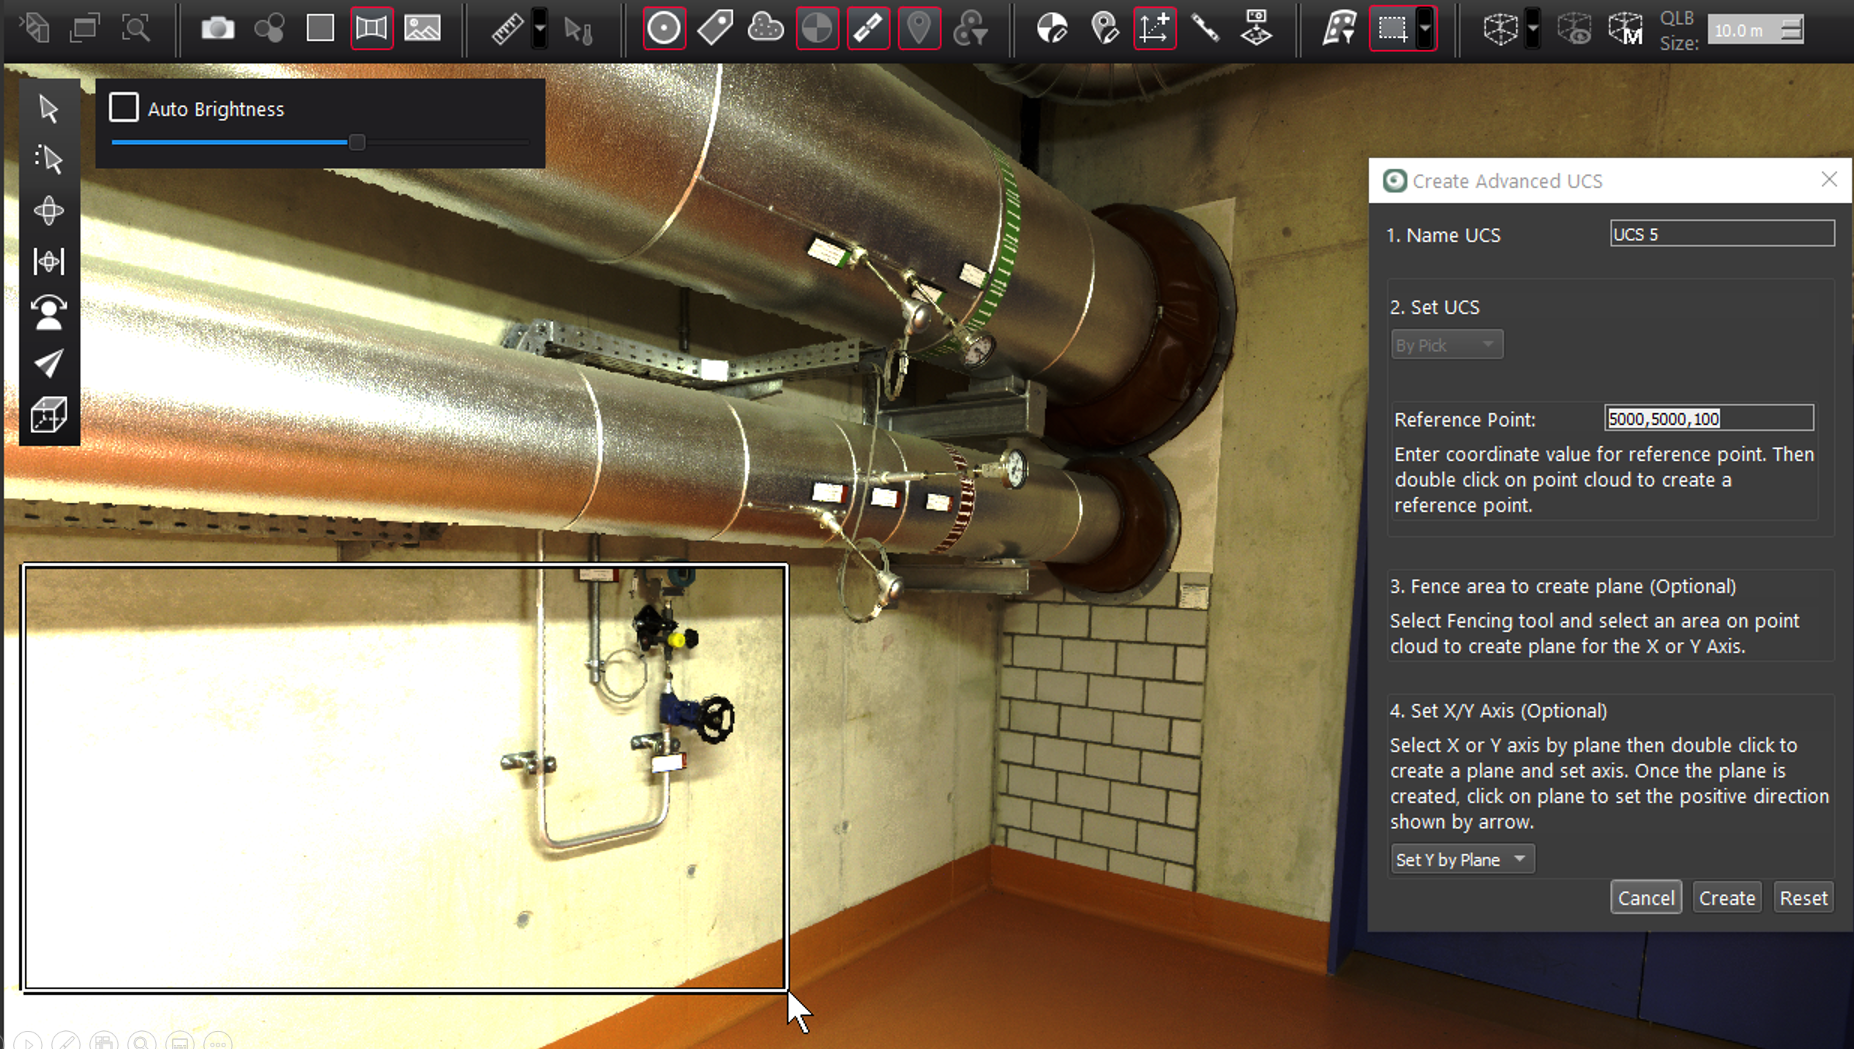
Enter coordinates of a point identified in the next step.
-
-
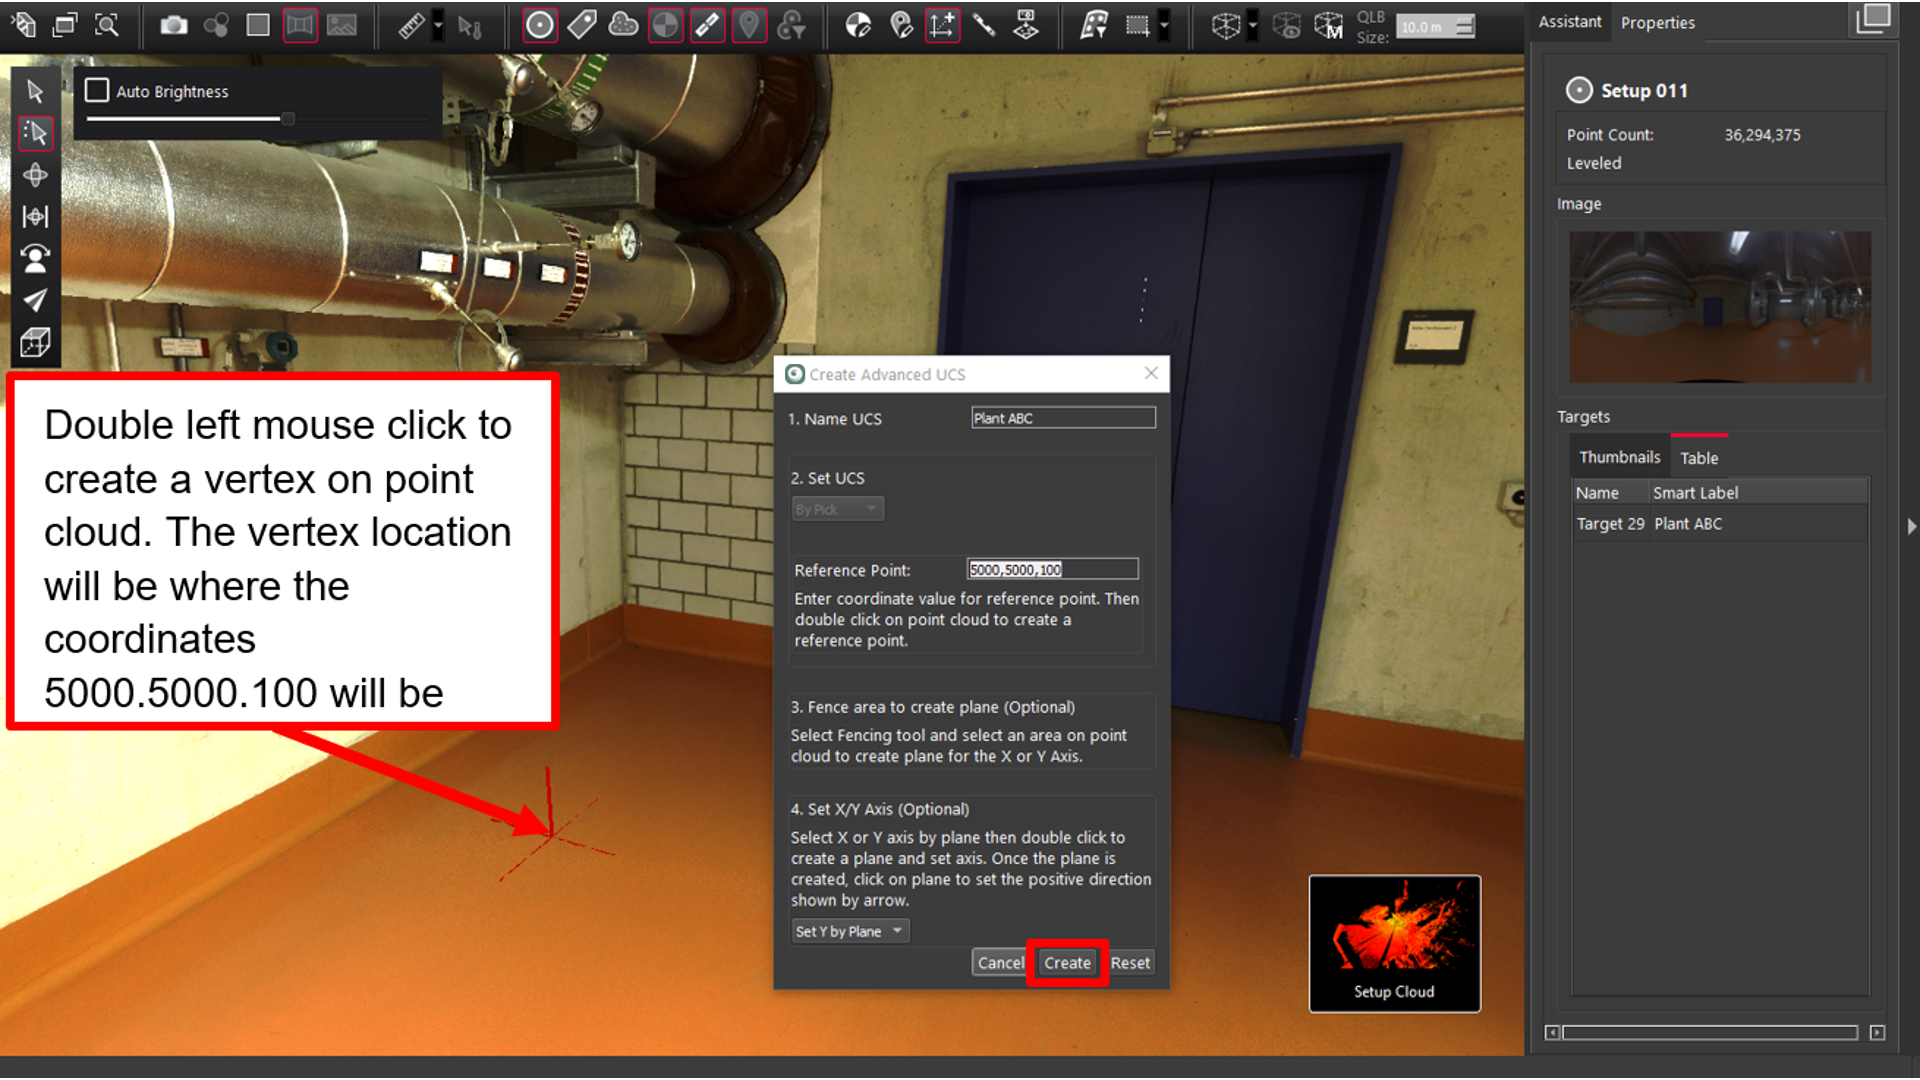
In the main viewer, double-click the desired point in the cloud to set a vertex.
-
This vertex will have coordinates entered.
-
At this point, the Create button can be clicked, and the point cloud’s coordinate system will be set from the vertex (5000,5000,100).
-
Optionally, a plane can be created to represent either the X or Y axis.
-
A plane can be created from the whole wall or just a part of the wall.
Note: Limiting the area is useful for plane creation to valid data only.
-
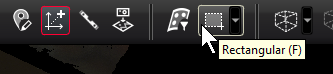
To limit the area of the plane, draw a fence around an area on the wall to highlight the area:
-
Optionally, select Set X/Y Axis by plane.
-
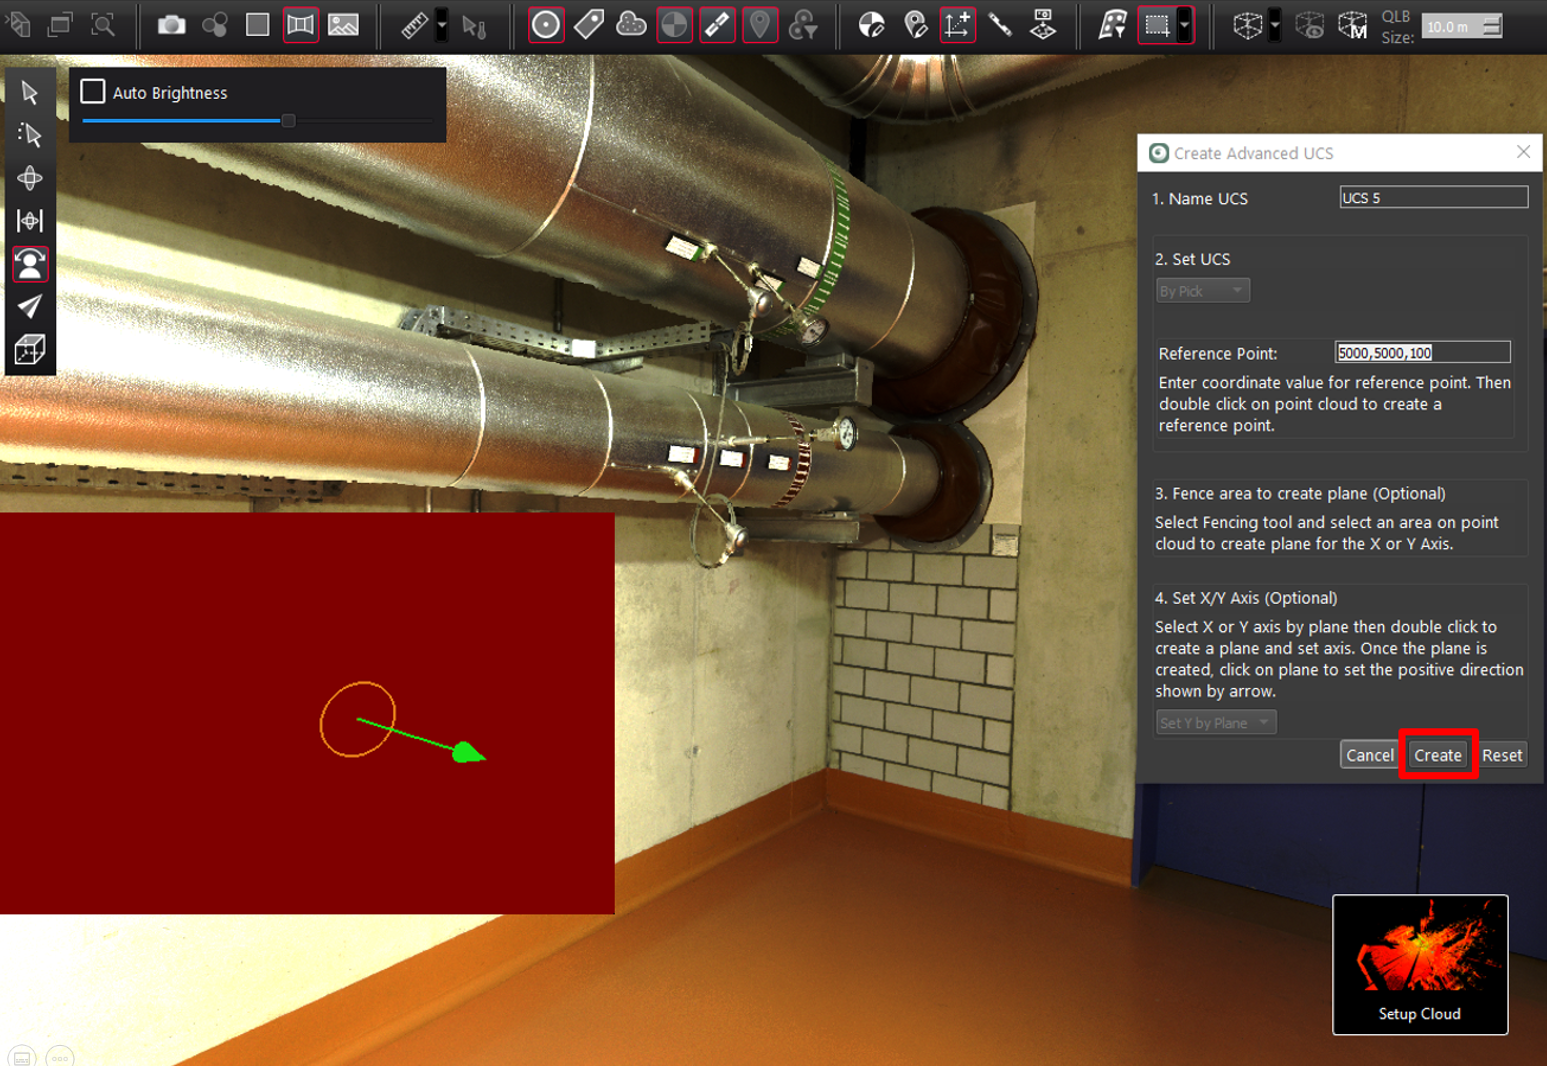
Double-click a wall to create a plane, and the plane region grower will create a plane.
-
Click the plane to set the positive direction as shown by an arrow in the image above.
-
Once completed, click Create to create the UCS.