-
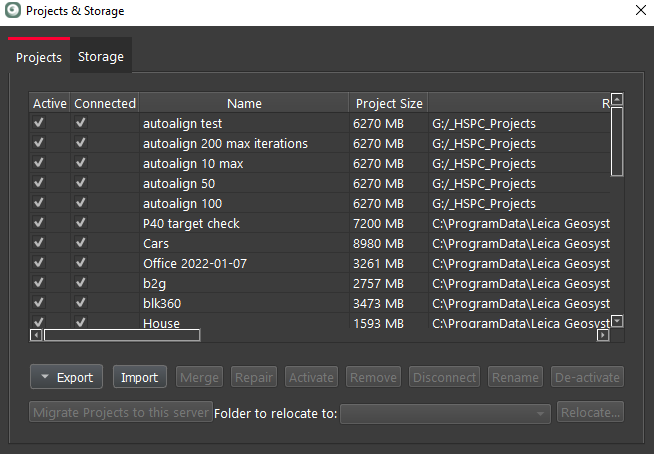
In the Project & Storage dialog, users can see all of the stored projects and:
-
Manage stored projects
-
Delete unwanted projects
-
Copy a project to another storage location using the Relocate option
-
Set the Archive or Import folder for a Cyclone REGISTER 360 PLUS project (*.raf)
-
-
To create a RAF file, select the project, click the Export button, and select Export Project Archive.
-
To create a copy of project files in the selected location, select the project, click the Export button, and select Export Fast Archive.
-
To import a saved archive file, simply place the RAF file in the Project Storage directory and then click the Import button.
-
Cyclone REGISTER 360 PLUS will provide a list of any archives it finds in the location that can be added to the active Project list.
Unsupported Storage Locations for Connected Projects
To ensure data integrity and optimal performance, please do not create new projects, store connected projects, or relocate Cyclone Register 360 PLUS projects to the following types of storage:
-
Cloud-synced drives (e.g., OneDrive, Google Drive, Dropbox)
-
Network Attached Storage (NAS)
-
Network drives or shared folders
Using these storage types for connected or relocated projects may result in:
-
Data corruption
-
Project loading failures
-
Unexpected data loss
For best results, always work with projects stored on a local, internal drive.
Sharing, Relocating, or Backing Up Projects
If the user chooses to share, relocate, or back up Cyclone Register 360 PLUS project data to a network drive, NAS, or cloud-synced drive, the following workflow is recommended:
-
Using the Export | Export Project Archive option, export the project as a RAF file to a local drive.
-
Manually copy the exported RAF file to the desired network or cloud location.
This approach helps avoid data integrity issues and ensures the project remains safe and accessible.
Repair Tool
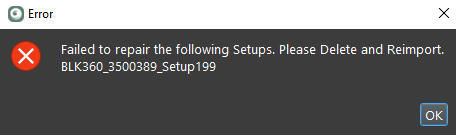
The Repair tool looks at the files inside of a project and determines if files are missing or corrupted. Some files can be repaired but others that cannot be repaired will be shown to the user as setups that need to be either removed or reimported.
Workflow:
1. Select a project and click the Repair button.
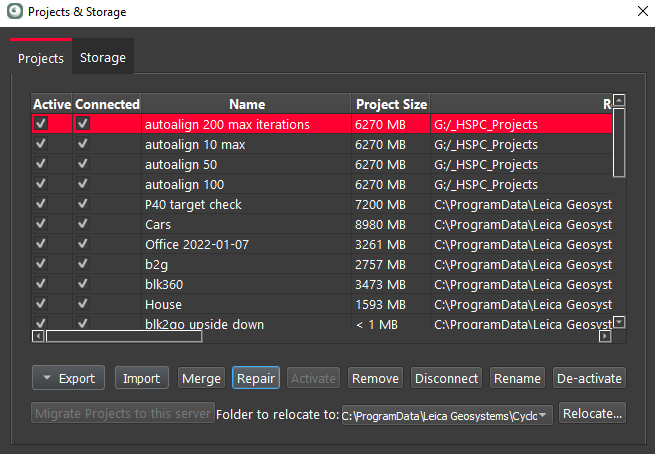
2. The Repair tool will begin to inspect the project.
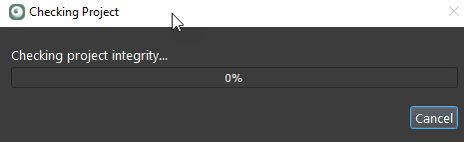
3. If found, the Repair tool will attempt to repair or rebuilt missing or corrupt files.
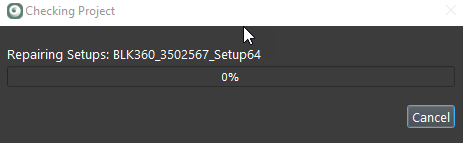
4. When completed, the Repair tool will report the result.
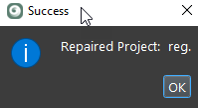
5. If the Repair tool is unable to repair the project, it will report the corrupt Setup(s).