Classify While Importing
Classify While Importing
Auto-Classification is a very GPU-heavy process and it is recommended that Auto-Classification be run from the Classification Manager. However, it is also available on scan import. In this case, the import will be done in Safe Mode (single thread). If the user usually uses Balanced or Fast Mode, this will increase the time for the basic import of the scans as well as add time further time for the classification. It is possible that classification will fail upon import. This will not stop the import from occurring, and Automatic Classification can be run again using the Classification Manager.
Note: Existing Projects can be Auto-Classified from the Classification Manager.

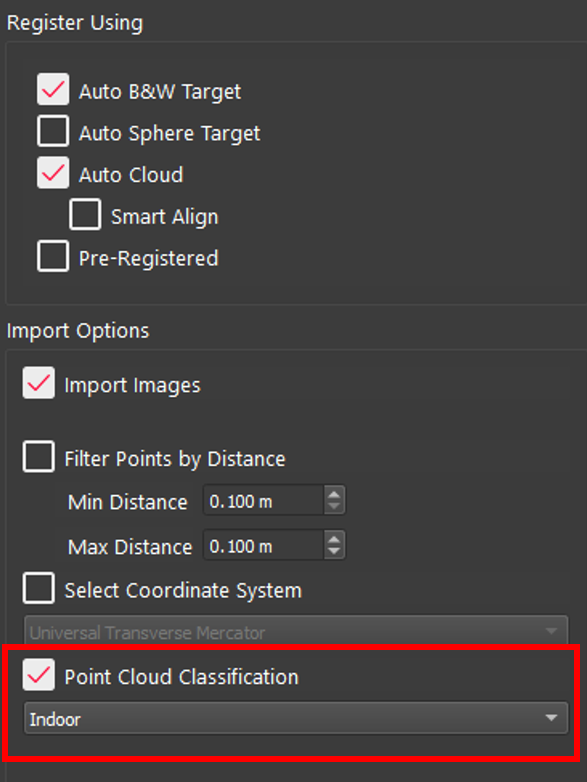
To classify while importing, the user should place some data in the Import area and select the check box on the right for Point Cloud Classification. Indoor and Outdoor models are available.

Multiple Settings During Import
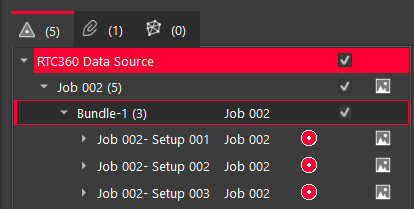
It is now possible to have different settings for each Setup, Bundle, or Project in a single import session. By selecting an object in the Import area, the settings for that object will be displayed on the Properties panel. This allows Projects that have some Setups inside and some outside to be classified with the correct model, Indoor or Outdoor, and be imported in the same session.
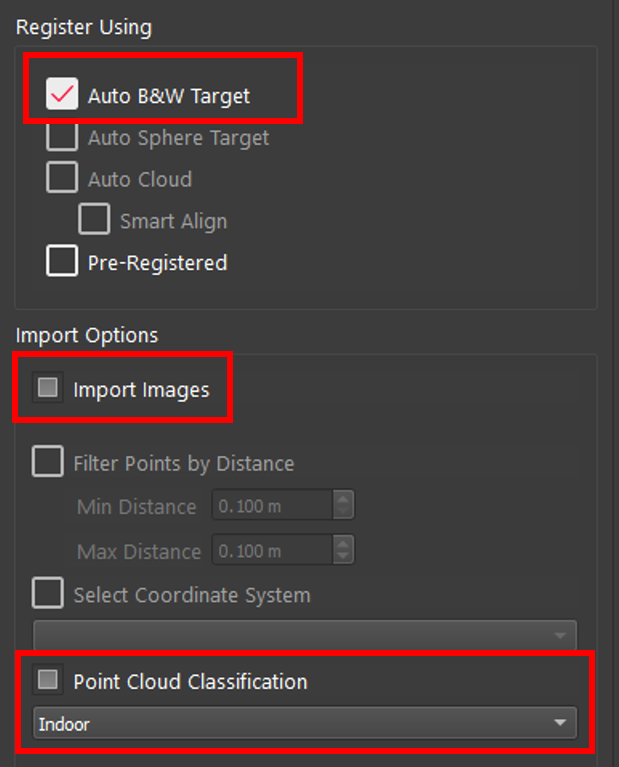
For example, if the object selected is a Project that has Setups with different settings under it, the check box will turn into a grey square. As shown below all Setups have Auto B&W Target selected, thus the box is checked, but some have import images and point cloud classification, thus those boxes are grey, and none of the Setups have Pre-Registered, thus the box is empty.


