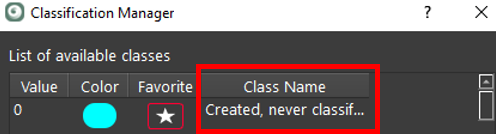
Classification Manager
The Classification Manager is accessible through the Classification Viewer. This is where the user can perform an initial classification in pre-imported data, adjust the classes shown in the Classification Viewer, import and export the XML file containing the class data, such as color and class name, and is the main location for classifying the point cloud.
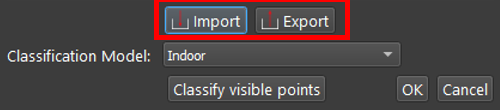
To automatically classify a pre-imported data set, select Classify Visible Points to use the Classification Model listed in the drop-down menu.
It is recommended that classification be performed after import rather than during for all but small Projects.
If a mix of indoor and outdoor Setups are to be classified, place indoor and outdoor Setups into separate Bundles. When classifying the indoor Setups, select all outdoor Setups and use the Show/Hide Point Clouds option to hide the outdoor Setups before selecting Classify Visible Points. Repeat for the outdoor Setups, using the Show/Hide Point Clouds to hide the indoor Setups. If a single setup contains both indoor and outdoor points, manual classification can be used to move the points to the desired class.
Note: Setups on a different SiteMap will be classified with the Classify Visible Points command if those Setups are not hidden using the Show/Hide Setup Clouds command.
As this can be a very time-consuming process, depending on the number of point cloud points in the Setup(s) and the power of the computer/GPU. It is recommended to test the time to classify a single Setup before classifying a large project with many Setups. To do this, toggle Show/Hide Setups on all Setups except the one(s) that should be classified or move the Setup to another SiteMap and then select the Classify Visible Points command from the Classification Manager.
Once a data set is classified, the user may begin modifying it.
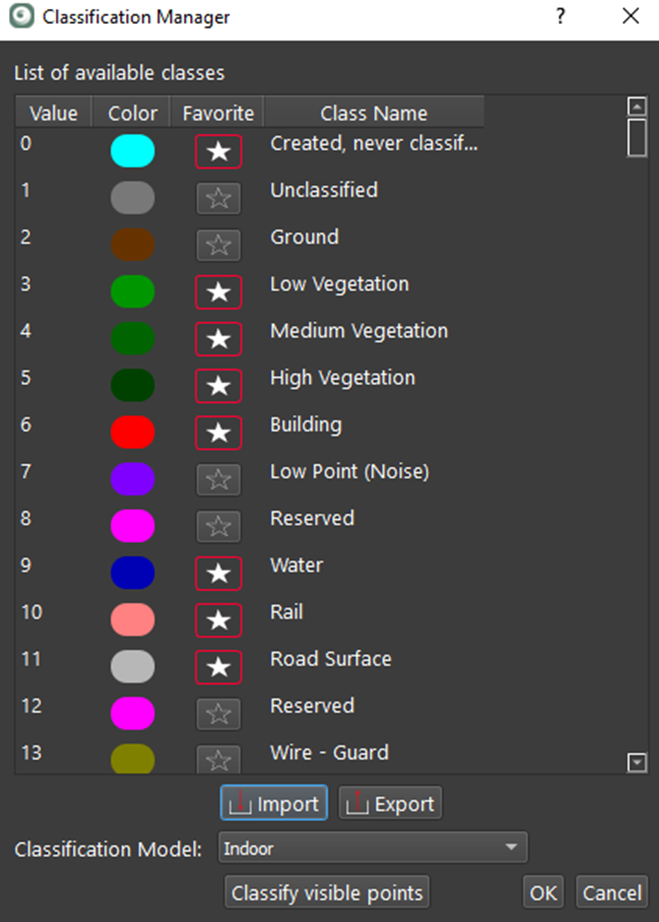
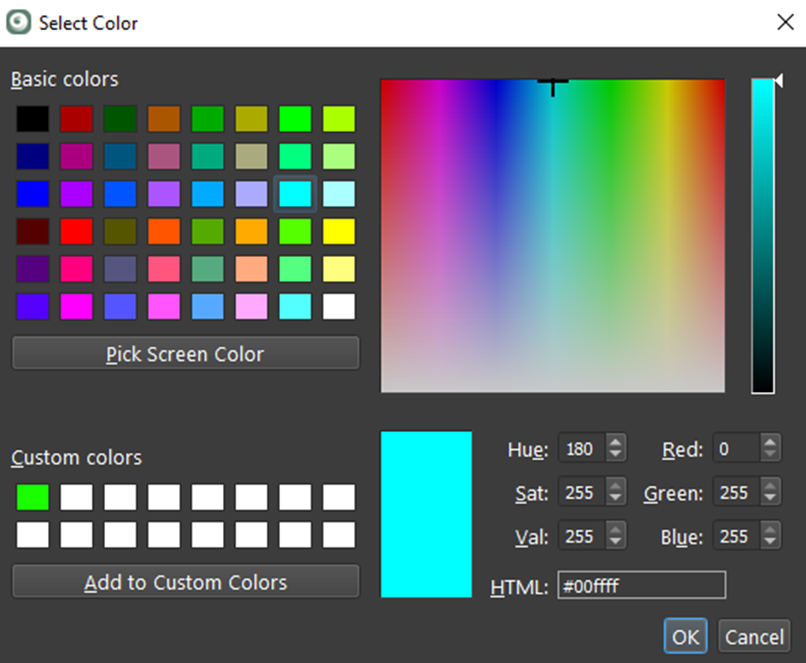
As in the Classification Viewer, selecting a color will bring up a menu to change the color of that class.
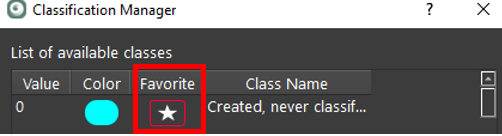
The Favorite column indicates which classes are visible in the Classification Viewer. Once the classification has been completed, the classes that contain classified points will automatically have the star in the Favorite column and be visible in the Classification Viewer.
Another option is to select a favorite star manually. For example, if no points were classified as ground points, the user would like to add that class. Selecting the star by ground will add the ground class to the Classification Viewer, and points can be fenced and added to the ground class.
To reset the Favorite category to include only the classes in non-hidden Setups that contain points, select Reload Classes in the Classification Viewer. This can be useful to keep the number of classes in the Classification Viewer to the minimum needed.
The Class Name value can be edited in the Classification Manager. There are a total of 256 classes, including class 0 - Created, never classified. All points will start in class 0. The classification model discussed below will attempt to map the point cloud onto the appropriate class. As a best practice, users should classify visible points before changing the names of the classes.
Rather than using the automatic classification function in Cyclone REGISTER 360 PLUS, users may also import a classification by selecting Import. This will allow the user to import an XML file that contains information for the Value, Color, and Class Name. Selecting Export will allow the user to export the current class colors and names to an XML file. These XML files are interchangeable with Cyclone 3DR.
WARNING: Undo is not available when Classifying Point Clouds.