-
Connect to the wireless network of the BLK2GO scanner. SSID and PW are listed in the battery compartment of the scanner.
-
Once connected, open Cyclone REGISTER 360 PLUS Standard or Cyclone REGISTER 360 PLUS (BLK Edition) and create a project.
-
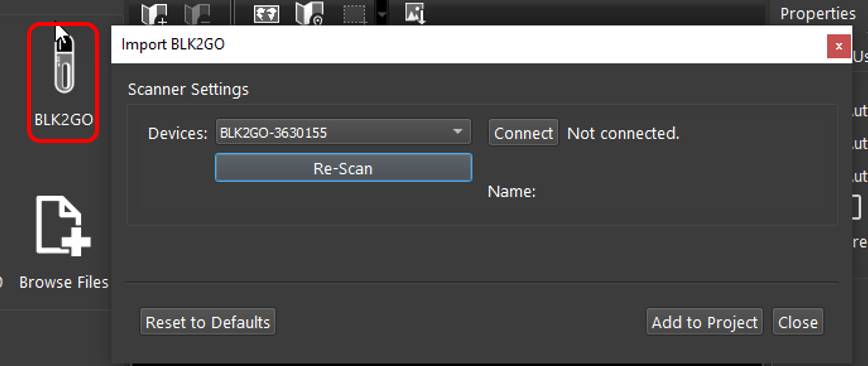
Click on the BLK2GO button to open the connection dialog:
-
The available scanners will be listed by serial number.
-
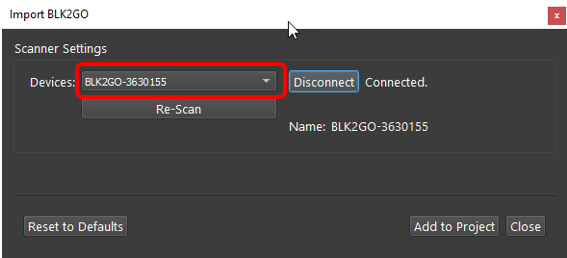
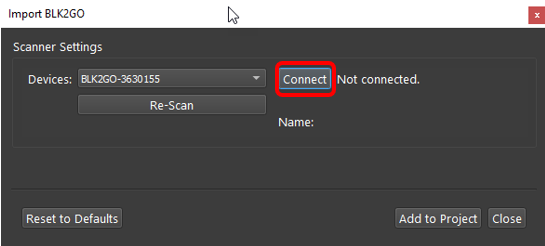
Click the Connect button to establish a connection to the scanner.
-
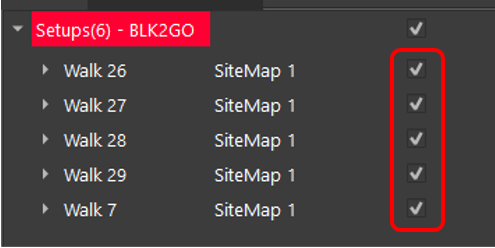
Then click the Add to Project button. This will add all available Walks to the import panel.

-
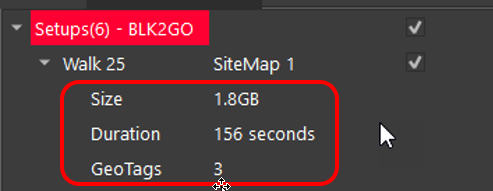
Listed under each Walk is the size of scan, duration and the number of GeoTags.
-
Select the walks to import by using the check boxes to the right of each Walk.
-
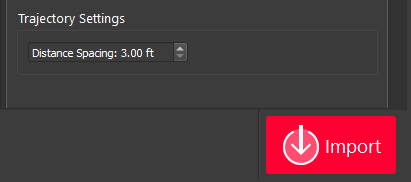
Then, on the lower right side of the import area select the interval for WayPoint creation The default is one WayPoint every 10m or 30 feet.
-
Enter an interval for Waypoint creation by distance along the trajectory of the Walk.
-
WayPoints are inserted setup positions that only contain pano image data.
-
The shorter the interval, the more WayPoints will be created.
-
Each WayPoint will take approximately 30-40 seconds to import.
-
When finished there will be one-point cloud with several WayPoints that contain panoramic image data from a position along the trajectory.
-
Note: Increasing the number of WayPoints created will result in longer import times.
-
-
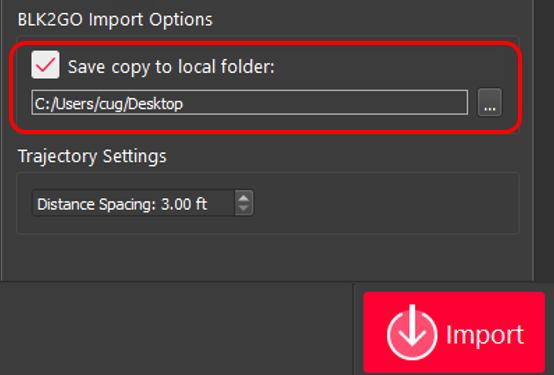
Click the Save copy to local folder check box and then select a download location using the browse button to save a local copy of the scanner data to disk. The file extension is *.b2g.
-
Note: This step is not necessary but recommended as best practice. Please always store a backup of your raw data.
-
-
Click Import to begin the import process