2022.1.1 | Advanced Applied Control Techniques
Apply control to a single Setup
Control can be applied to a single Setup or Walk (BLK2GO). With at least three targets, control can be applied to a single Setup or walk (BLK2GO)
Right-click a Setup in the left side explorer and select Apply Control.
The Setup or Walk will be registered to control if within
Error vector added to applied control
Error vector is available in the Applied Control properly panel.
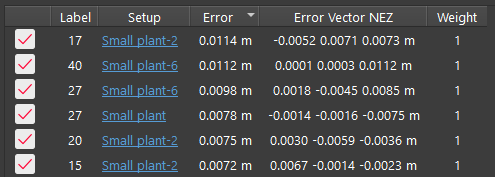
Multiple control files are supported
Multiple control files can be imported into the same project.
The user can apply different control files to bundles in the same project.
Import another control txt file
Go to the Controls tab to view.
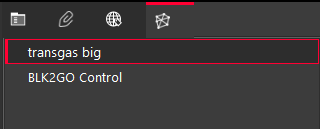
When applying control the dialog will show all imported control.

Bundles will snap into position in the SiteMap area when dropped into the same control
With the old behavior, only the first bundle with Applied Control would snap into position according to the control coordinates.
Now all bundles applied to the same control snap into position in the SiteMap.
Example workflow:
Apply control to Bundle one.
It will snap into position according to the control coordinates.
Apply the same control to Bundle 2.
It will also snap into position according to the control coordinates.
Applied Control can be run without labeling the targets in the bundle
Geometric matching of labeled control targets to Unlabelled bundles is supported. This feature greatly enhances the Applied Control workflow making it faster.
Example workflow:
Import control txt file.
Import Setups with targets and register Setups into one bundle.
Labeling of targets in the bundle is not necessary.
Use the Applied Control command
Geometric matching will match control targets to the targets in the bundle without the need for Bundle target labels.
Auto Re-Label or Auto-add labels to targets after control is applied
During applied control, the user is now asked if the Bundle targets labels should be re-labeled to match the control labels.
This new feature automatically (but optionally) re-labels all the targets in a bundle to match the control labels. This saves time when inspecting a bundle for errors.
Example Workflow:
Start with a bundle that has targets with or without user-created labels.
Apply Control.
A dialog will appear asking if the targets in the bundle should be re-labeled to match control.
If Yes is selected, all the bundle targets will be re-labeled to match the labels in control.
If No is selected then none of the bundle targets will be re-labeled to match the labels in control.
Allow multi-selection of Setups to delete applied control
Since multiple Setups can be applied to control without any other connection between them, the user has the ability to select multiple Applied Control objects in the left side explorer and delete them.
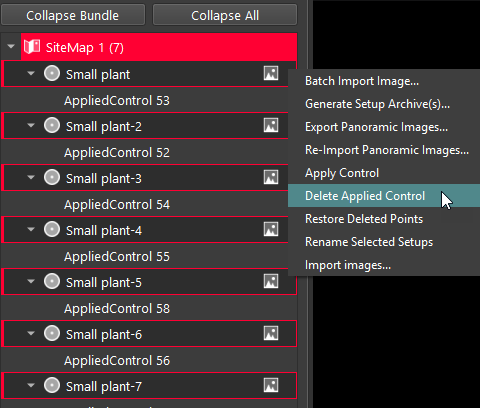
Setups registered only to control can be published
Setups that are registered to control, but not necessarily to each other, can be finalized and published.
Example workflow:
Import setups with targets
Apply each setup to the same control.
Example of six Setups, each on control, without links:
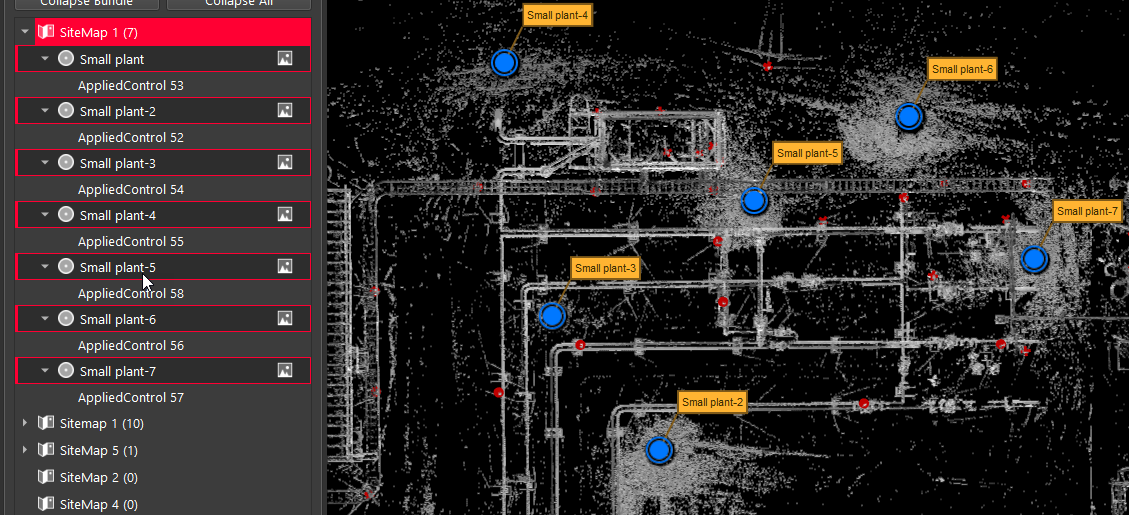
These Setups, attached together only with control, can be finalized and published as a bundle, even though they do not form a bundle object in the left side explorer.
Optionally show Setup\Bundles tied with control in Bundle view
There is an option in Settings to show Setups and Bundles, that are only attached with control, together in Bundle view.
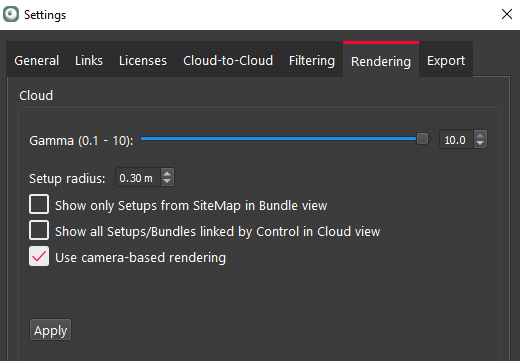
Example workflow:
Import five Setups with targets
Do not register with Cloud-to-Cloud or targets
Apply control separately to each Setup.
Try to view all of the Setups together in bundle view.
This will fail if the above option is not checked.
Check the option in Settings- Show all Setups\Bundles linked by control in bundle view.
Click on a Setup and choose- Show in Setup cloud viewer
All Setups will be viewed
Show all Applied Control properties in the Applied Control panel
The Applied Control panel shows all the errors from all the Setups/bundles that have applied control objects. This makes reviewing the control errors faster and more easily viewable for error detection.
Import setups with Pre-Registered option keeps scan original coordinates
Multiple Active UCS’s are now supported within the same SiteMap. This is accomplished with the new command: Set to Active UCS.

Set to Active UCS allows the selected Setup(s) or bundle(s) to adopt the coordinate system of the active UCS of another Setup or bundle in the same SiteMap.
Example workflow:
This example illustrates importing a set of pre-registered data over a couple of days.
Day 1-Import a Pre-Registered set of setups creating Bundle 1.
The Setups will import as one bundle with an active UCS called Bundle 1.
Click on the SiteMap to view the active UCS on the right side properties panel for Bundle 1.
Day 2-Import another set of setups that uses that same coordinate system as the first set up Setups imported in step one, creating Bundle 2.
Right click Bundle 2 and use the command: Set to Active UCS
This will cause bundle 2 to adopt the UCS of the bundle 1.
See video of workflow in the REGISTER 360 Assistant Panel.
