
Getting Started Guide | CloudWorx Viewer for ArcGIS Pro
Leica Geosystems Getting Started Guide
Product | CloudWorx Viewer 2024.1.0 for ArcGIS Pro Getting Started Guide |
|---|---|
Date | June 14, 2024 |
Developed by | Reality Capture Software Product Management |

Overview
This guide is intended for first-time users. Please follow the instructions below to get started with the CloudWorx Viewer for ArcGIS Pro plugin.
Installation
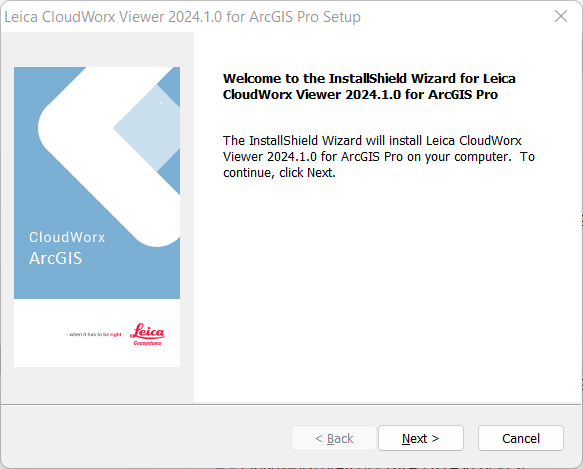
Run the provided Windows InstallShield (depicted below):
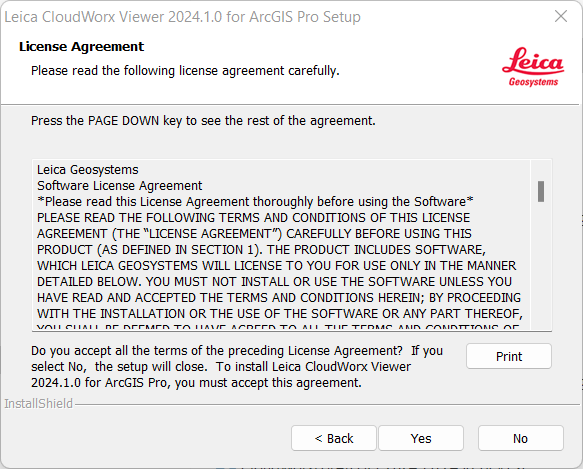
Click Next and Yes to accept the all the terms of the License Agreement:
Proceed with the installation steps and click Finish to complete the installation.
Now, you are ready to run the ArcGIS Pro software (ArcGIS license is required) and open a new project. CloudWorx Viewer for ArcGIS Pro is a free, unlicensed viewer.
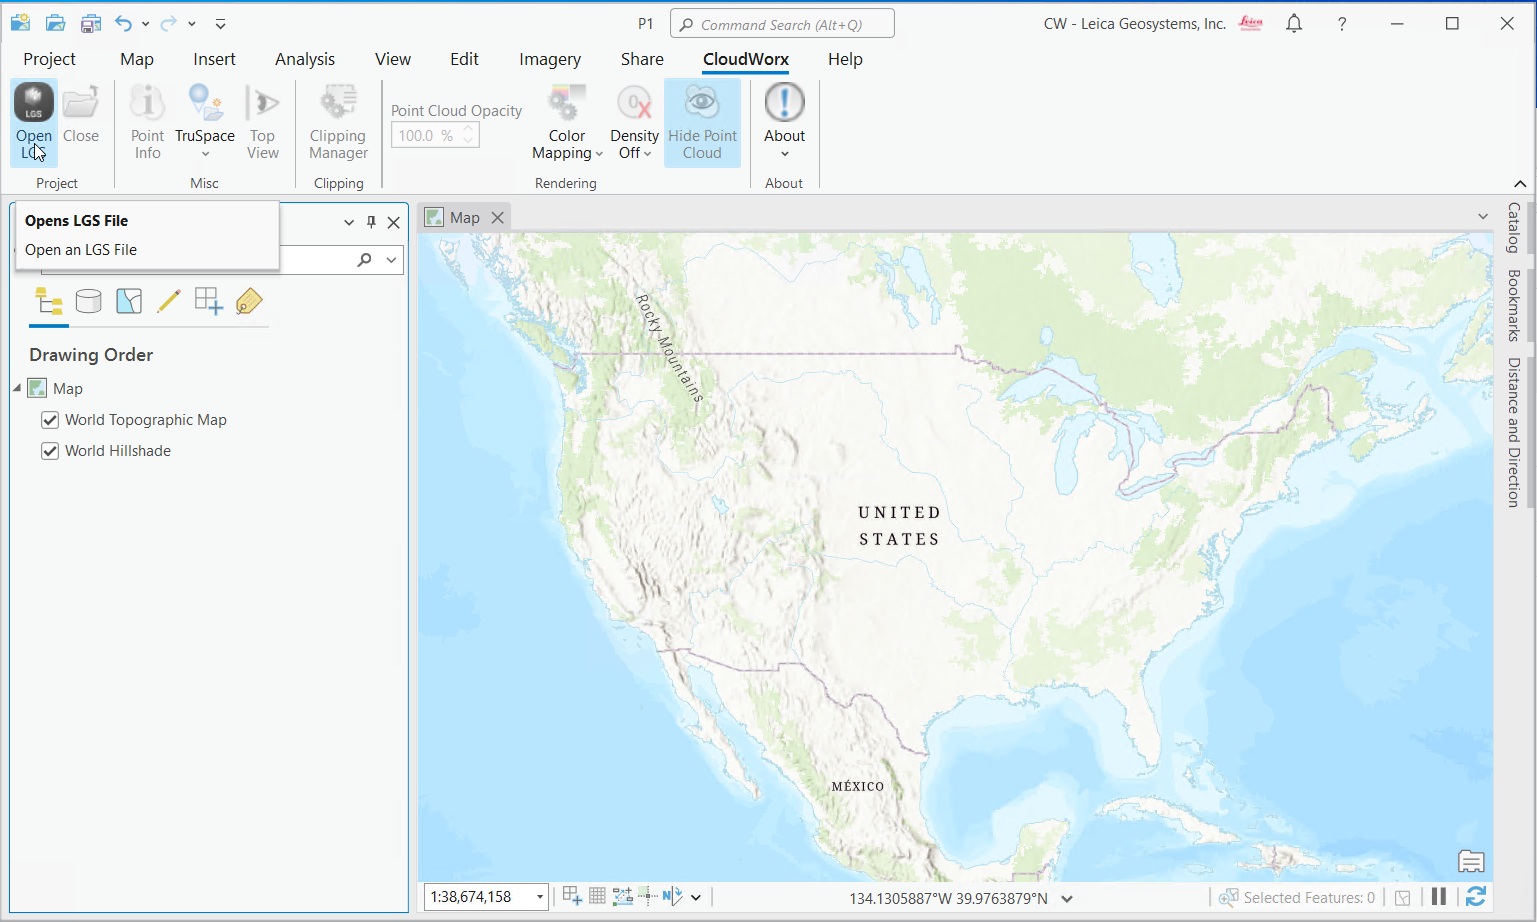
CloudWorx Viewer for ArcGIS Pro plugin after installation - Ready to Open LGSx File
As a user, you may open LGSx file (LGSx format only containing a known coordinate systems represented in WKT string) and insert the dataset onto Map and/or Scene Views.
Upon completion of the import and render process, the point cloud and tracks will be added to the active view, as shown below.
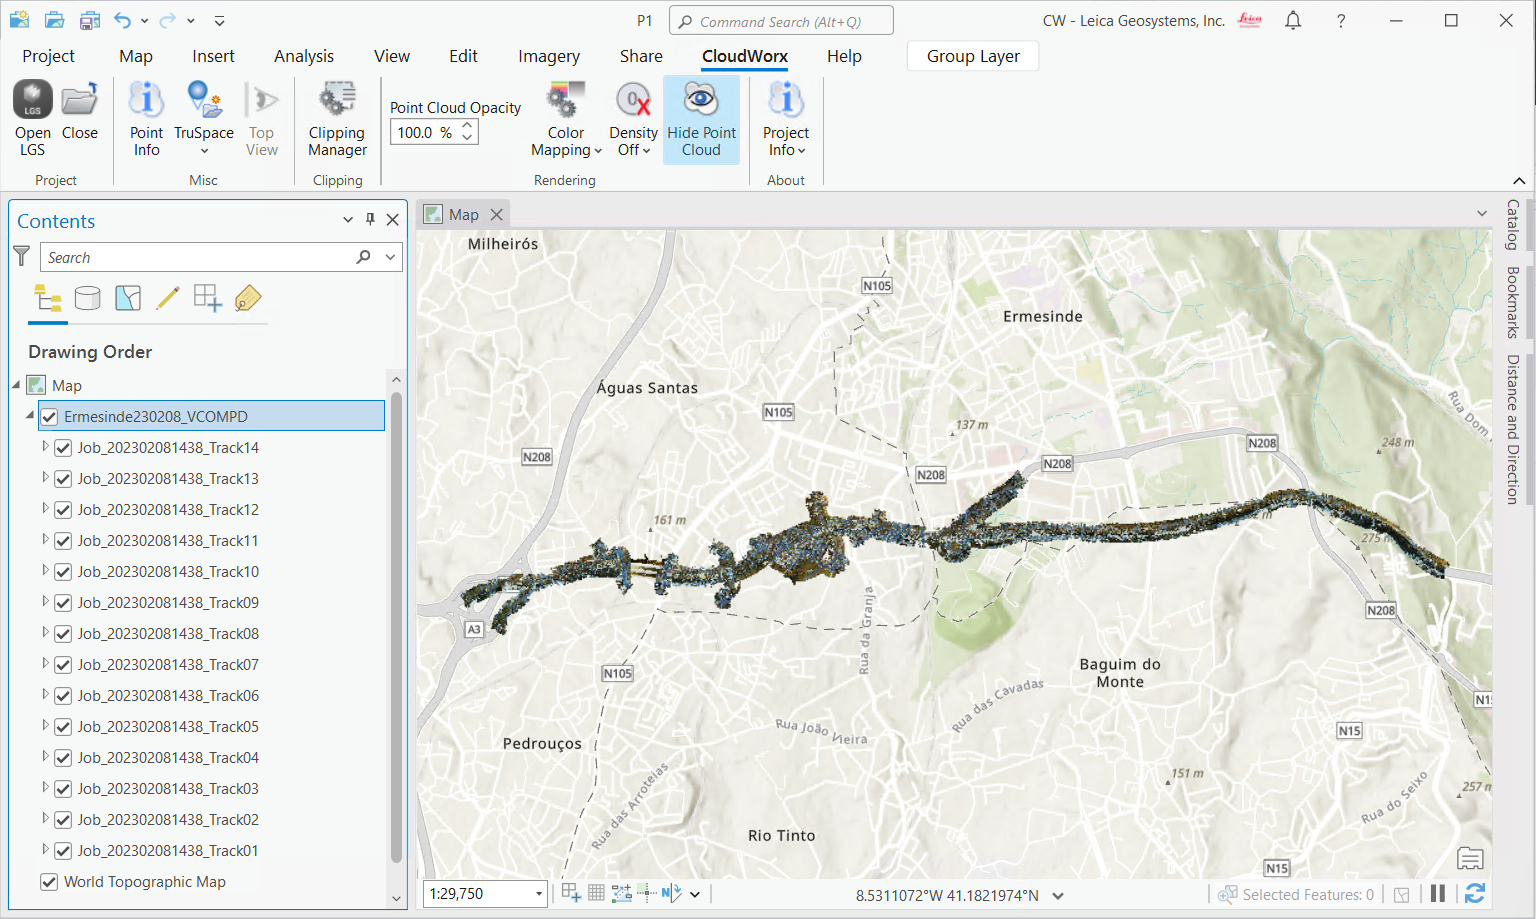
LGSx dataset - Leica Point Cloud in Map View and Tracks List on Contents Pane
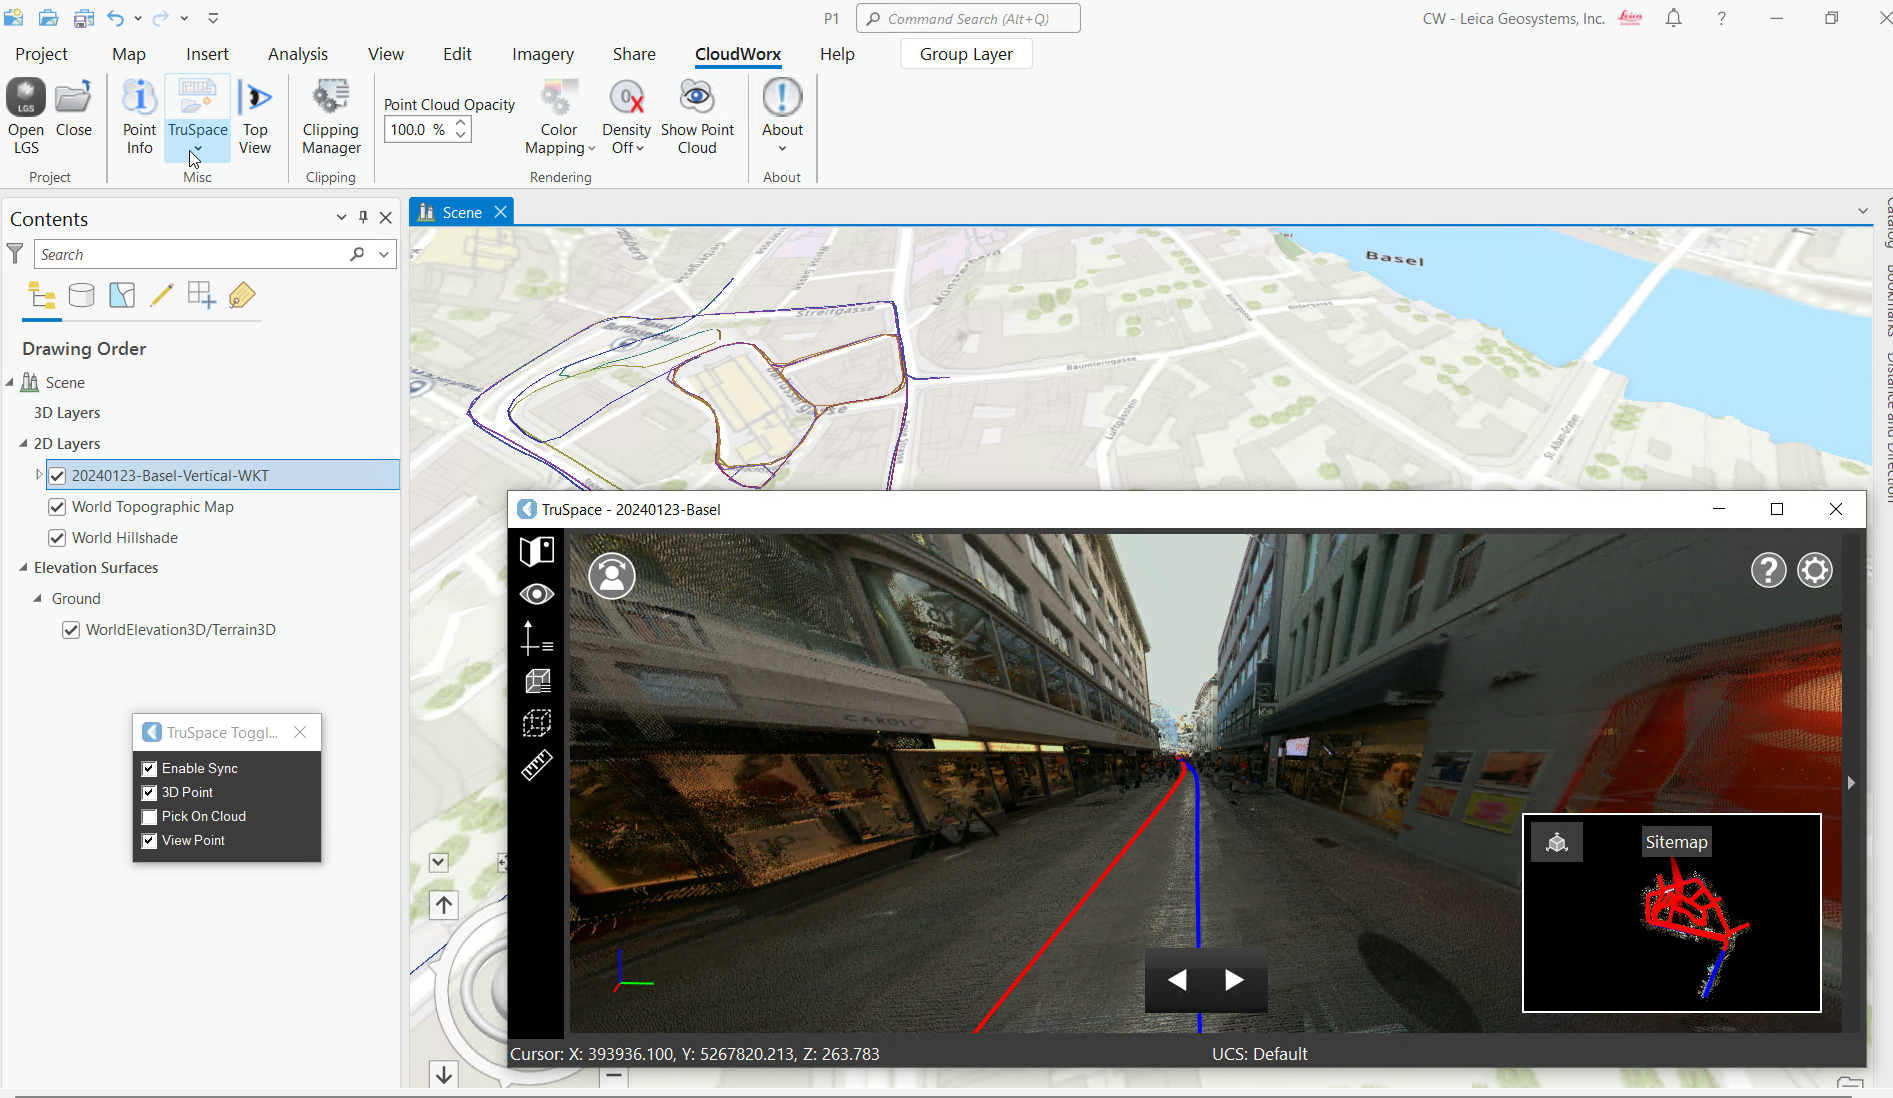
For 3D exploration of Leica’s imagery, point cloud, and Setups (or Tracks), the user may open the TruSpace Explorer by selecting the available icon in the CloudWorx ribbon:
Further and latest help topics including quick tutorials can be found within the new online help site: CloudWorx Viewer for ArcGIS Pro | Help