Autocad Pro Revit ultimate
Snapshots can be used to capture and annotate frames within a TruSpace project. These frames can contain markup features, such as coordinates, measurements, text, and shapes. New snapshots can be created within Cyclone ENTERPRISE datasets.
To create a Snapshot, follow the steps below:
-
Navigate to the Snapshots panel.
-
Adjust the view to the scene you want to markup and click the Create Snapshot button.

Note: Snapshots can only be taken from Setup positions.
-
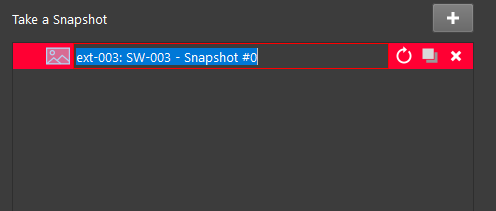
A new Snapshot will appear in the list of Snapshots with a default name. To rename a Snapshot, double-click its name.
-
The Snapshot will be created based on the current state of the main view at the time when the Snapshot is taken. The following combinations are supported:
-
Pano On/Off
-
Cloud On/Off
-
GeoTags On/Off
-
Labels On/Off
-
Cloud Color (color from scanner, hue intensity, greyscale)
-
Background (gradient or black)
-
Pano HDR Gain (or auto)
-
Clip or QuickClip On/Off
To copy a Snapshot, click the Duplicate Snapshot button. All information associated with that Snapshot, including markups will be duplicated.
To delete a Snapshot, click the Delete Snapshot button.
To update the layer contained in the Snapshot itself, click the Update Snapshot button. For example, if the original Snapshot was created using the Hue/Intensity Map and there is a need to change it to the Greyscale Intensity Map, select the renderer you would like to use, then click the Update Snapshot button. The Snapshot will now contain the new rendered layer.