Autocad Pro Revit ultimate
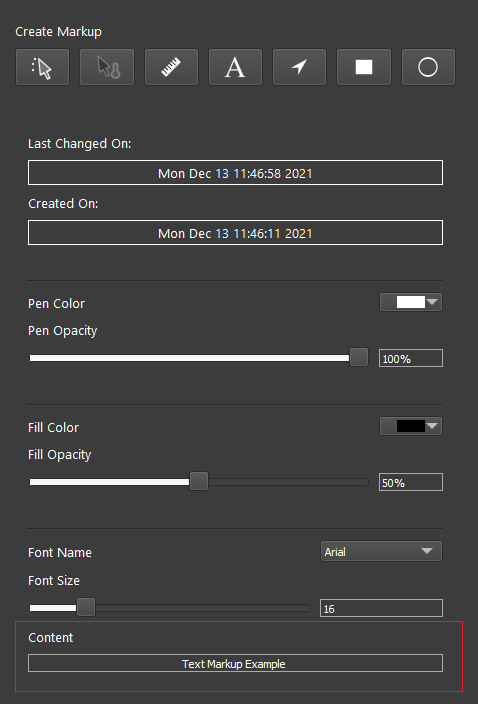
To insert markups into a Snapshot, select a Snapshot in the top part of the panel and then select a tool from the tool bar.
Options to edit the Markup will be active based upon the tool selected. Once inserted, the Markup will only be visible in the Snapshot that was selected at the time it was inserted. Once inserted, the colour, opacity, and size of the markup can be adjusted in the lower part of the panel. If the Markup contains a measurement, the unit can be changed. If the Markup contains text, the font type can be changed.

Markup tools
Coordinate
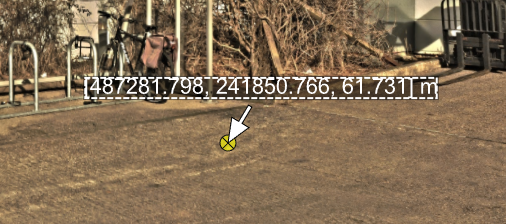
This tool enables the insertion of a coordinate pair into a Snapshot as text. To do that, click the Coordinate button ![]()
-
Meters
-
Centimeters
-
Millimeters
-
Feet
-
Inches
-
Yards
-
US Survey Feet
Temperature
This tool enables the insertion of the temperature of a point into a Snapshot. To use it, click the Temperature button ![]()
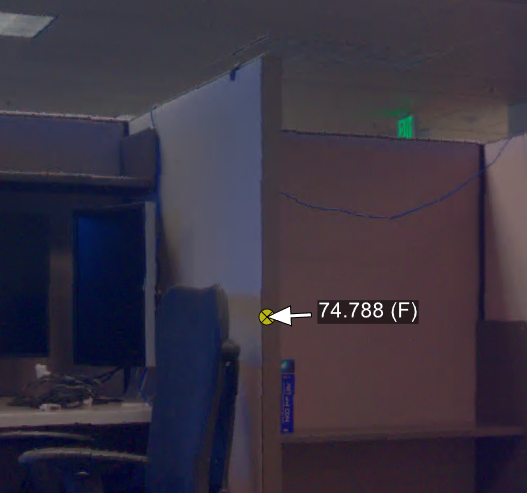
Note: The Temperature tool is only enabled for data originated from the BLK360 imaging scanner and published as an LGS file.
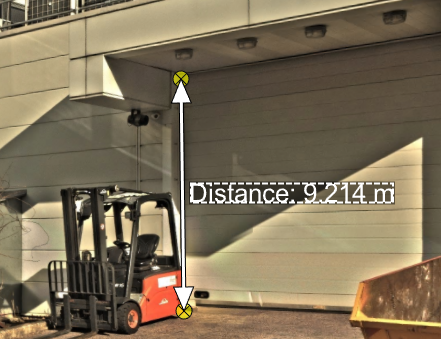
Distance
This tool enables the insertion of the distance between two points into a Snapshot. To use it, select the origin point and the terminus point and then select a third point where the distance measurement text will be placed. The unit of measurement can be set to:
-
Meters
-
Centimeters
-
Millimeters
-
Feet
-
Inches
-
Yards
-
US Survey Feet
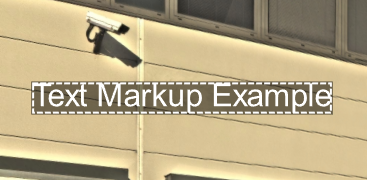
Text
The tool enables the insertion of text into a Snapshot. To use it, click the Text label button ![]()
To edit the text, scroll to the bottom of the Markup panel and add the desired text in the Content field. To move the text, drag it within the Snapshot.
Arrow
The tool allows inserting an arrow graphic into a Snapshot. To use it, click the Arrow button ![]()
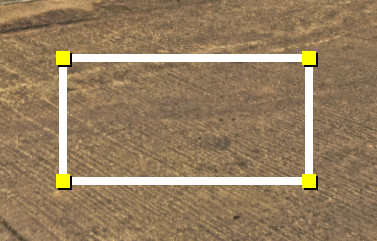
Rectangle
The tool allows inserting a rectangle into a Snapshot. To use it, click the Rectangle button ![]()
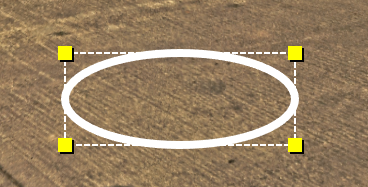
Ellipse
The tool allows inserting an ellipse into a Snapshot. To use it, click Ellipse button ![]()