This guide provides a step-by-step walkthrough on how to edit project member roles within Hexagon GeoCloud. By following these instructions, users will be able to easily manage and assign roles to project members, ensuring efficient collaboration and effective project management.
Accessing Project Members within GeoCloud
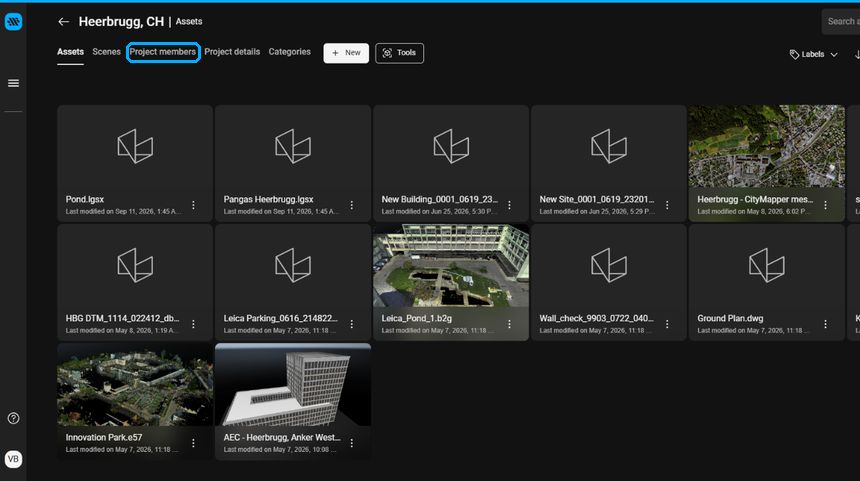
Within any project, you are able to click on the "Project Members" to see everyone who has access to your project, plus their "Role".
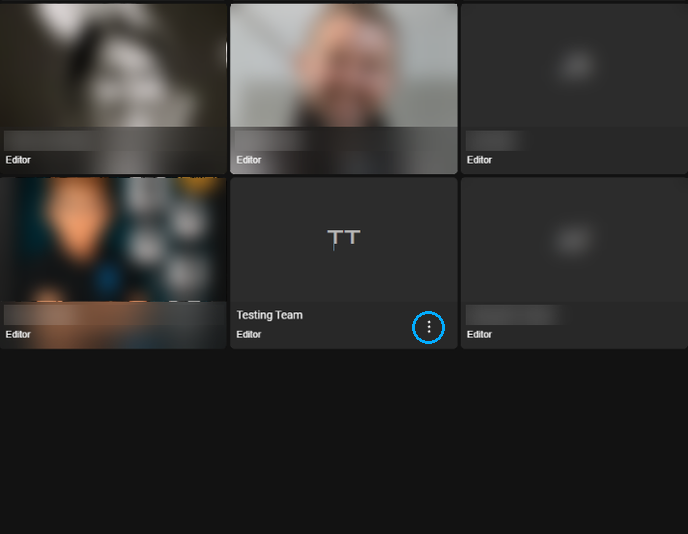
On any Project Member, click the 3 dots to either:
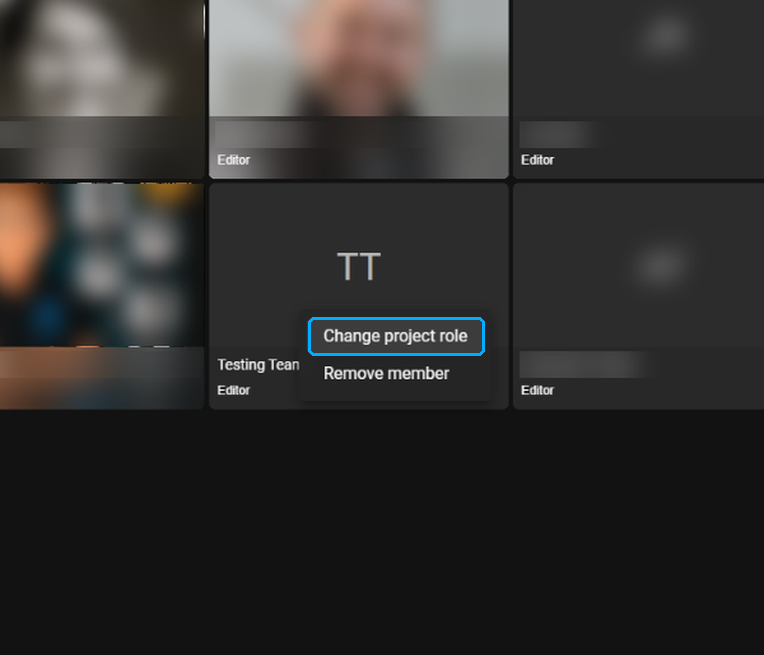
"Change Project Role" or "Remove Member". Let's change this user from an "Editor" to a "Viewer".
Click "Change Project Role"
Learn more about different Project Roles within GeoCloud
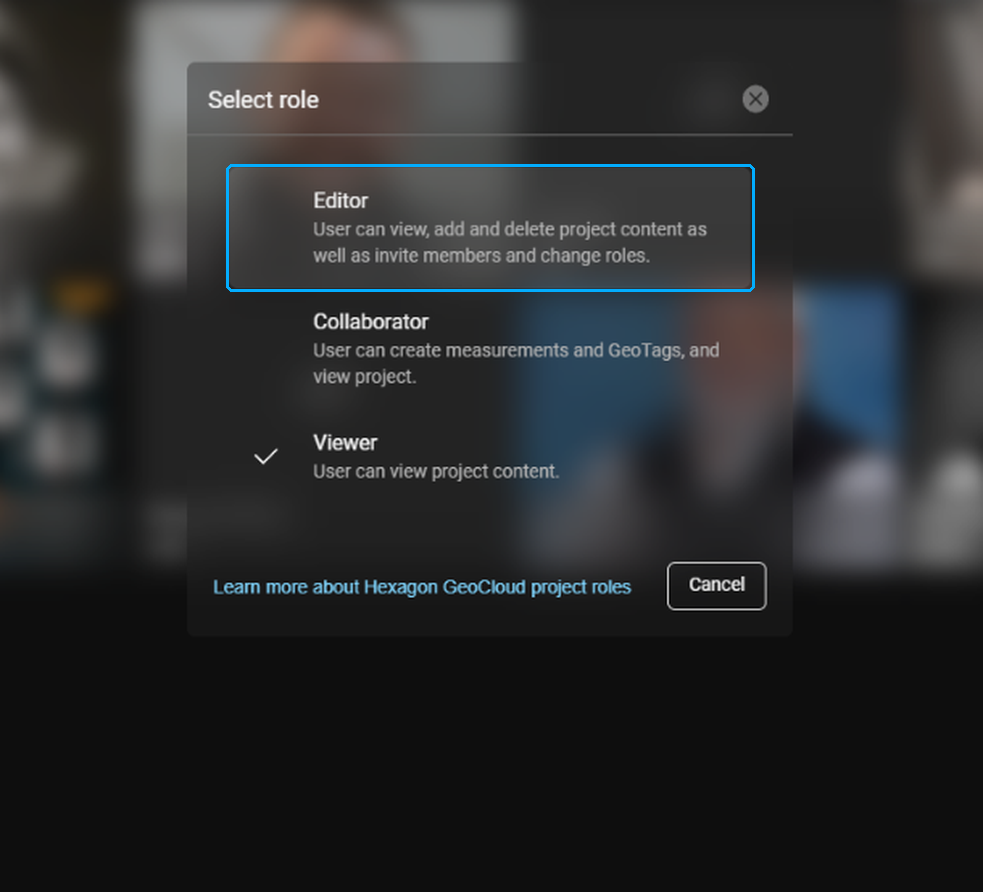
From this menu, you can now change the "Role" of the selected user.
If you need a reminder of what each "Role" can do within a project, click "Learn more about Hexagon GeoCloud project roles" as shown below.
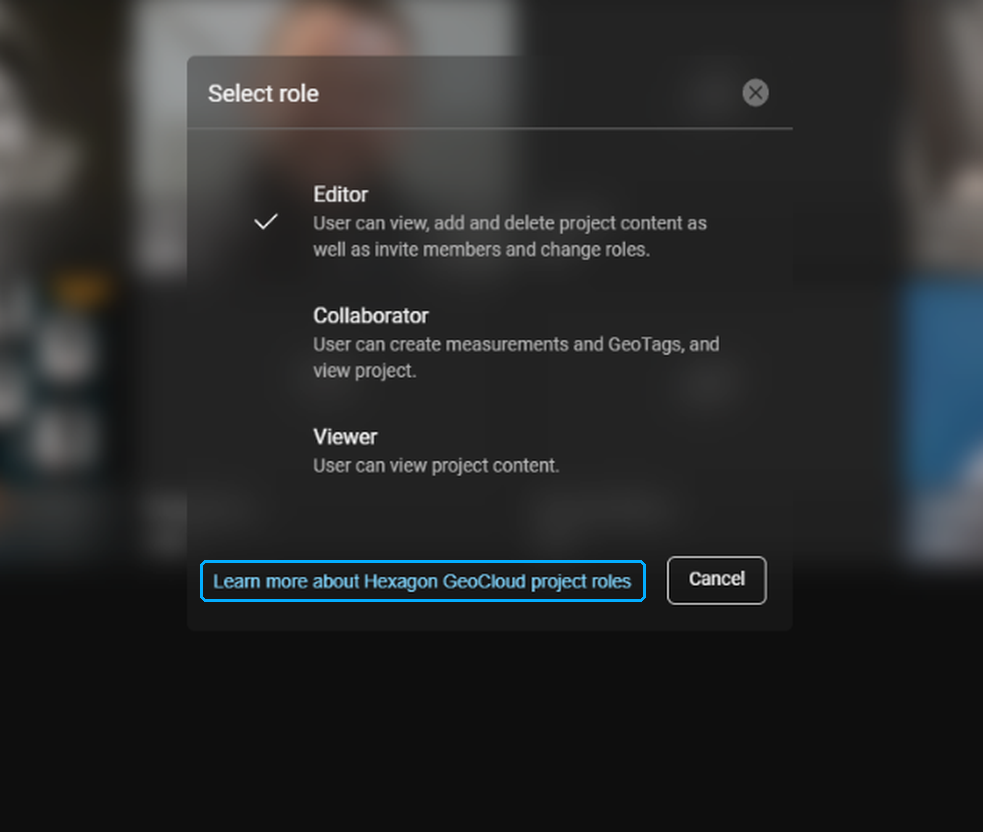
Here you can easily see exactly what a given user is able to do.
Note that the "Viewer" role has very limited options and can only view project content. Creating measurements requires the "Collaborator" role or higher.
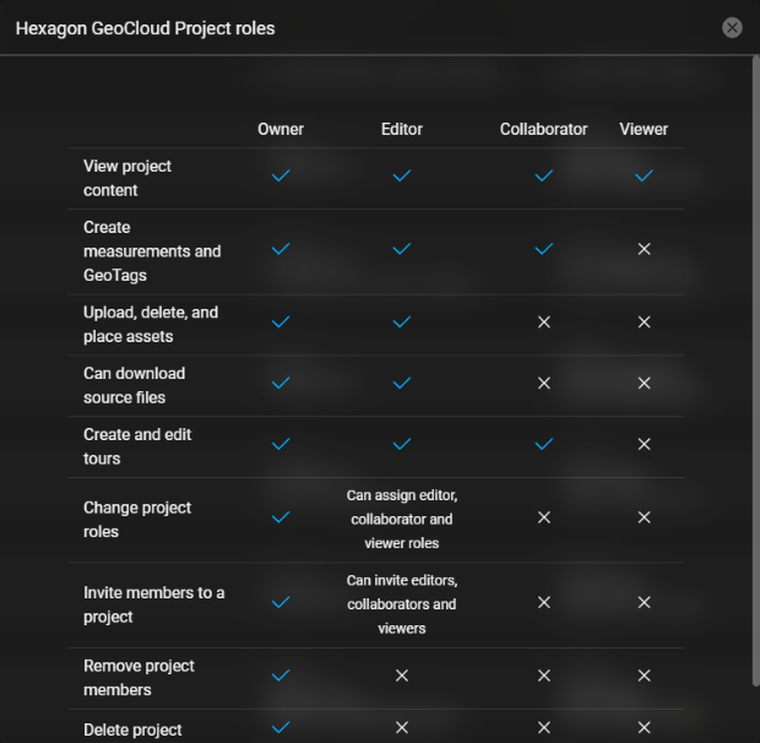
Project members roles and permissions
Let's assign this user to the "Viewer" role.
There is no need to click anything, once you have selected "Viewer" it will return to the Project Member screen automatically.
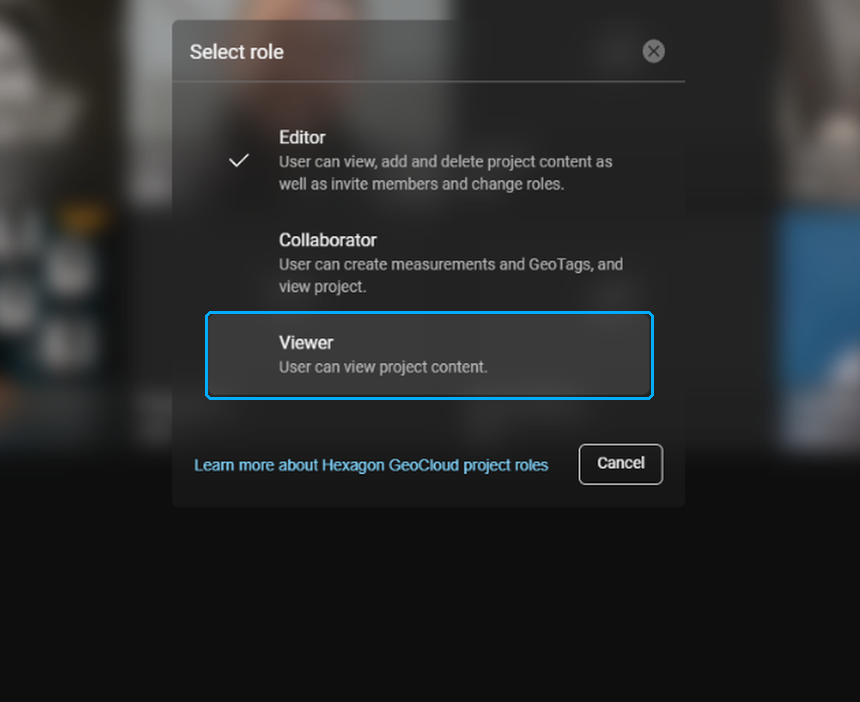
Reverting access rights for a specific user
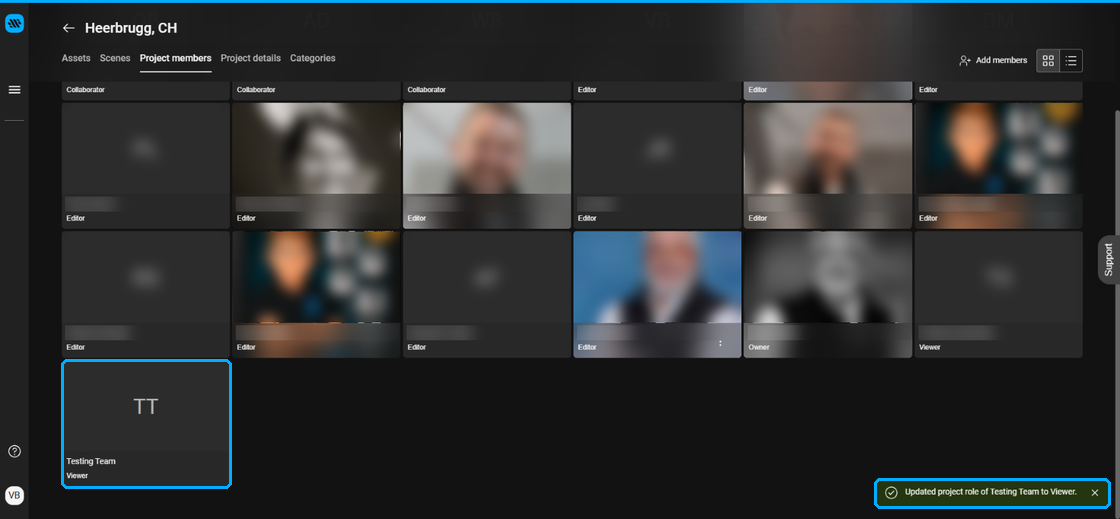
In the bottom right of the screen, you will get a notification telling you that the role of your user has been updated. But, perhaps you made a mistake and want to revert the user to a different role. Simply click the 3 dots again, choose "Change Project Role" and revert this user to "Editor" once more.
Click on “Change project role”.
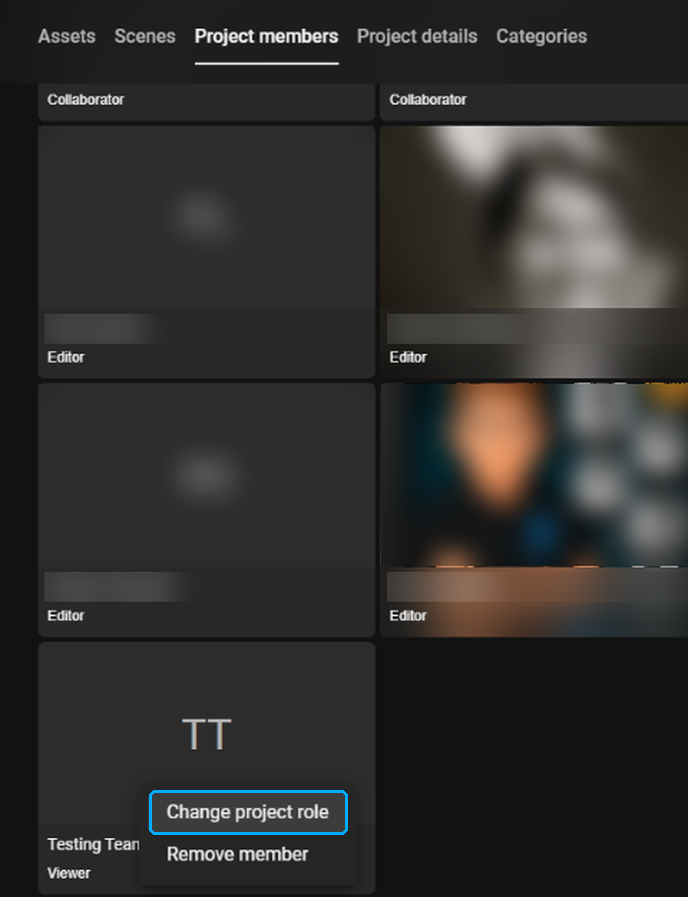
Select new roles
Remember, you can always revert a user role if you have changed access incorrectly.
A user will not be notified about any changes to their access via email or otherwise.