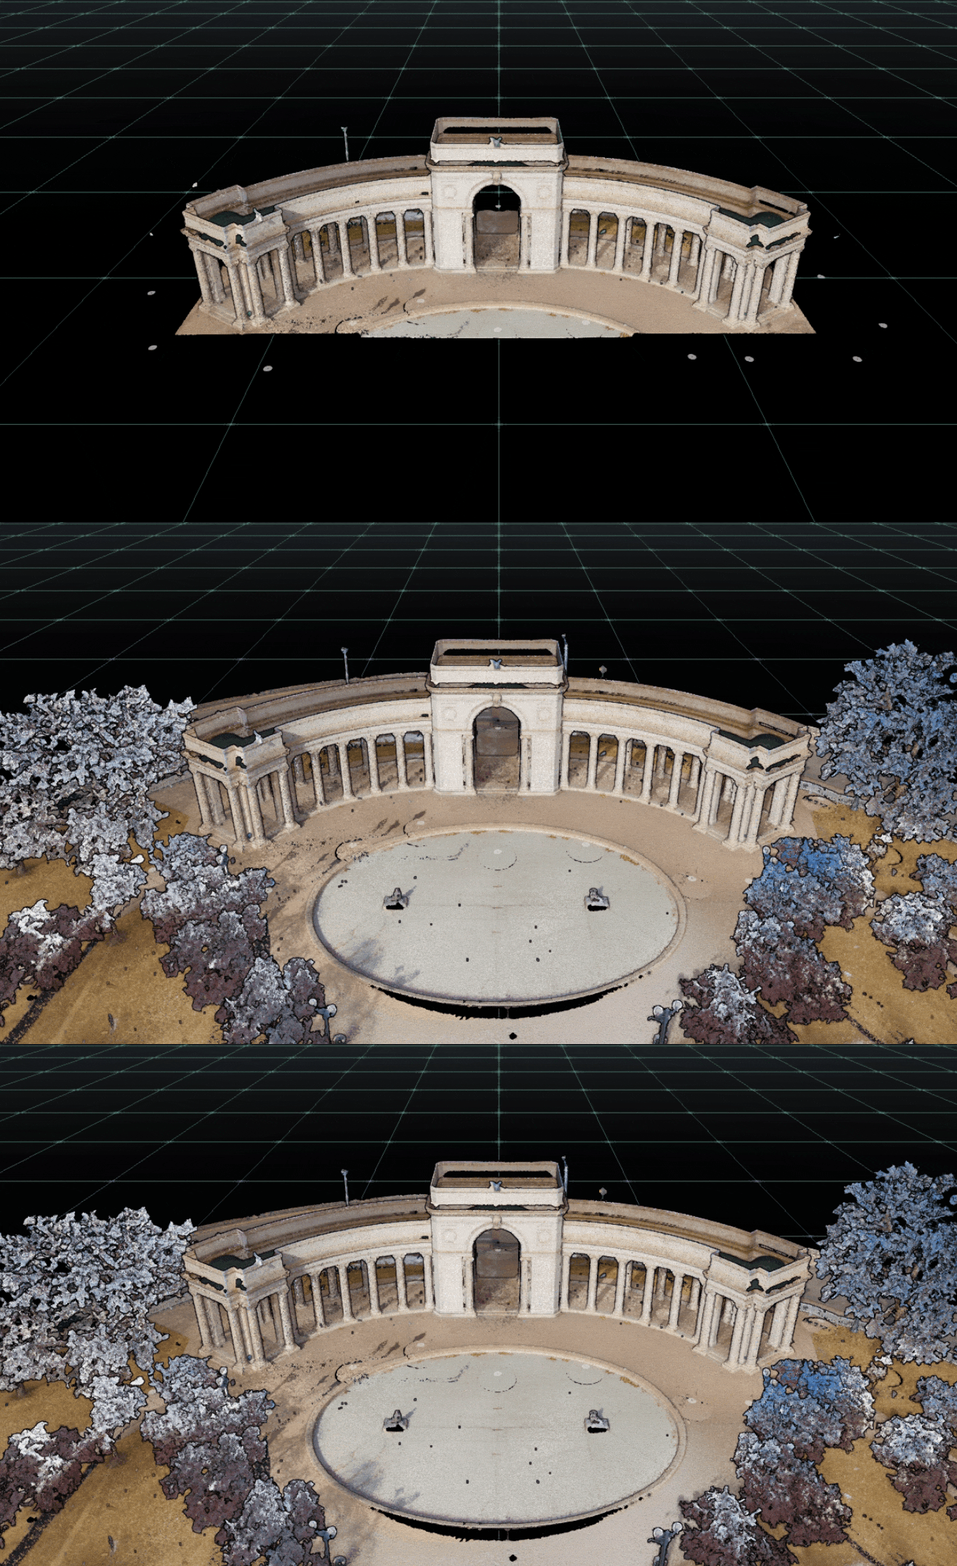
RCS Limit Boxes
Within Reality Cloud Studio, users can both access saved Limit Boxes created by other asset collaborators or in Cyclone REGISTER 360 PLUS, TruView or CloudWorx products as well as create Limit Boxes which temporarily limit the scope of the visible data.


Limit boxes can be added, edited and deleted by any user assigned permission to the asset. They are accessible to all asset collaborators, not unique to a user.
Add Limit Box
To begin, click Add limit box.
A box the size of the full extents of the data will be created.
To change the size of the limit box:
Hover over any box face, click and drag to change its position.
Use the X, Y and Z sliders at the bottom of the viewing window on the left-hand side.
Use the numerical value increase and decrease buttons at the bottom of the viewing window on the right-hand side. Optionally use the mouse or touchpad scroll function to adjust the number.
Enter a specific number in the numerical value field at the bottom of the viewing window on the right-hand side.
To rotate the limit box:
Click and drag on any edge between two surfaces. The box will rotate around the axis chosen.
Use the numerical rotation field at the bottom of the viewing window on the right-hand side. Optionally use the mouse or touchpad scroll function to adjust the number.
To return the limit box to its original configuration click Reset limit box. This will remove all modifications made by the user.
To exist the limit box creation process without saving, click Cancel.
To save the current state of a limit box, click Save.
Enter a name and optional description for the limit box.
A thumbnail of the limit box will be generated at the time that it is saved including any highlighting that may result from hovering over a surface. Please adjust your view before saving, existing the save dialog to modify your view for the thumbnail will delete your unsaved limit box.
All edits made to a limit box can be undone/redone using ctrl+Z and ctrl+Y
Activate/Deactivate limit box
Once a limit box is saved it can be activated and deactivated.
Click on the desired limit box in the list of limit boxes.
The current viewing position will be maintained but the limit box activated.
Depending on the user’s current viewing direction, the data within the scope of the limit box may not be visible. The product will not automatically orientate the user to the data.
Hovering over the limit box in the list allows the user to preview the limit box without activating it.
Only one limit box can be activate at a time.
Edit limit box
Once a limit box is saved, it can be edited.
Click on the ellipsis button.
Click on Edit.
The Limit Box name and description will appear on the left-hand side of the viewing window to be edited.
The full Limit Box toolset will appear at the bottom of the viewing window and the extents of the limit box will be displayed on the asset.
Make any modifications needed.
Click Save.
Using the Reset limit box button during an editing session will return the limit box to its state at the start of the editing session not to the default, full extents.
Delete limit box
Once a limit box is saved, it can be deleted.
Click on the ellipsis button.
Click on Delete.
The user will be prompted to accept the deletion to avoid mistaken removal of the limit box. Click Yes, delete.
Center View
Once a limit box is saved, Center view can be used to quickly orient to the object.
Click on the ellipsis button.
Click on Center view.
The camera position will return to the position used when creating the limit box.
Copy Link
Once a limit box is saved, it can be linked to.
Click on the ellipsis button.
Click on Copy link.
The link will be copied to the clipboard to be shared via email, chat or other means. This link will only be accessible to users with permission to view the asset.
Search
Once an asset contains at least one limit box, the search bar will be activated. Use the search bar to enter the name of a limit box to quickly locate it in the list.
Limit Box search only searches the name of a limit box, not the description or creator.
