Auto-Registration of B2G files
This guide provides step-by-step instructions on how to run the Auto-register function on B2G files. Following these instructions will help automate the registration process, saving time and effort.
Generating a registration will consume data from a user’s subscription.
For this workflow, you will need to have at least two B2G files in order to generate a registration.
You should aim for at least 30% overlap of data between walks/flights in order to achieve the best results.
Up to 20 B2G scans can be registered together within Reality Cloud Studio.
You can read more about registration within Reality Cloud Studio here
Reviewing your data prior to "Auto-registration"
1. For this example, we have placed the B2G files we wish to register in a single location.
All B2G's must be in the same folder in order to run auto-register.
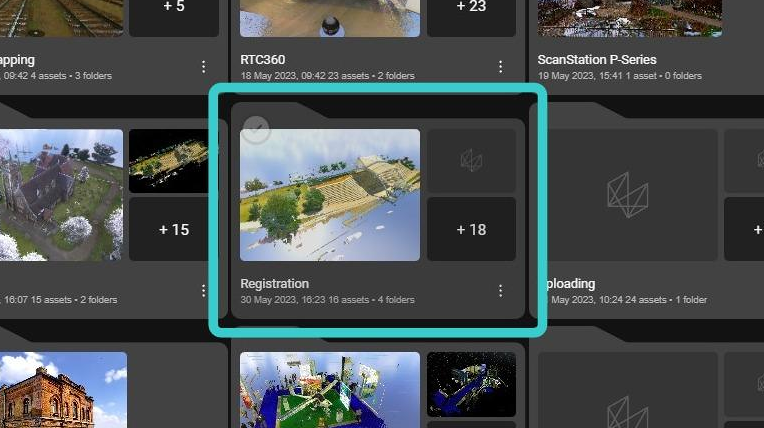
2. Here you can see the four files we would like to register.
You can click into any of the assets to see the single file, prior to registration.

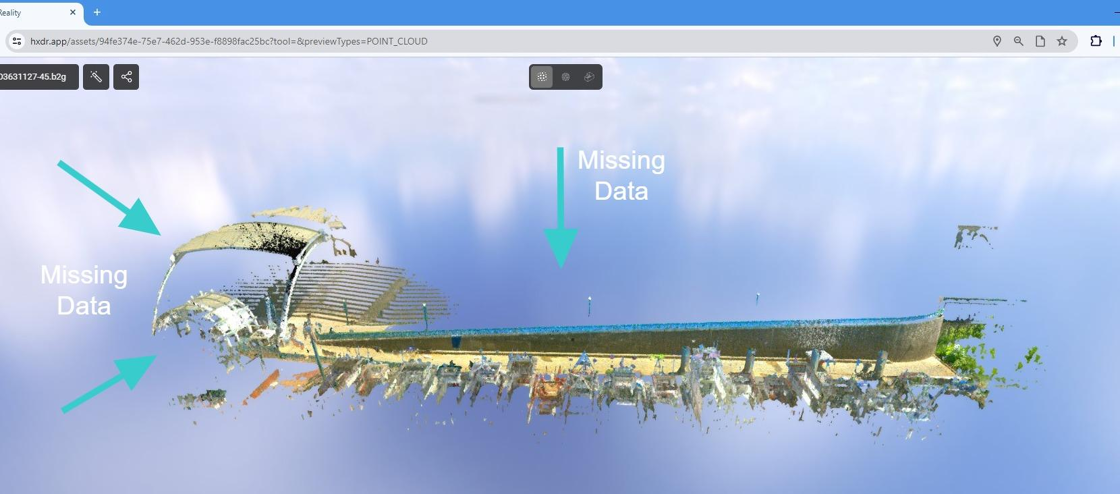
3. Here you can clearly see we are missing large parts of the structure, and that is because they were collected in different walks.
The process of registration will fill the gaps and allow you to generate a complete project.
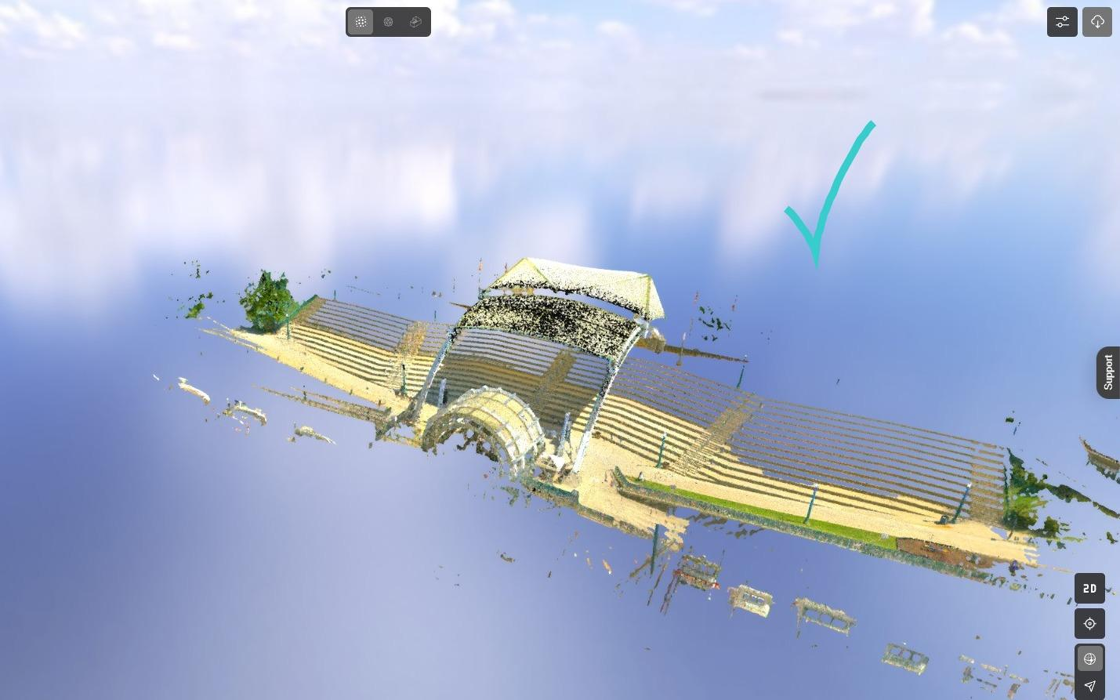
4. If you view another walk you will see the additional data, we wish to use to help complete the registration.
Click on another B2G file to view the asset.

5. The data looks great, and once registered with the other files from the same folder will allow us to generate a completed final deliverable.
Starting the Auto-register process
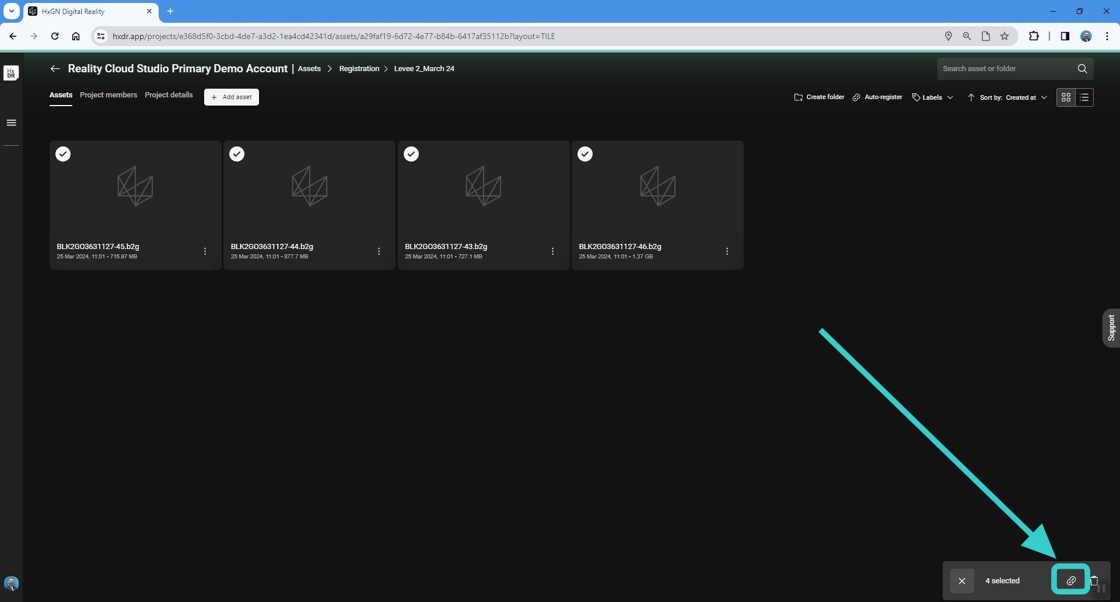
6. There are two methods to begin the auto-register process.
You can select each scan using the Check mark in the top left corner of an asset.

7. Once you have selected all the scans you wish to register, use the Auto-register button in the bottom right of the screen to move to the naming phase.
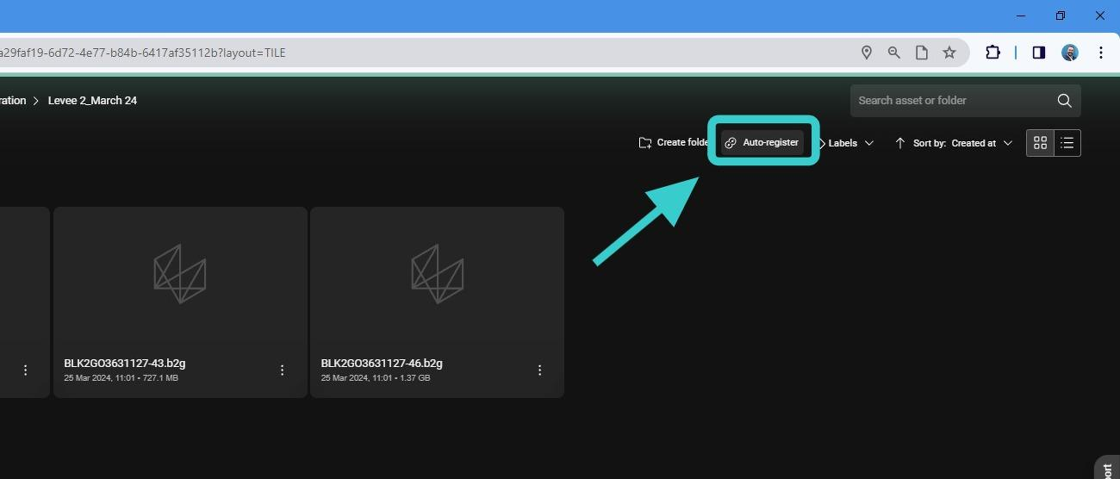
8. Alternatively, if you are positive you wish to register ALL the scans in the folder in which you are working, you can simply use the Auto-register button in the top right, and this will collect all the scans within that folder ready for the naming stage.
Naming and finalising your Auto-registration
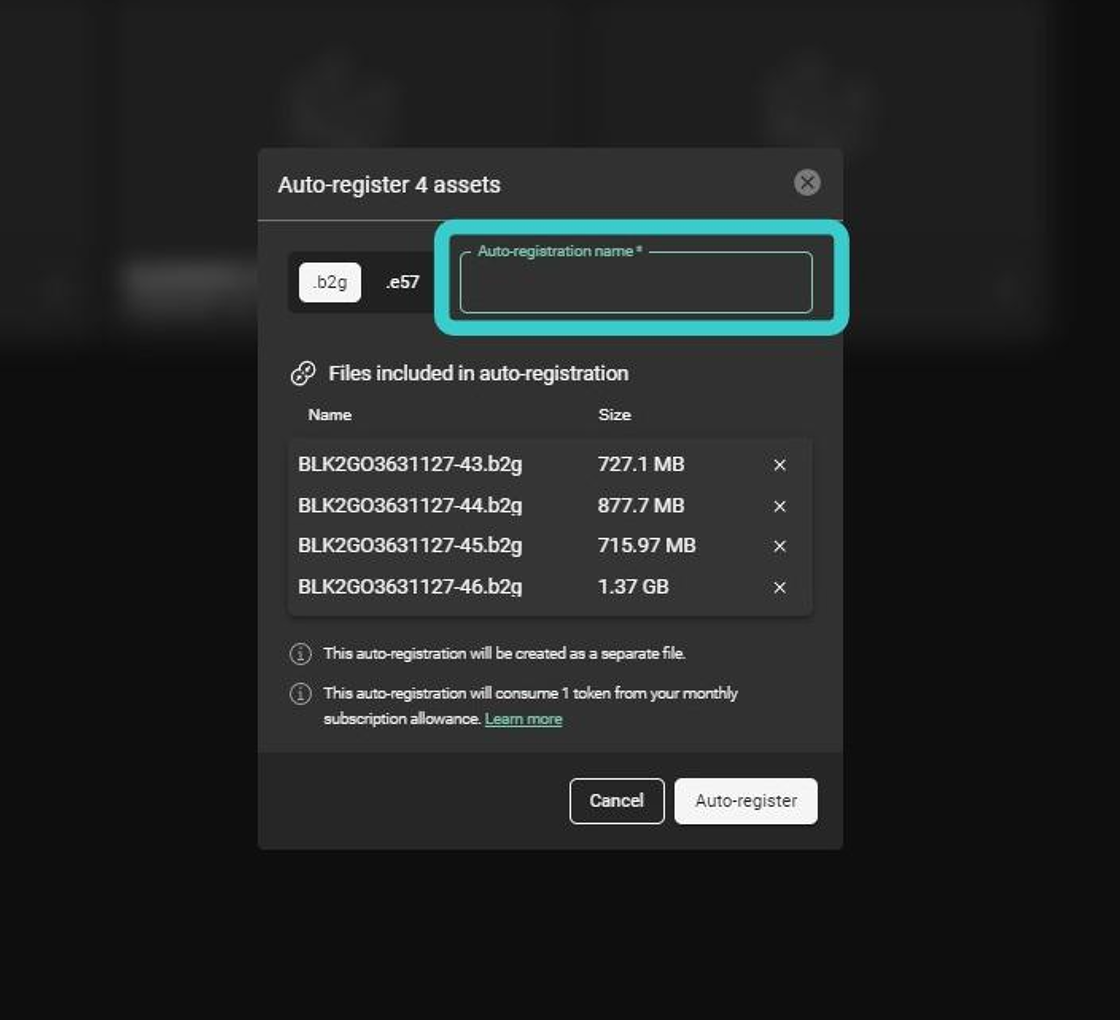
9. With both methods, once you click the Auto-register button, you will arrive at the auto-registration widget shown below.
Provide your new registered asset with a name, then click Auto Register once more.
The time it takes for the file to be registered will depend on the numbers of scans, the size of the scans and the overlap of the data (the more the better).
You can continue to use the platform for other tasks whilst your data is being processed.
Reviewing an auto-registered file once complete
10. Whilst your data is being processed, you can continue to use Reality Cloud Studio.
You can open any assets and kick off additional meshing and registration tasks.
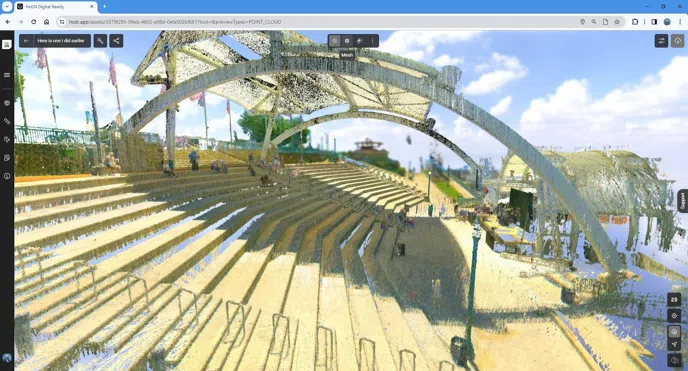
Let's review an existing version of the dataset we auto-registered in the steps above, which has been auto-registered and meshed already.
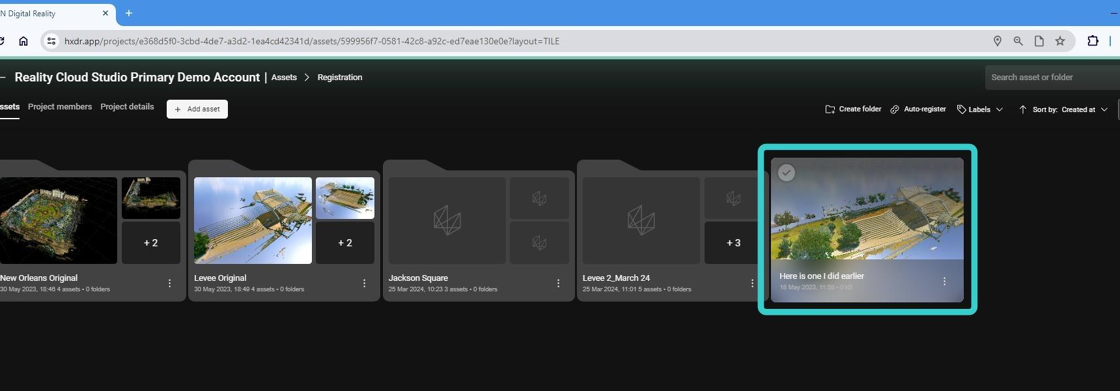
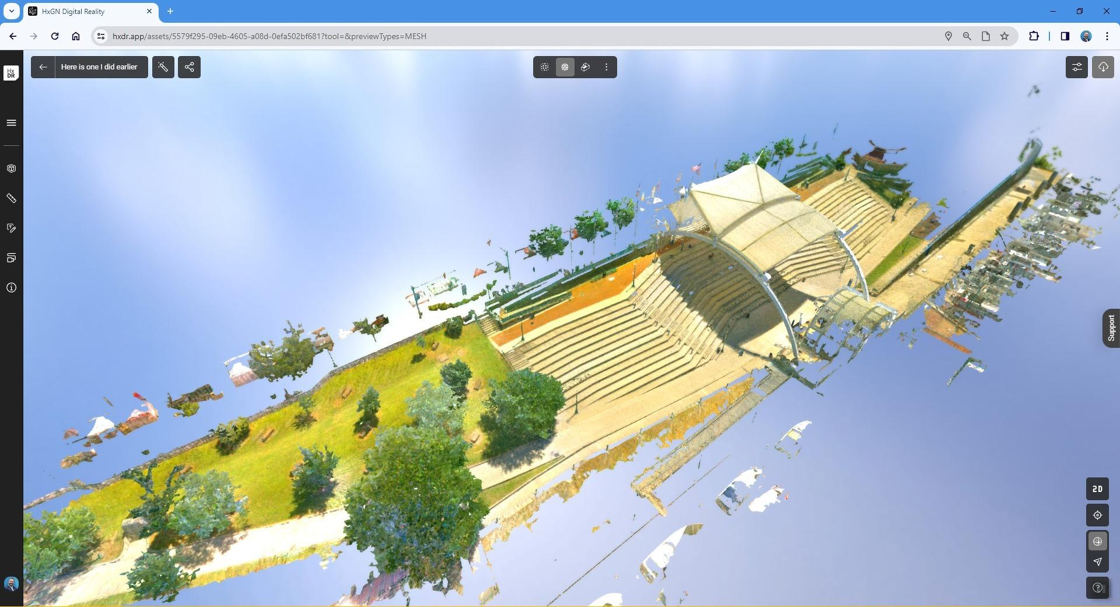
11. Because a mesh had already been generated for this asset, you will see this first.
You can revert to the point-cloud view at any time.
Of course, the mesh will be much cleaner, due to the auto-cleaning process performed at registration.

12. Here you can see the difference when switched between point cloud and mesh viewing modes.
You can clearly see how much of the noise and erroneous data has been removed in the mesh processing.
Summary
13. We have used the auto-register capabilities with B2G data from a Leica BLK2GO and opened up and existing registration to view the data.