This guide provides step-by-step instructions on how to create limit boxes and edit them within Hexagon GeoCloud. By following these instructions, users can effectively control and manage the creation of limit boxes within the Cloud Studio environment, ensuring a more organized and streamlined workflow.
Opening an Asset
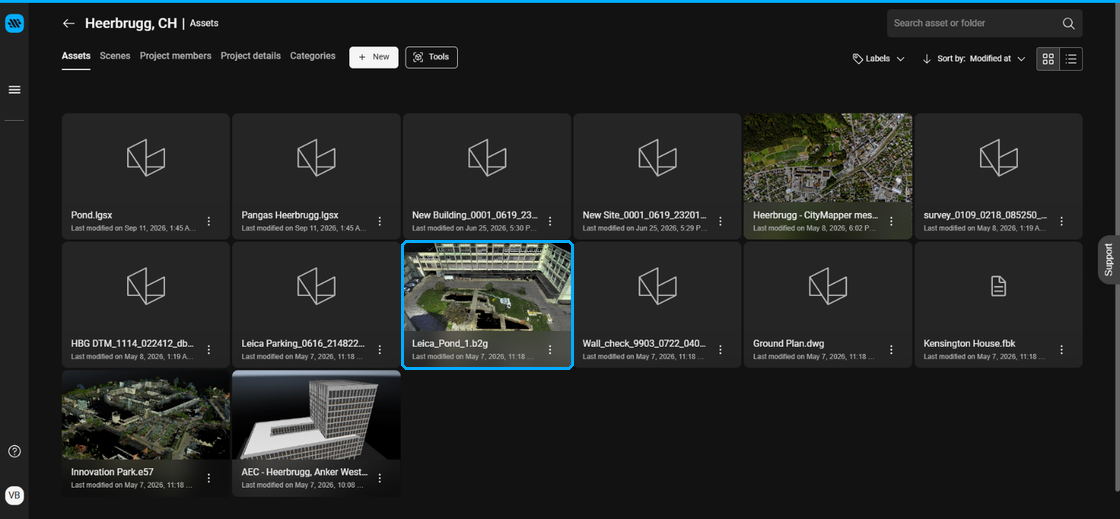
Click on any asset within your project to begin working with limit boxes.
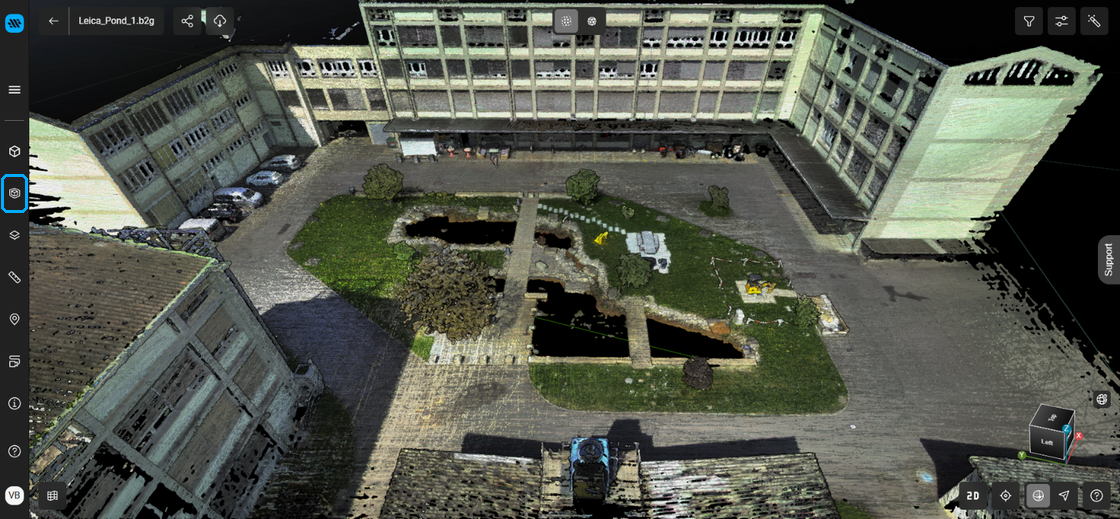
Click the Limit Boxes menu on the left side of the screen.
Creating a new Limit Box
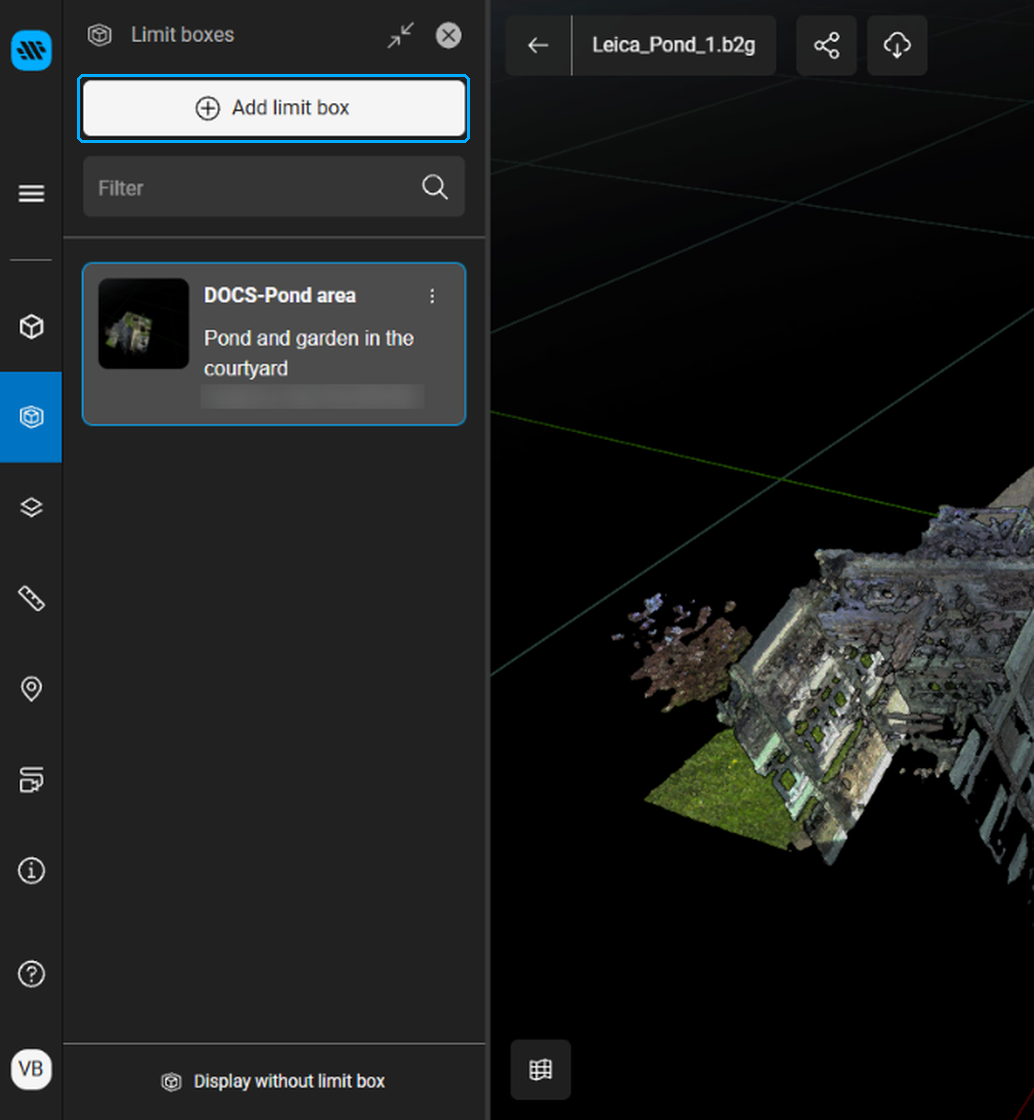
Within this menu you can see all existing Limit Boxes within your asset.
If you click on an existing Limit Box, it will automatically become active.
You can also edit and delete any limit boxes from this menu (unless you are only a Viewer, in which case these functions are not available).
You are now able to click Add limit box to start the process.
Only 1 limit box can be active at any one time.
Editing a Limit Box with Sliders
Once you have Clicked Add limit box, you have 2 ways to create and edit your limit box attributes.
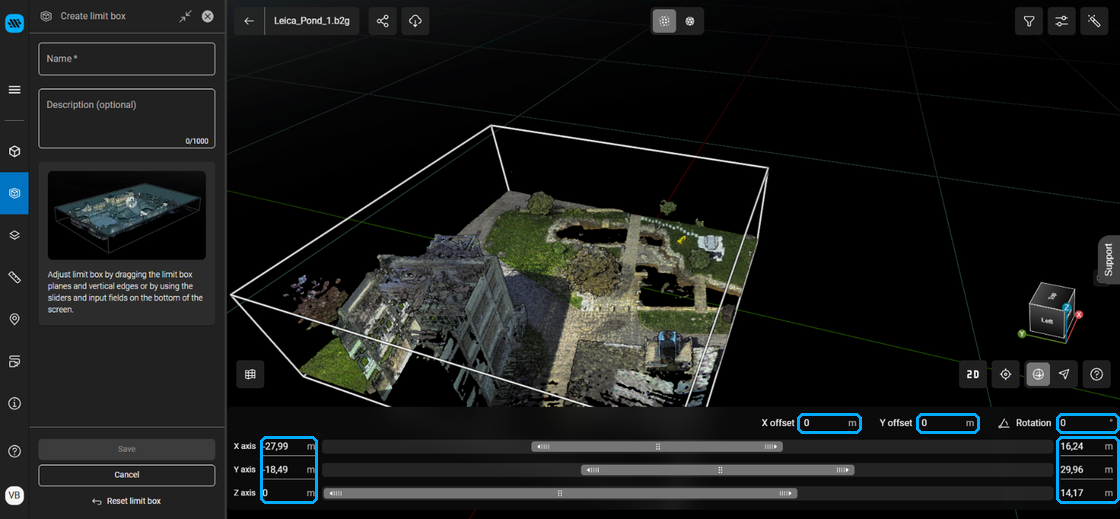
You can choose to manually override all values for your limit boxes using the sliders. Using the sliders is a more appropriate way to edit a limit box when working in GeoCloud on a touch-based mobile device.
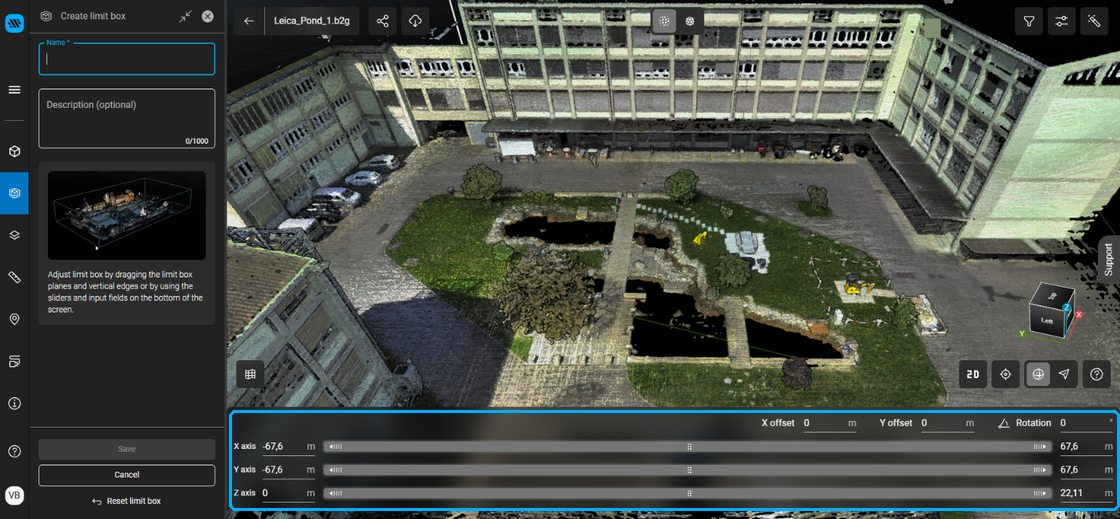
Alternatively, you can also manually type values in all the boxes, including X offset, Y Offset and Rotation, giving you complete control over your content.
Editing a Limit Box using handles
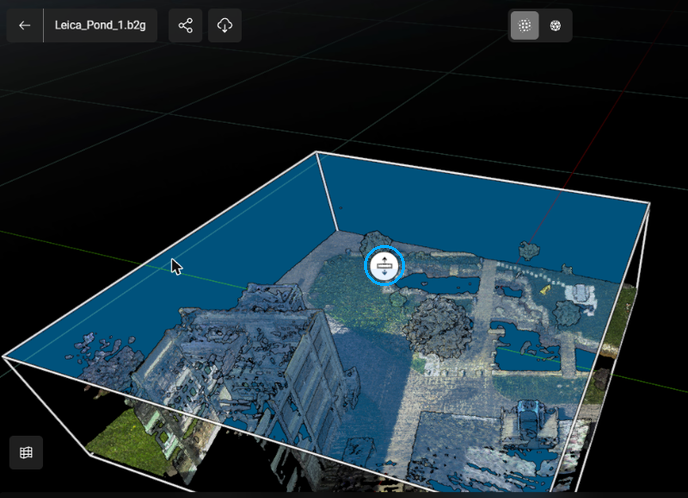
You can also grab the handles on each face of the limit box in order to resize it.
Try rotating the asset and clicking on each face in order to move each face.
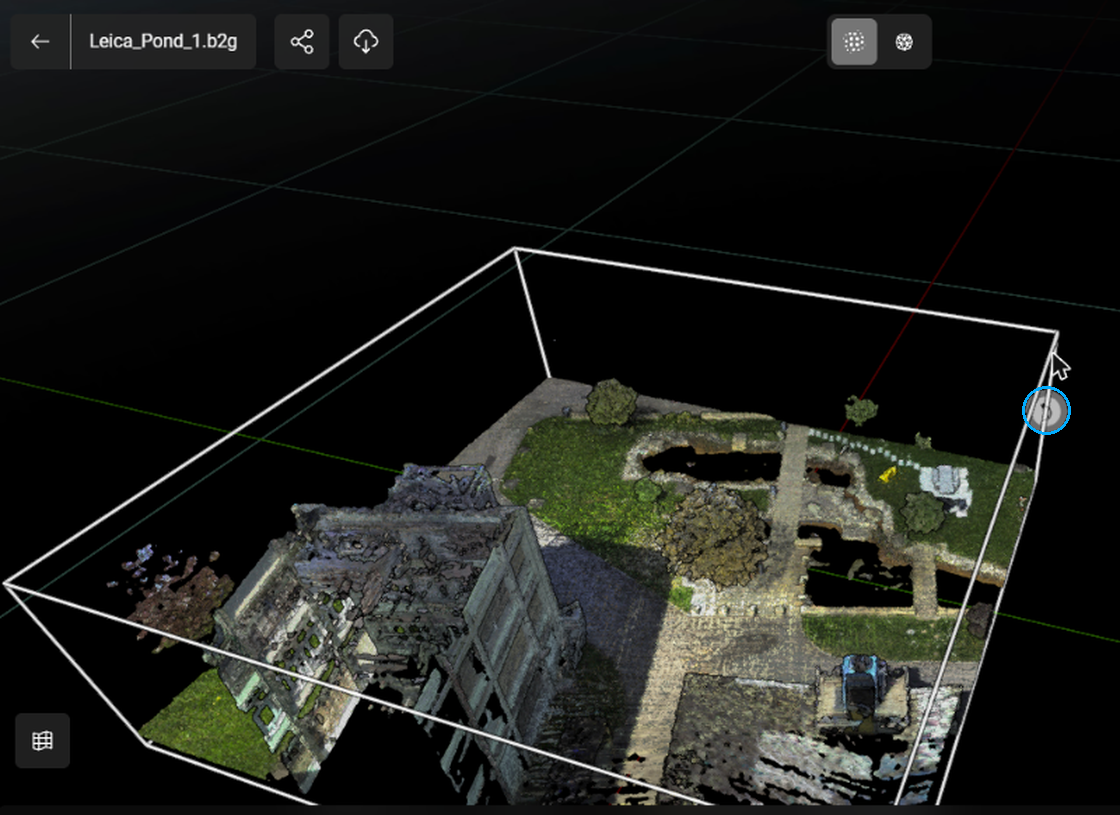
By hovering over the edge of the limit box, you can rotate it. This can help you fine-tune the position of your limit box.
Saving a Limit Box
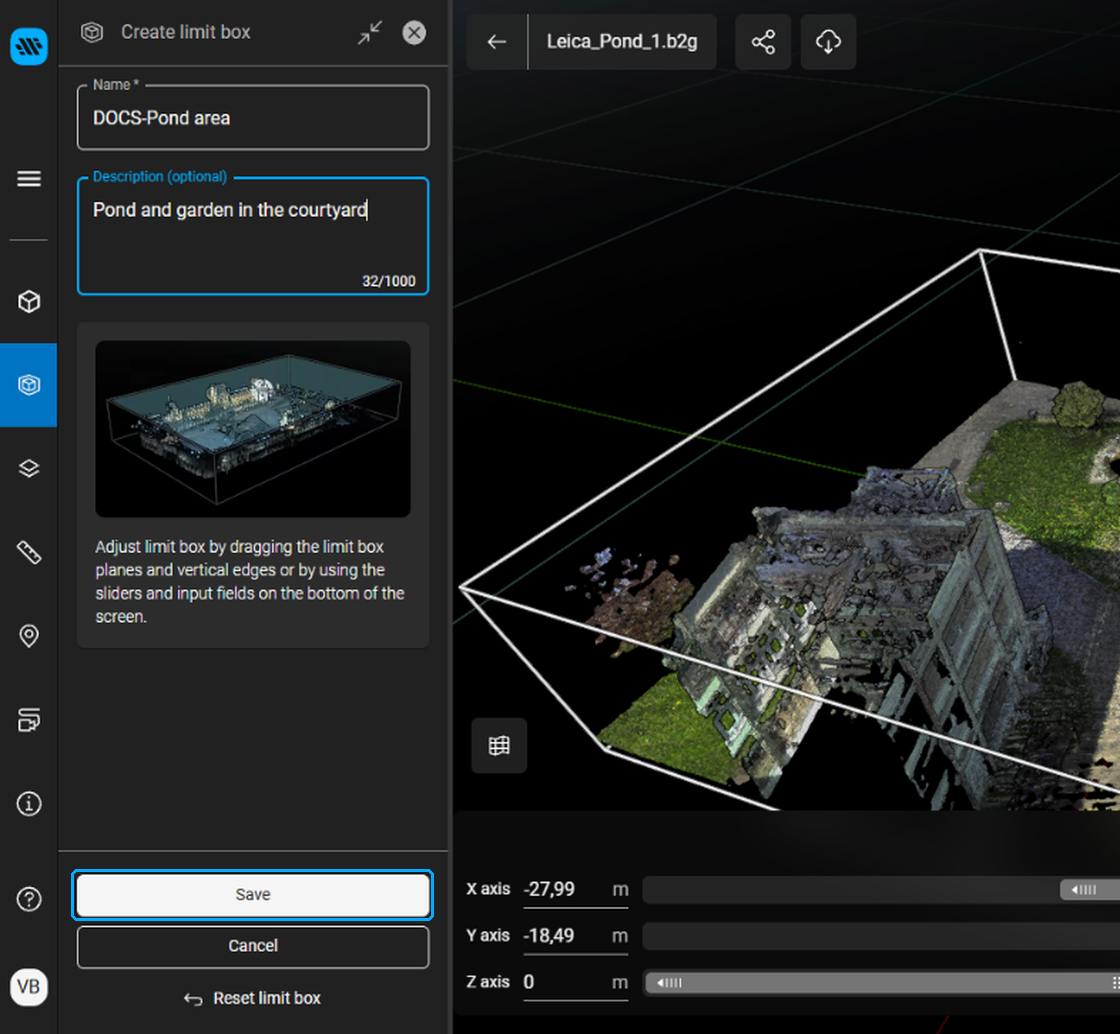
Once you are happy with all your parameters, name the limit box and (optionally) provide a description in the fields at the top of the Create limit box panel.
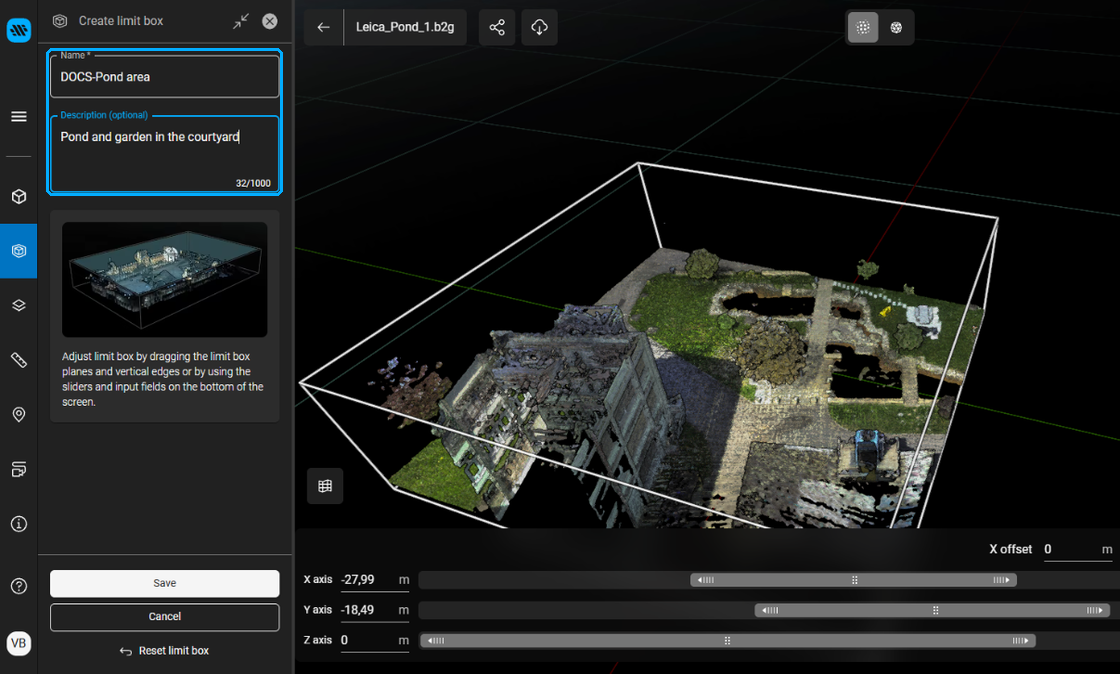
Remember, this Limit Box can be shared with other members of your account, so be sure to provide enough information to help them make sense of your Limit Box.
The preview image will be generated from your current view when saving the Limit Box. Adjust your view prior to clicking save to fine tune this view.
Click Save at the bottom of the panel.
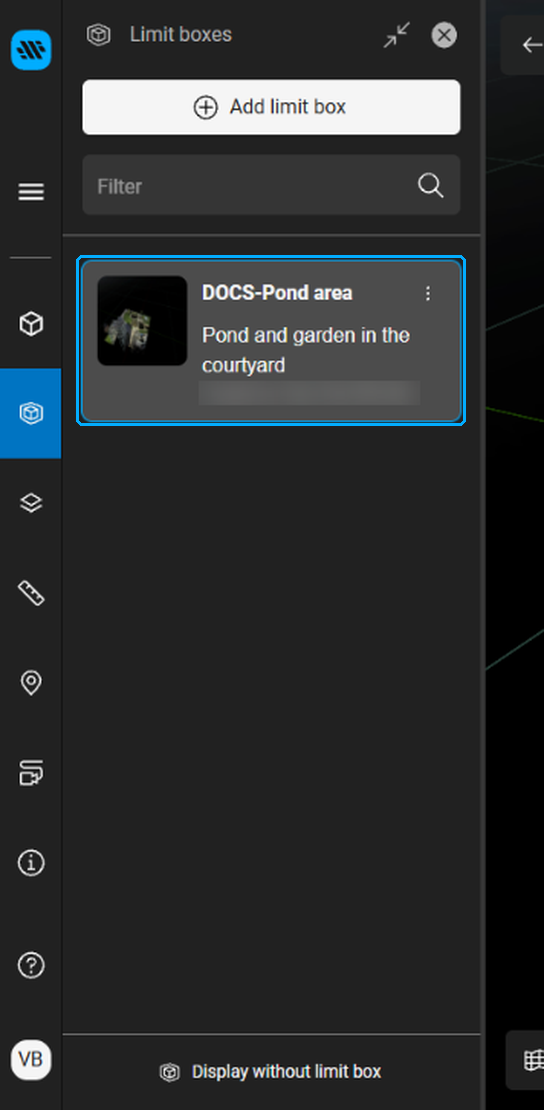
You will now see all the Limit Boxes in your scene, including the one you just created.
Once you click on a Limit Box it will become active and a small label will appear.
You can click the 3 dots on any Limit Box to copy its link, edit, download, delete or locate it in the view.
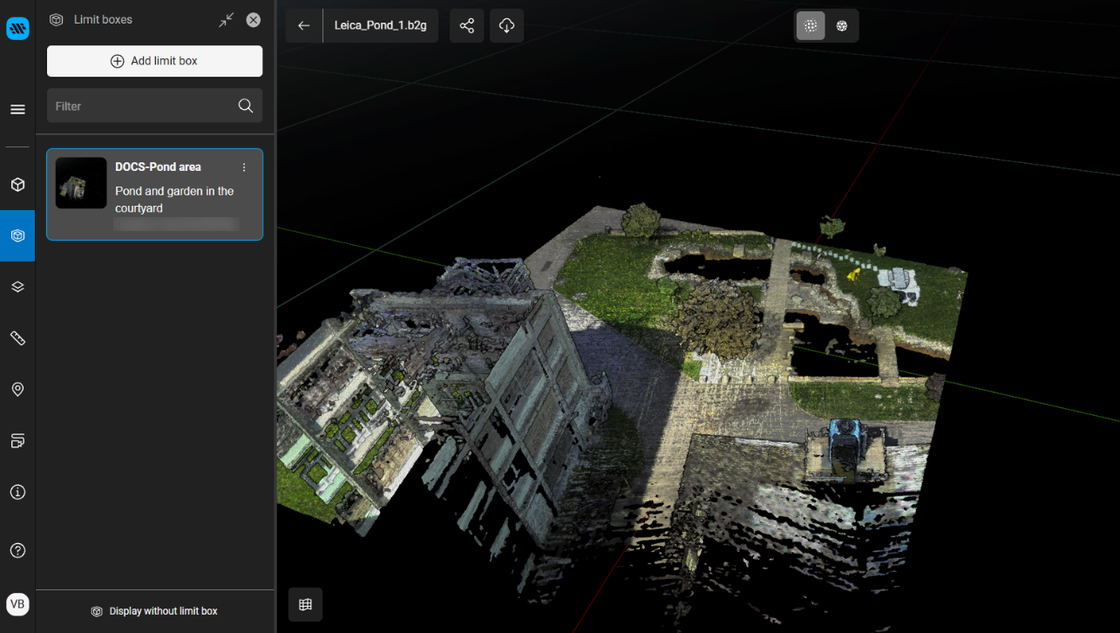
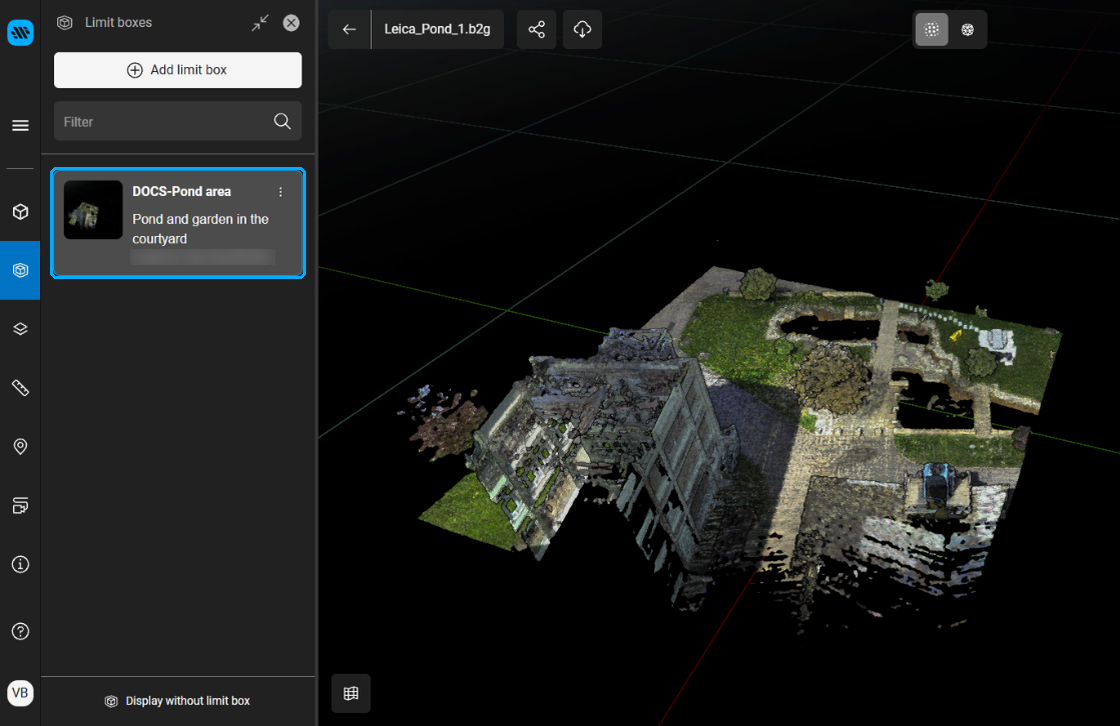
Now you have a simple Limit Box which can be used to help you manage your scene.
Export Limit Boxes
Users can now export limit boxes of a subset of points within an asset. This improvement allows users to quickly subdivide their asset into work packages to be downloaded and used in non-integrated third-party solutions to better control the flow of project data outside of GeoCloud and limit their export costs.
At this time, meshes created inside of GeoCloud will not be included in that limit box export area, the Limit Box must be created from the Download menu.
To download a Limit Box:
Ensure that a limit box is available in the asset or create one.
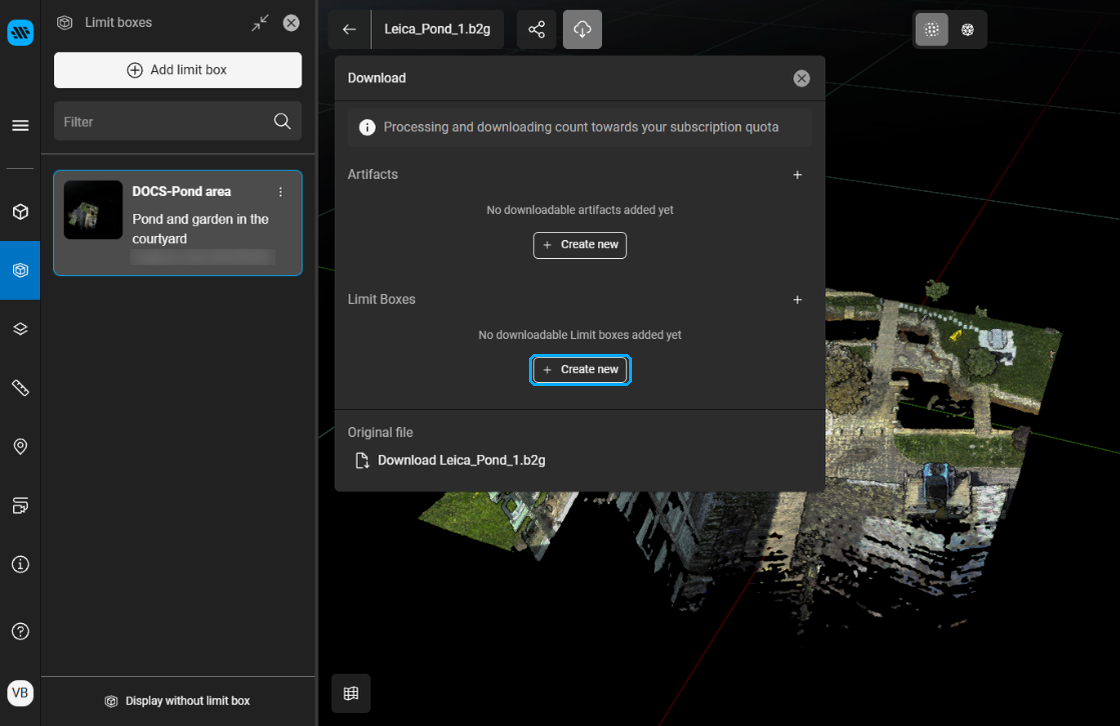
Open the Download menu and select Create new within the Limit Boxes section.
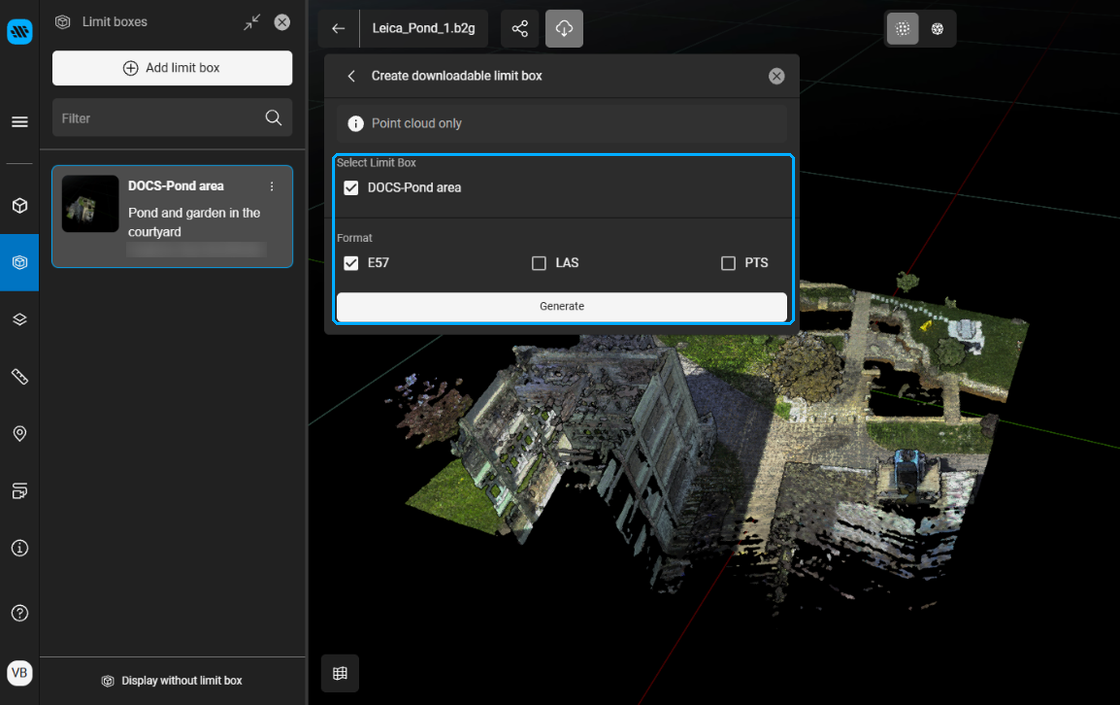
Select the correct Limit box and Format and select Generate.
Once the Limit Box is processed, it can be downloaded as many times as desired.
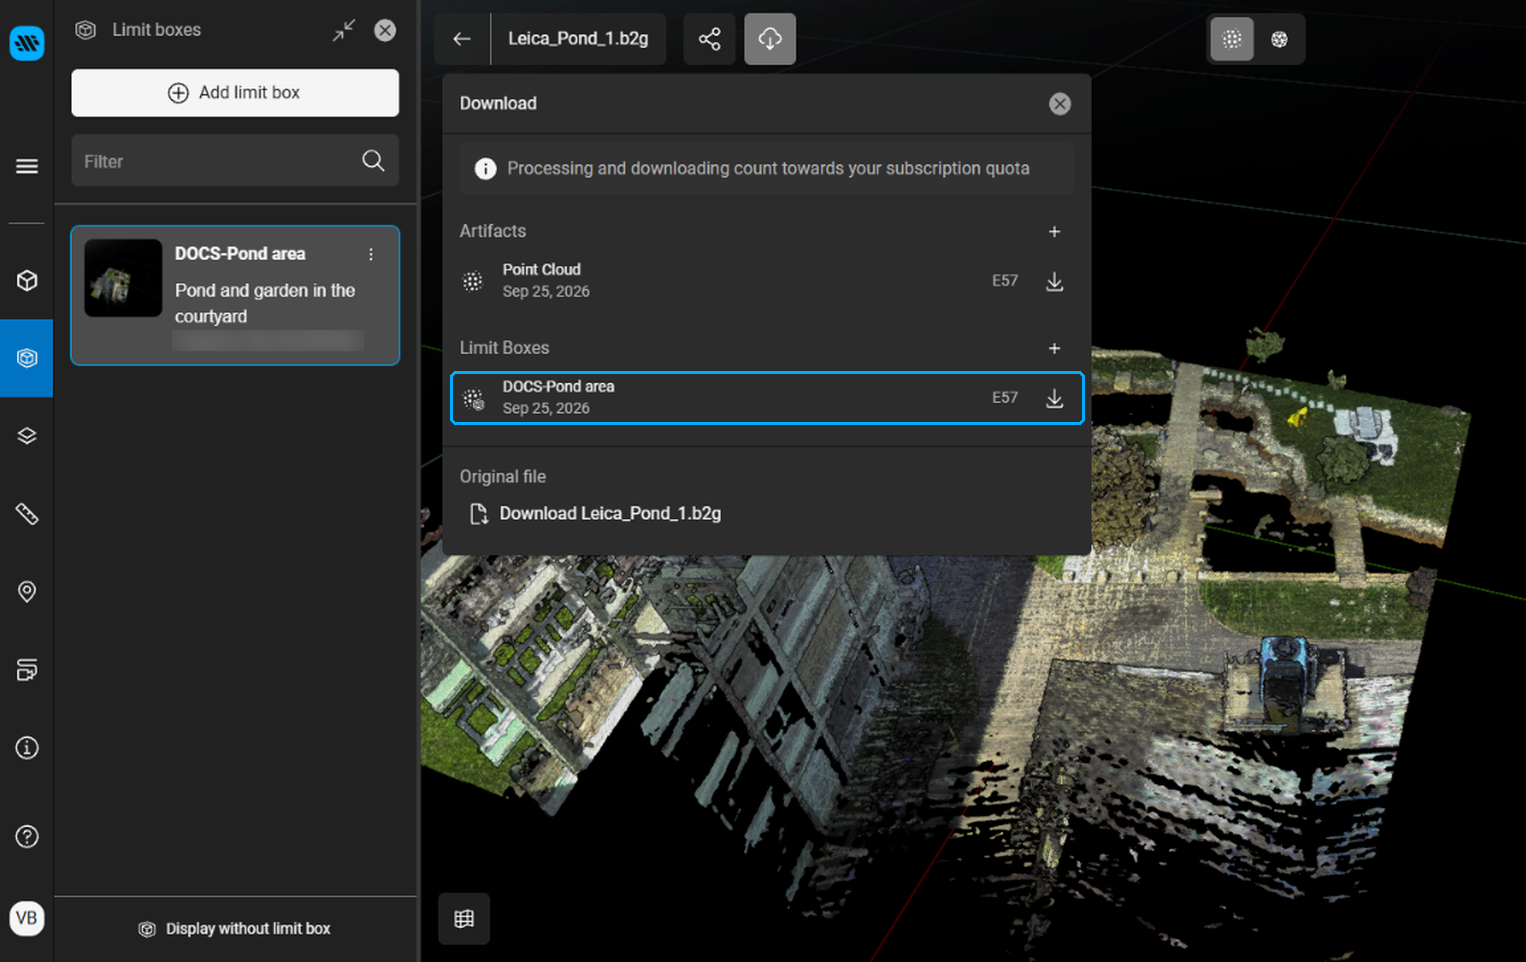
Export of Limit Boxes will consume against an account’s quota.
Summary
Tip: Limit boxes are an easy way to provide a simple view of a given region within your assets. With the ability to share Limit Boxes to users within your accounts, you can easily highlight a specific part of a project with a simple URL.
Active Limit Boxes will also be honoured when creating tours, so you can tailor your tour to your exact requirements.