Tone Map Editor
To adjust the tone mapping for a setup containing HDR images, right-click the setup and select Edit HDR Image.... This will open the Tone Map Editor.
The HDR tone map editor contains preset filters or “Looks” which are designed to show how different tone map renderings appear. The default tone map is shown along with eight filter options. The user can select a Look and then modify the Look or accept it as is. Click OK to apply the Look to the point cloud.
To batch apply the tone map settings to multiple setups:
Multi-select the setups and then open the Tone Map editor, then click the Apply to selection check box.
Open the Tone Map editor and click the Apply to Project check box.
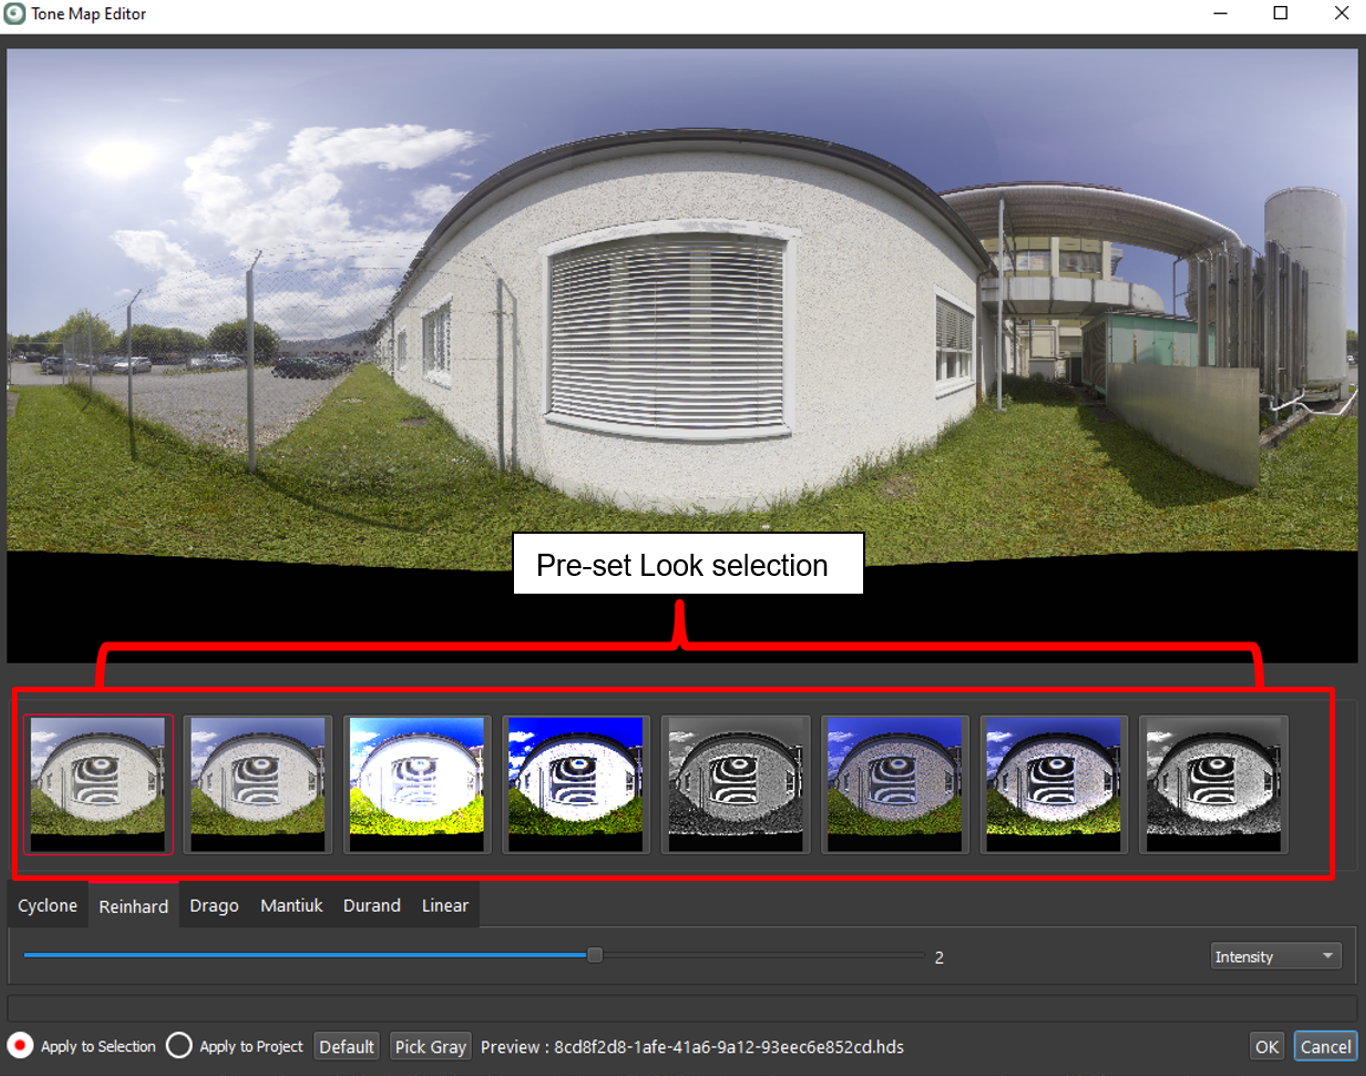
A preview of the panoramic image will appear in the editor with multiple tabs representing different tone mapping algorithms (in addition to the Cyclone tab), and a pull-down menu with selectable parameters. Once the parameter is selected, the slider can be adjusted to modify the values, which will be dynamically updated in the image. The Pick Gray button allows you to double click within the image to adjust the gray tones. Use the Default button to reset all settings to their original values. Once the values have been adjusted as desired, click the OK button to apply the new tone parameters.