Image Import Options
The user has a choice when to import images that come with many scanner formats. The option is in the right side panel in the import area.
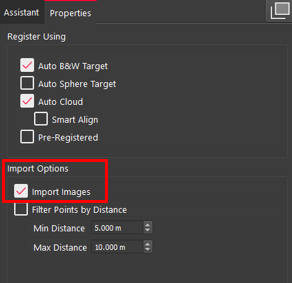
Note: Clicking this option will effect all scanner data loaded into the import area.
If the box is unchecked:
The data will import without images or colorizing the point cloud with image color.
The scanner data will import faster as a result. Time will vary widely depending on the data type, but you expect to see a 50% decrease in import time on some data types and import image settings.
The images can then be added later if the raw data is still available.
To add images to a project:
Select the setups
Right-click and select Import images.

3. If the raw data is in the same location on disk then the import process will begin.
4. If the data has been moved then a dialog will appear asking for the data location:
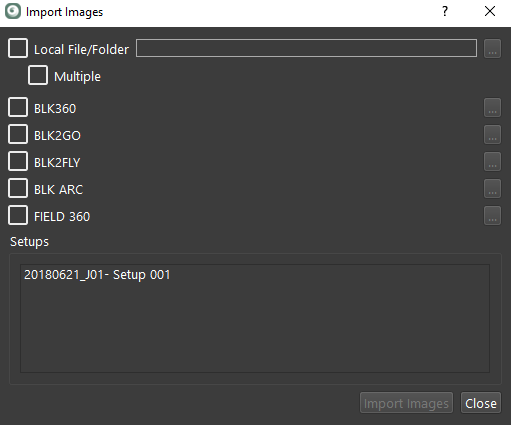
5. Click the Local File/Folder check box and then the … box to set the path. Another location can be added by clicking the check box- Multiple.
6. Direct connection to BLK360, BLK360 G1, BLK2GO, and Cyclone FIELD 360 is possible.
7. Click the corresponding check box and then the … box to set the location information.
8. When done click the Import Image button to begin the import.