
Data Security
The integrity of data is key across industries but of particular importance within public safety where data integrity is key to the maintenance of public trust. A new Data Security feature has been introduced in Firmware version 6.0 for RTC360 and RTC360 LT laser scanners which enables Cyclone REGISTER 360 PLUS to verify data signatures from the scanners.
The Data Security feature follows the latest guidelines and standards of Data Security that are used by professionals in the Public Safety, Security, and Forensics industries.
The feature enables users to prove the integrity of secure job data when the job is imported into Leica Cyclone REGISTER 360 PLUS.
Users can selectively enable the Data Security feature for the job where Data integrity is important. Once the Data is collected on the RTC360 scanner, it is signed by the device. When such a job is imported into desktop software, the verification step is completed within Cyclone REGISTER 360 PLUS and the user is informed whether the imported Data is the same as it was when it was signed in the field. If the data does not match, this does not prevent the data from being imported but provides the user a notification that it does not match allowing them to make an informed decision about how to proceed.
Beyond its applications in public safety, the Data Security feature will allow users across disciplines to determine if data has been corrupted during the import process and where errors lie.
The Data Security Workflow
RTC360 Digital Signature Setup
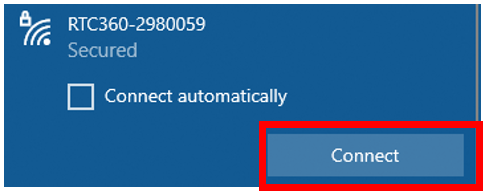
Connect to a scanner’s WLAN network from the Windows Network settings interface by clicking on the Connect button and entering the scanner’s WLAN password.
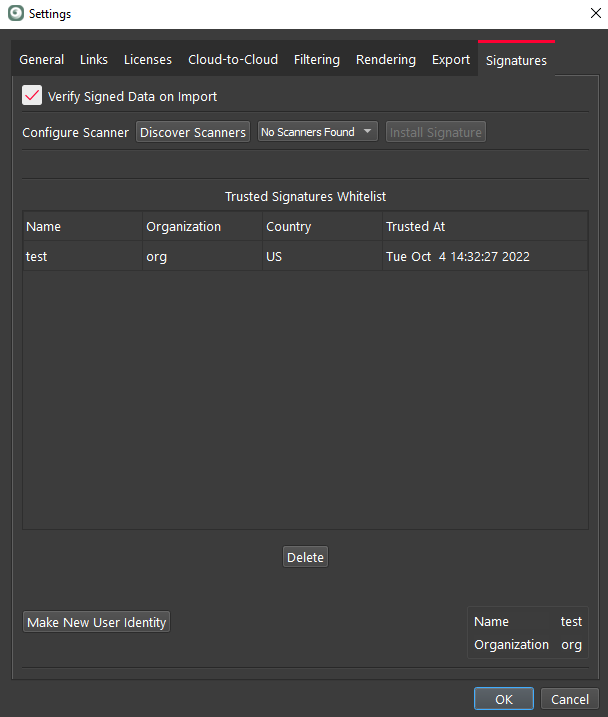
In Cyclone REGISTER 360 PLUS, go to Settings and Open the Signatures tab.
Select
Discover Scanners. If the discovery finds an RTC360, then it will be listed in the drop-down list.
If a scanner is selected, it will be connected and the Install Signature button will light up.
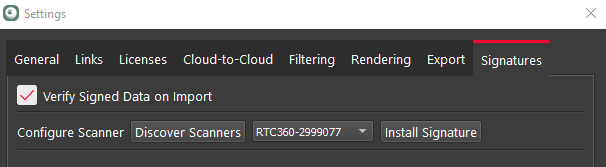
If the user presses Install Signature, a Digital Signature is created and installed on the scanner. Only one signature may be installed at a time.
Sign the Job on the Scanner
Once the user is done scanning for a job and would like to sign the Data, go to Settings on the RTC360 and scroll down to Sign Active Job.
Notice the un-locked icon in the top right. This indicates that the job is unsigned.
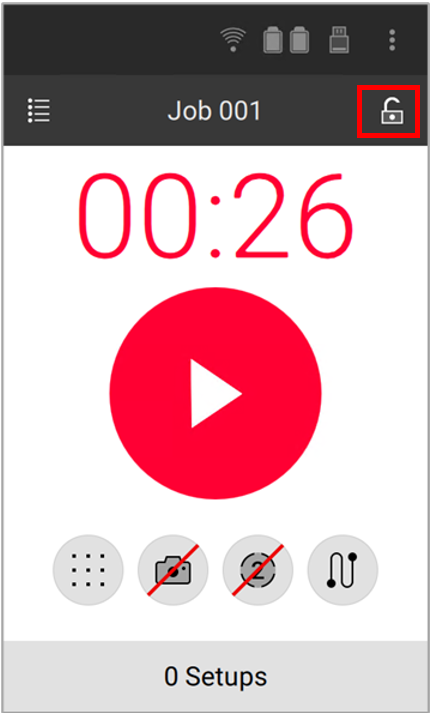

The icon now is now locked, showing that this job has been signed.

If another scan is done after the signature, the lock symbol will change color and provide a warning sign.

Trusting a Signature
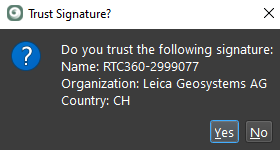
Under Settings in the Signature tab, there is a Trusted Signatures Whitelist. When importing data with a signature that has not been put on the White List, the user will be prompted to trust the signature. The signature is unique to the device and unchanging. A device signature will be trusted once and preserved for future use.

Verify Signed Data Upon Import
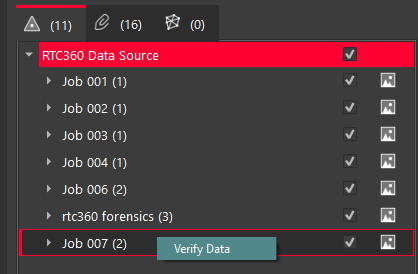
Data with a Trusted Signature can be verified upon import. When data is added to the import panel and it has a signature, the user will be able to right-click and verify the data.
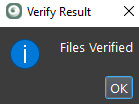
When the signature is verified, the user will be notified.
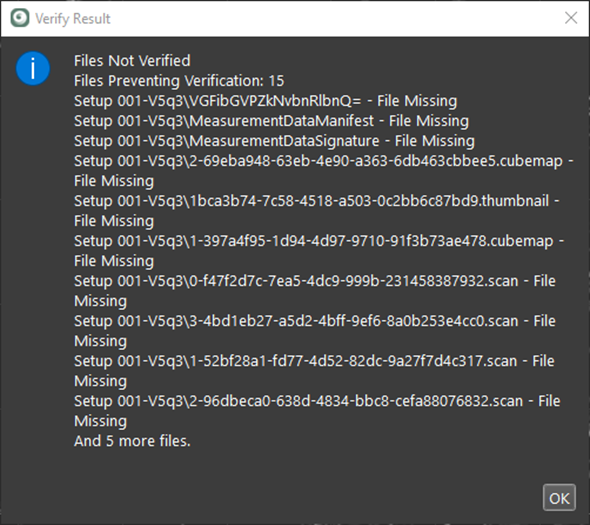
If there have been any changes to the data since it was signed on the scanner, the signature will not be verified and the user will receive a message with details about why verification failed.
Whether the signature is verified or not, a user may import the data. Importing the data will result in a Verification Report which is included as an asset in the Project.
The Verification Report
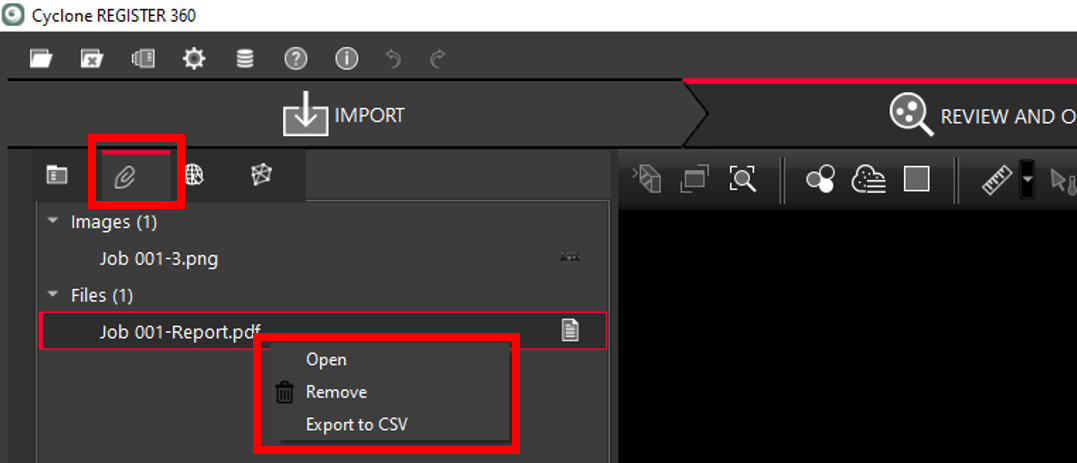
The Verification Report can be viewed as a PDF or CSV document.
To view the Verification Report as a PDF document open the
Assets tab, right-click on Job xxx‑Report.pdf, and press on Open.
To save the verification Report in a CSV format open
Assets tab, right-click on Job xxx-Report.pdf, and select Export to CSV.
This report will be attached as an asset in the LGS file when published.
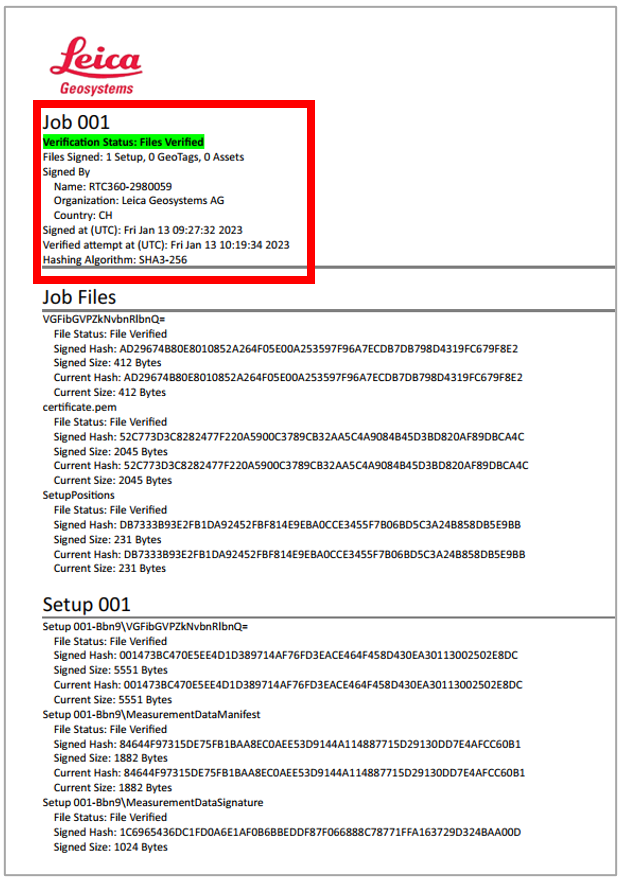
Successful Verification:
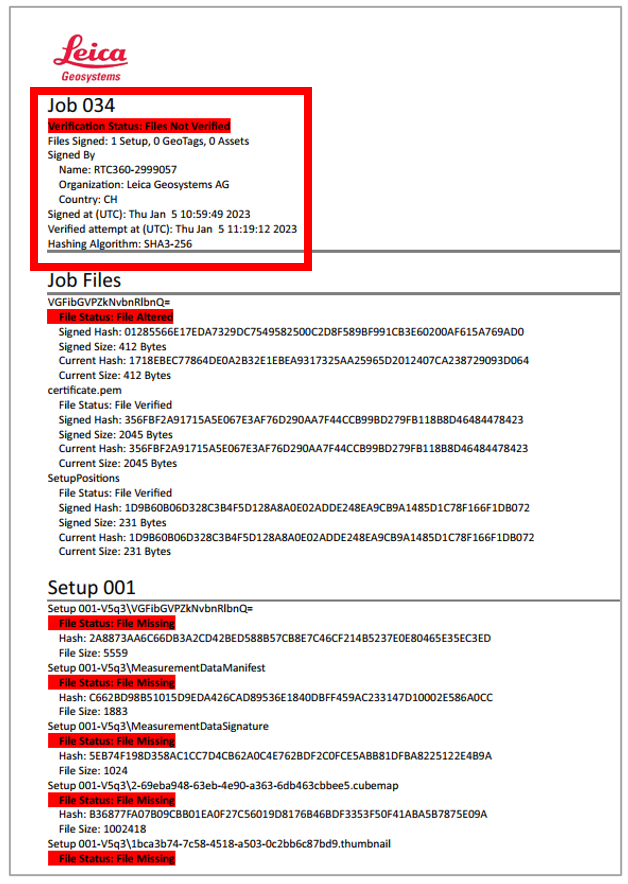
Failed Verification:
PDF Verification Report
PDF Verification Report consists of a header, a sub-section for files on a job level, and sub-sections for each Setup in a job.
Report Content | Description |
Job name | Name of the verified secure job.
|
Verification Status Files Verified Files Not Verified | Data integrity of a secure job is confirmed. Verification of Data integrity of a secure job failed due to:
|
Files Signed | Number of Setups, GeoTags and Assets in the verified secure job. |
Signed by Name Organization Country | Name of a scanner that signed the job. Organization that issued a scanner signature. Country of the signature issuer organization. |
Signed at (UTC) | Timestamp (UTC) when secure job was signed by scanner. |
Verified attempt at (UTC) | Timestamp (UTC) when secure job was verified in Cyclone REGISTER 360 PLUS. |
Hashing algorithm: SHA3-256 | Hashing algorithm which is used to hash the content of a secure job. |
File Status File Verified File Altered Extra File | Verification result of a single file in a secure job. Current Hash matches Signed Hash. Current Hash does not match Signed Hash. File was removed from a job after a secure job was signed. File was added to a job after a secure job was signed. |
Signed Hash | On a scanner calculated hash of a file during field work. |
Signed Size | Size of a file at the signing of a secure job. |
Current Hash | In Cyclone REGISTER 360 PLUS calculated hash of a file during verification process. |
Current Size | Size of a file at the verification of a secure job. |
Make New User Identity
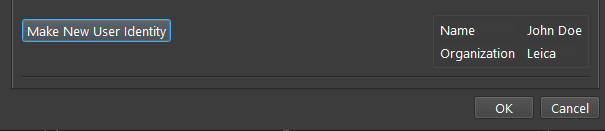
The User Identity is separate from the Scanner Identity in the Verification Report. This allows different User Logins to have different Trusted Signatures Whitelists. Under Settings go to the Signature tab. Select Make a New User Identity on the bottom left. Note that on the bottom right it shows the current User Identity.

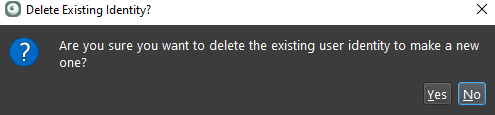
Only one User Identity is allowed at a time, if there is already one present, the user will be asked to delete it.
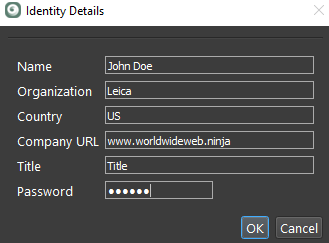
You will have the option to select the following information: Name, Organization, Country (2 letters only) Company URL, Title, and Password.
Your new User Identity will be in the bottom right.
This information will be propagated to the Report section in Cyclone REGISTER 360 PLUS.
NOTE: This is separate from the signature of the scanner in the Verification Report.