2023 Import directly from BLK360
Cable connection import workflow:
Open Cyclone REGISTER 360 PLUS Standard or Cyclone REGISTER 360 PLUS (BLK Edition) and create a project.
Turn on the BLK360 and wait until the green light is on and not blinking.
Connect the included cable (USB-C) to the scanner.
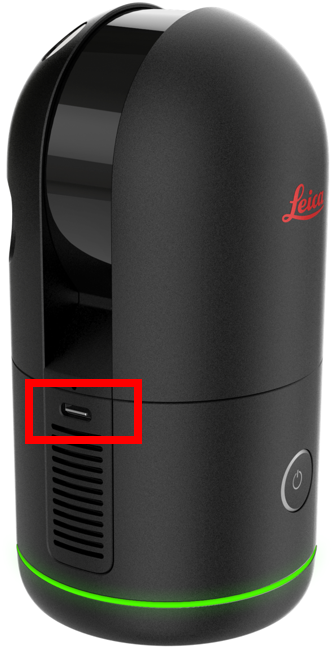
Connect your scanner to your computer.
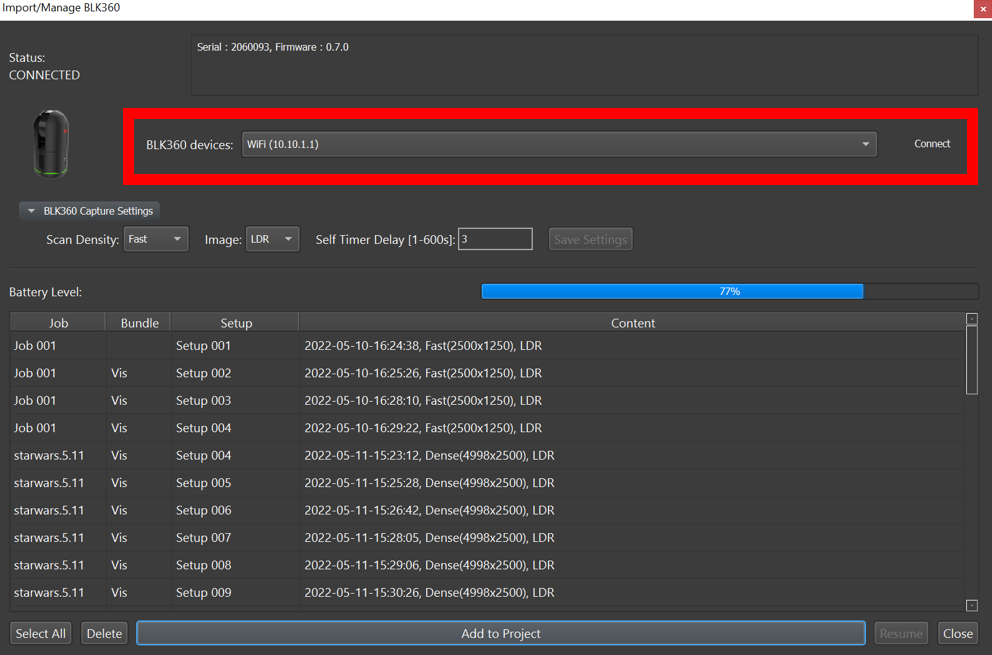
Select the BLK360 from the drop-down list to open the Import/Manage BLK360 dialog:
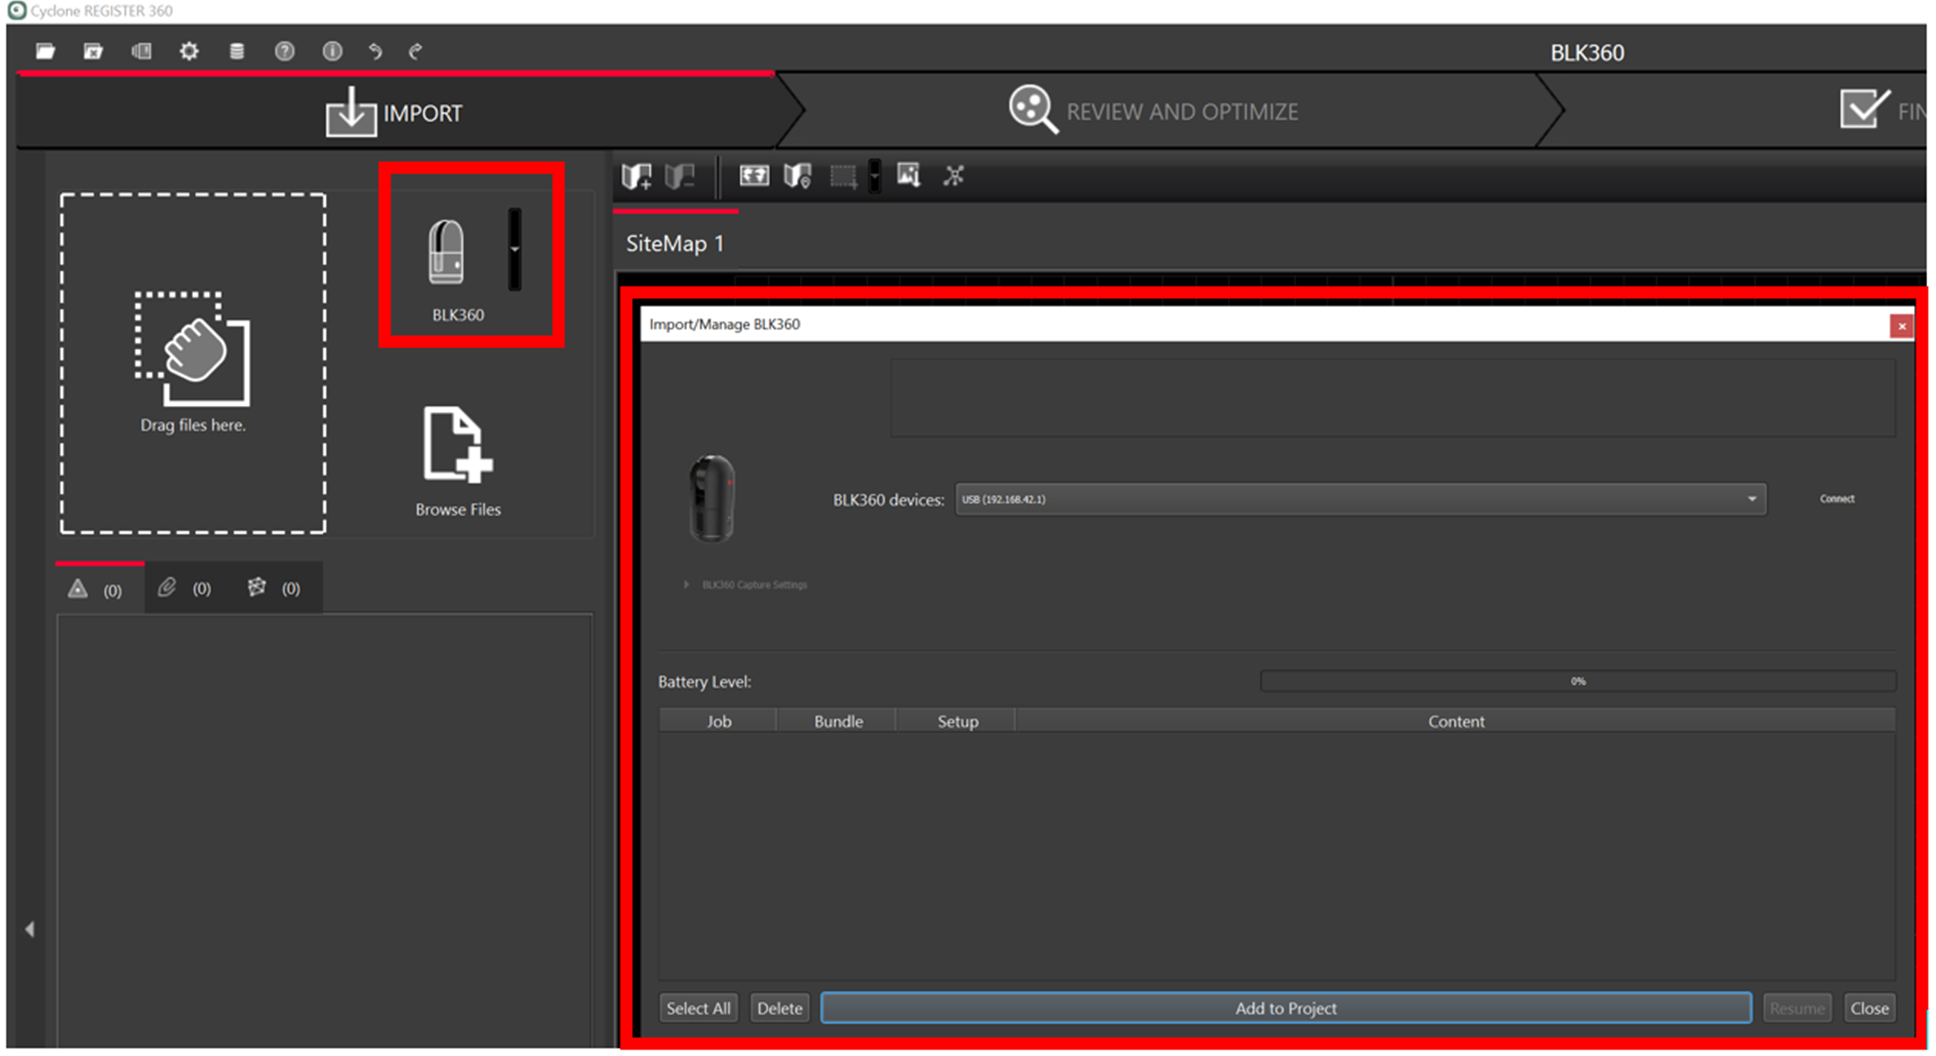
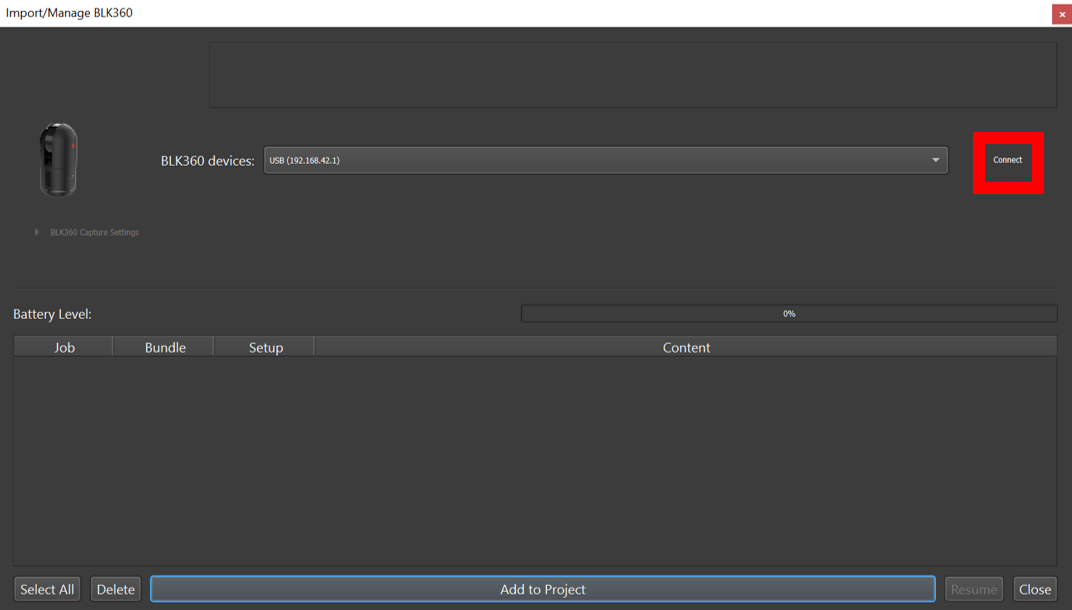
The available scanners will be listed by serial number.
Select the Connect button to establish a connection to the scanner.
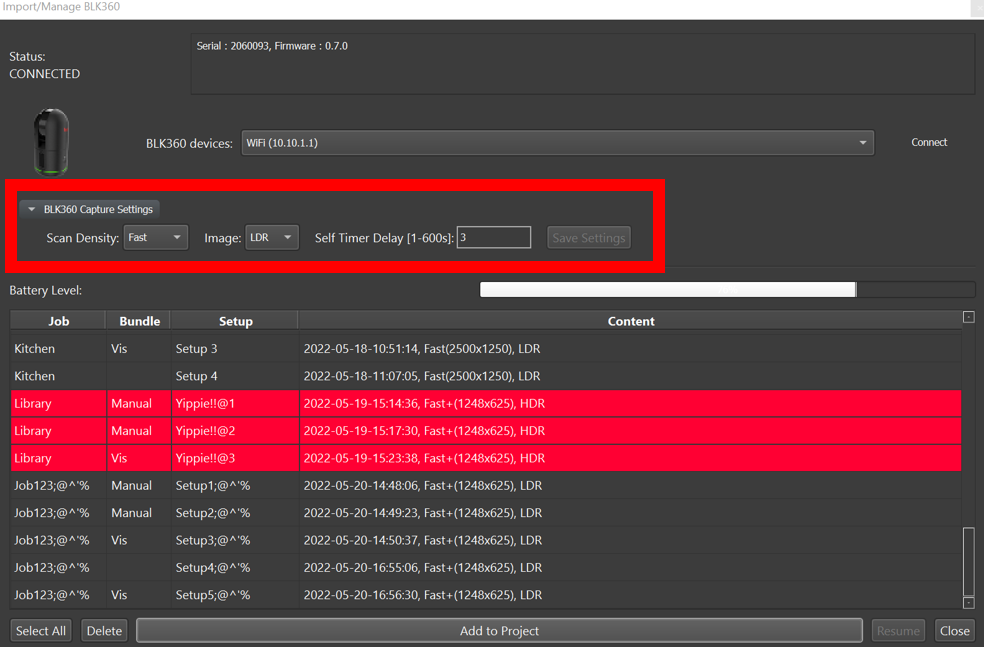
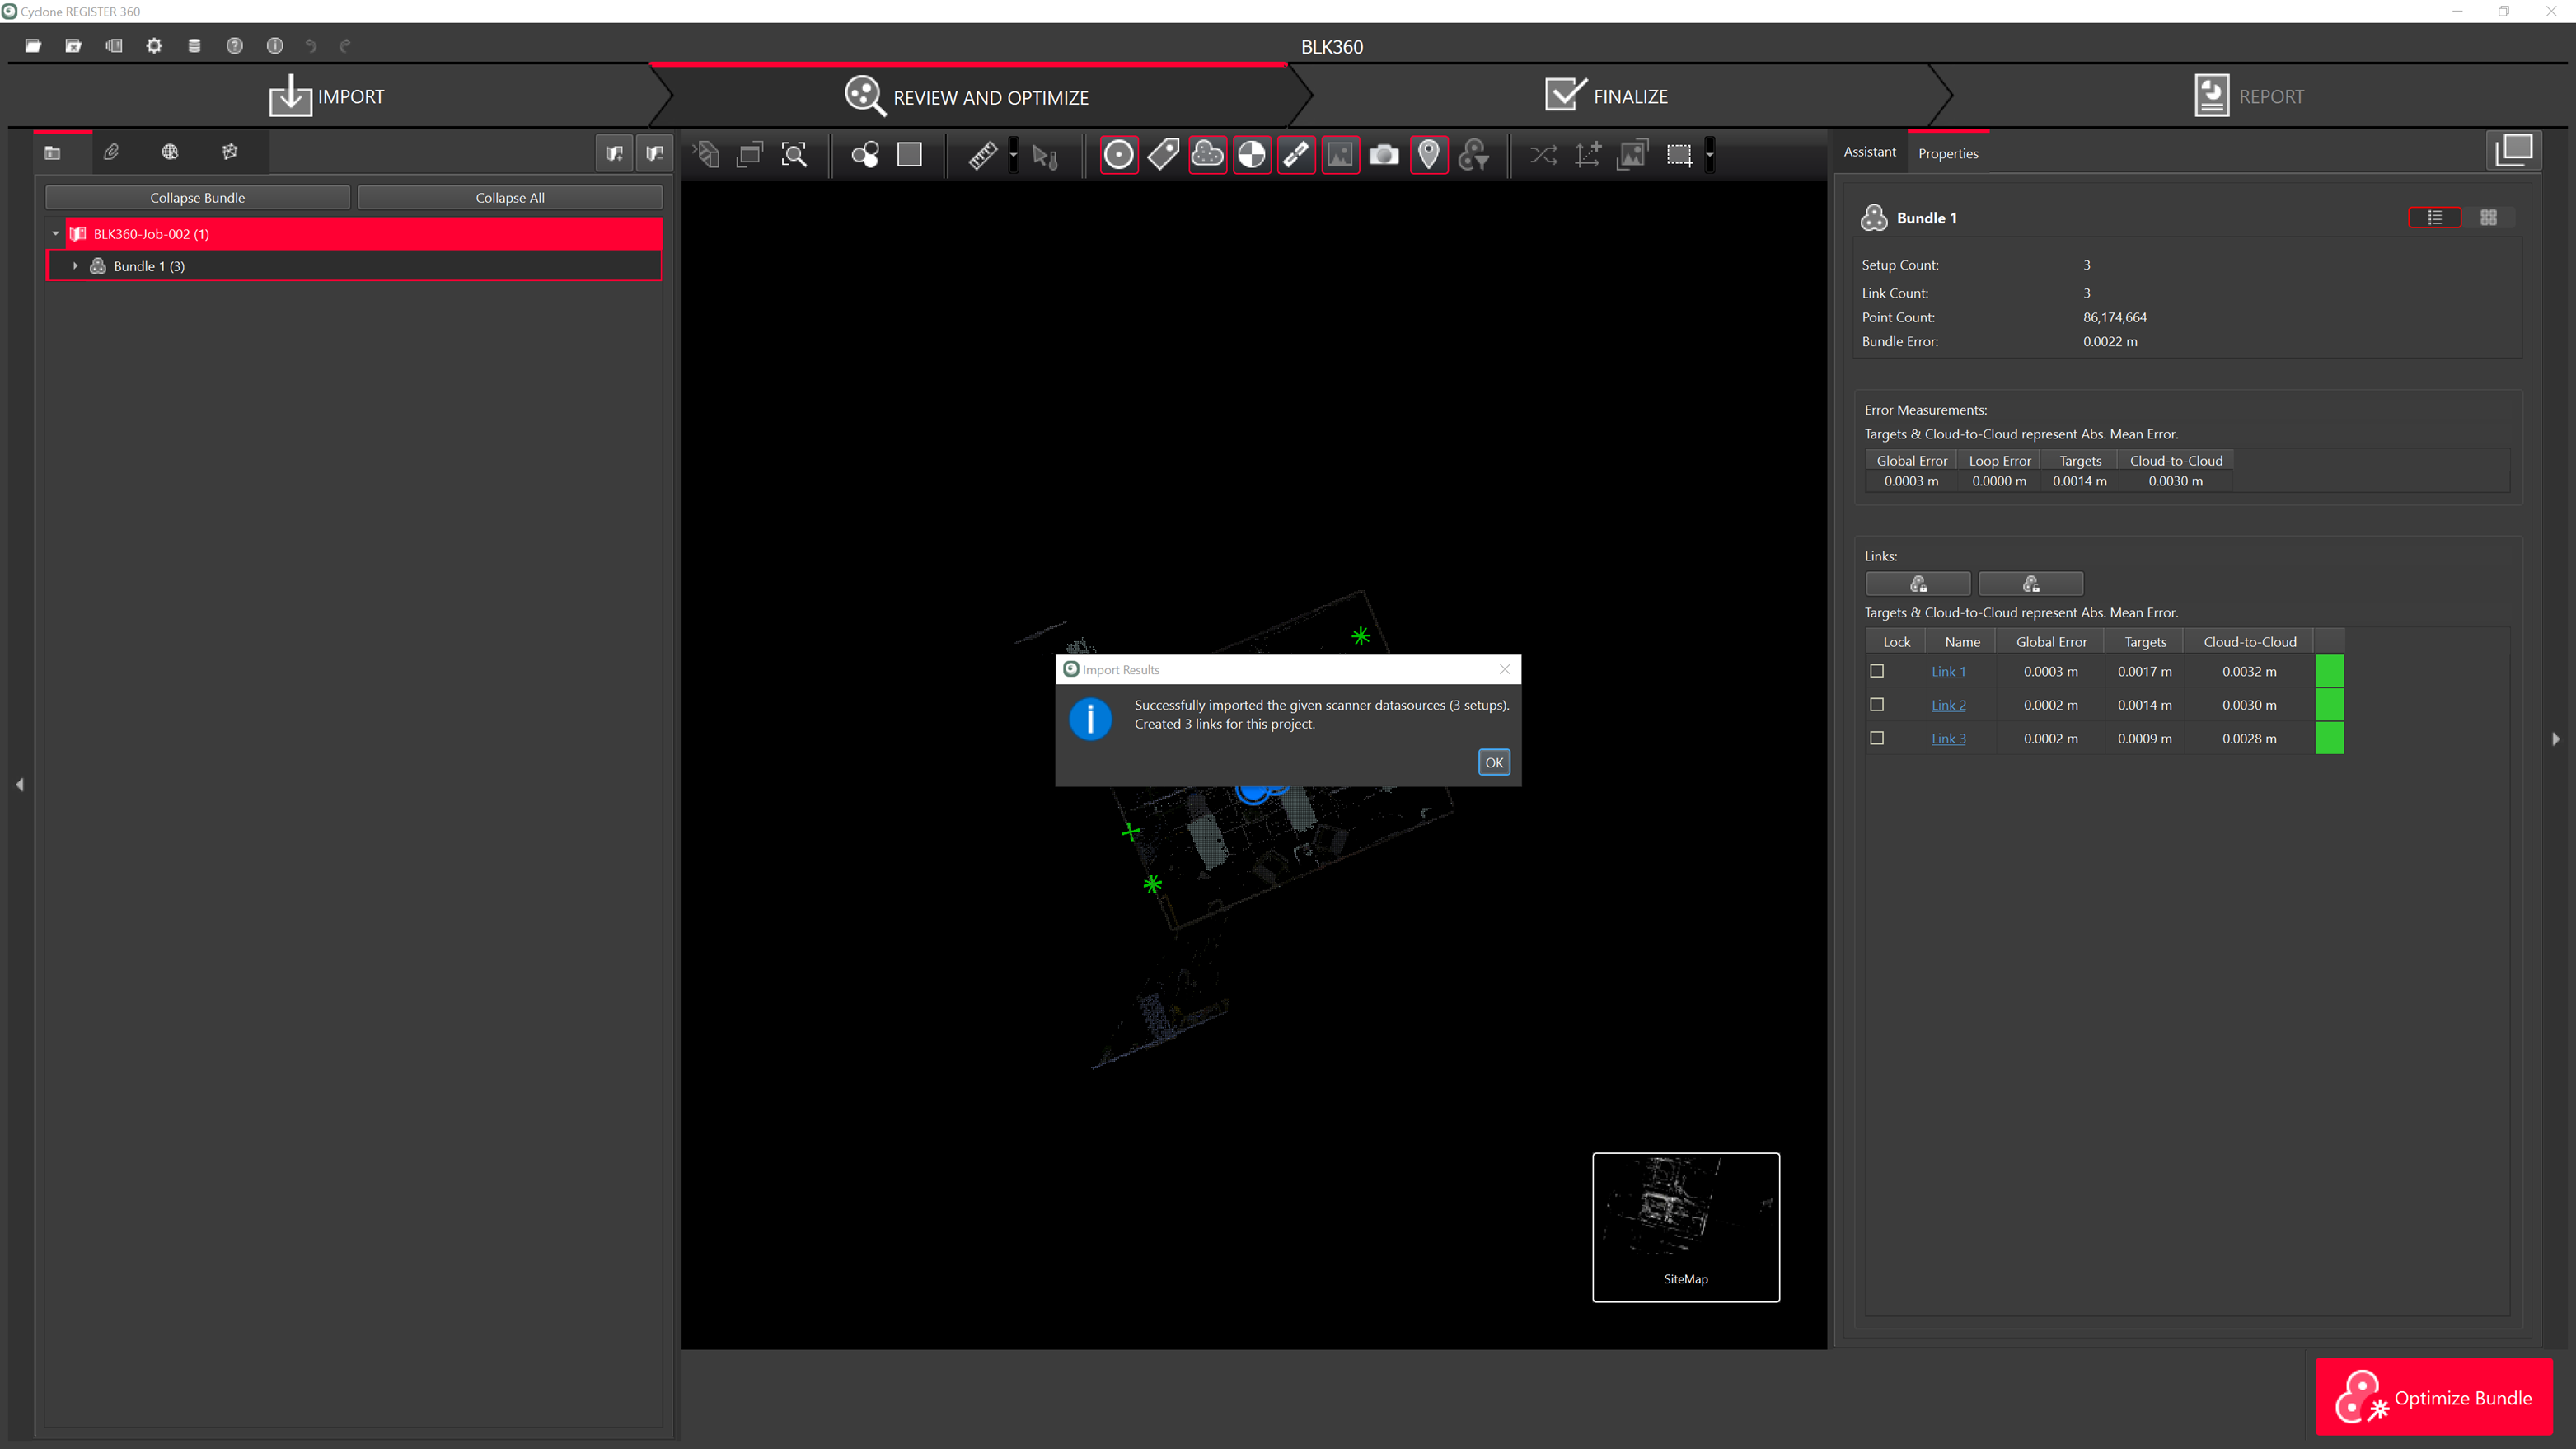
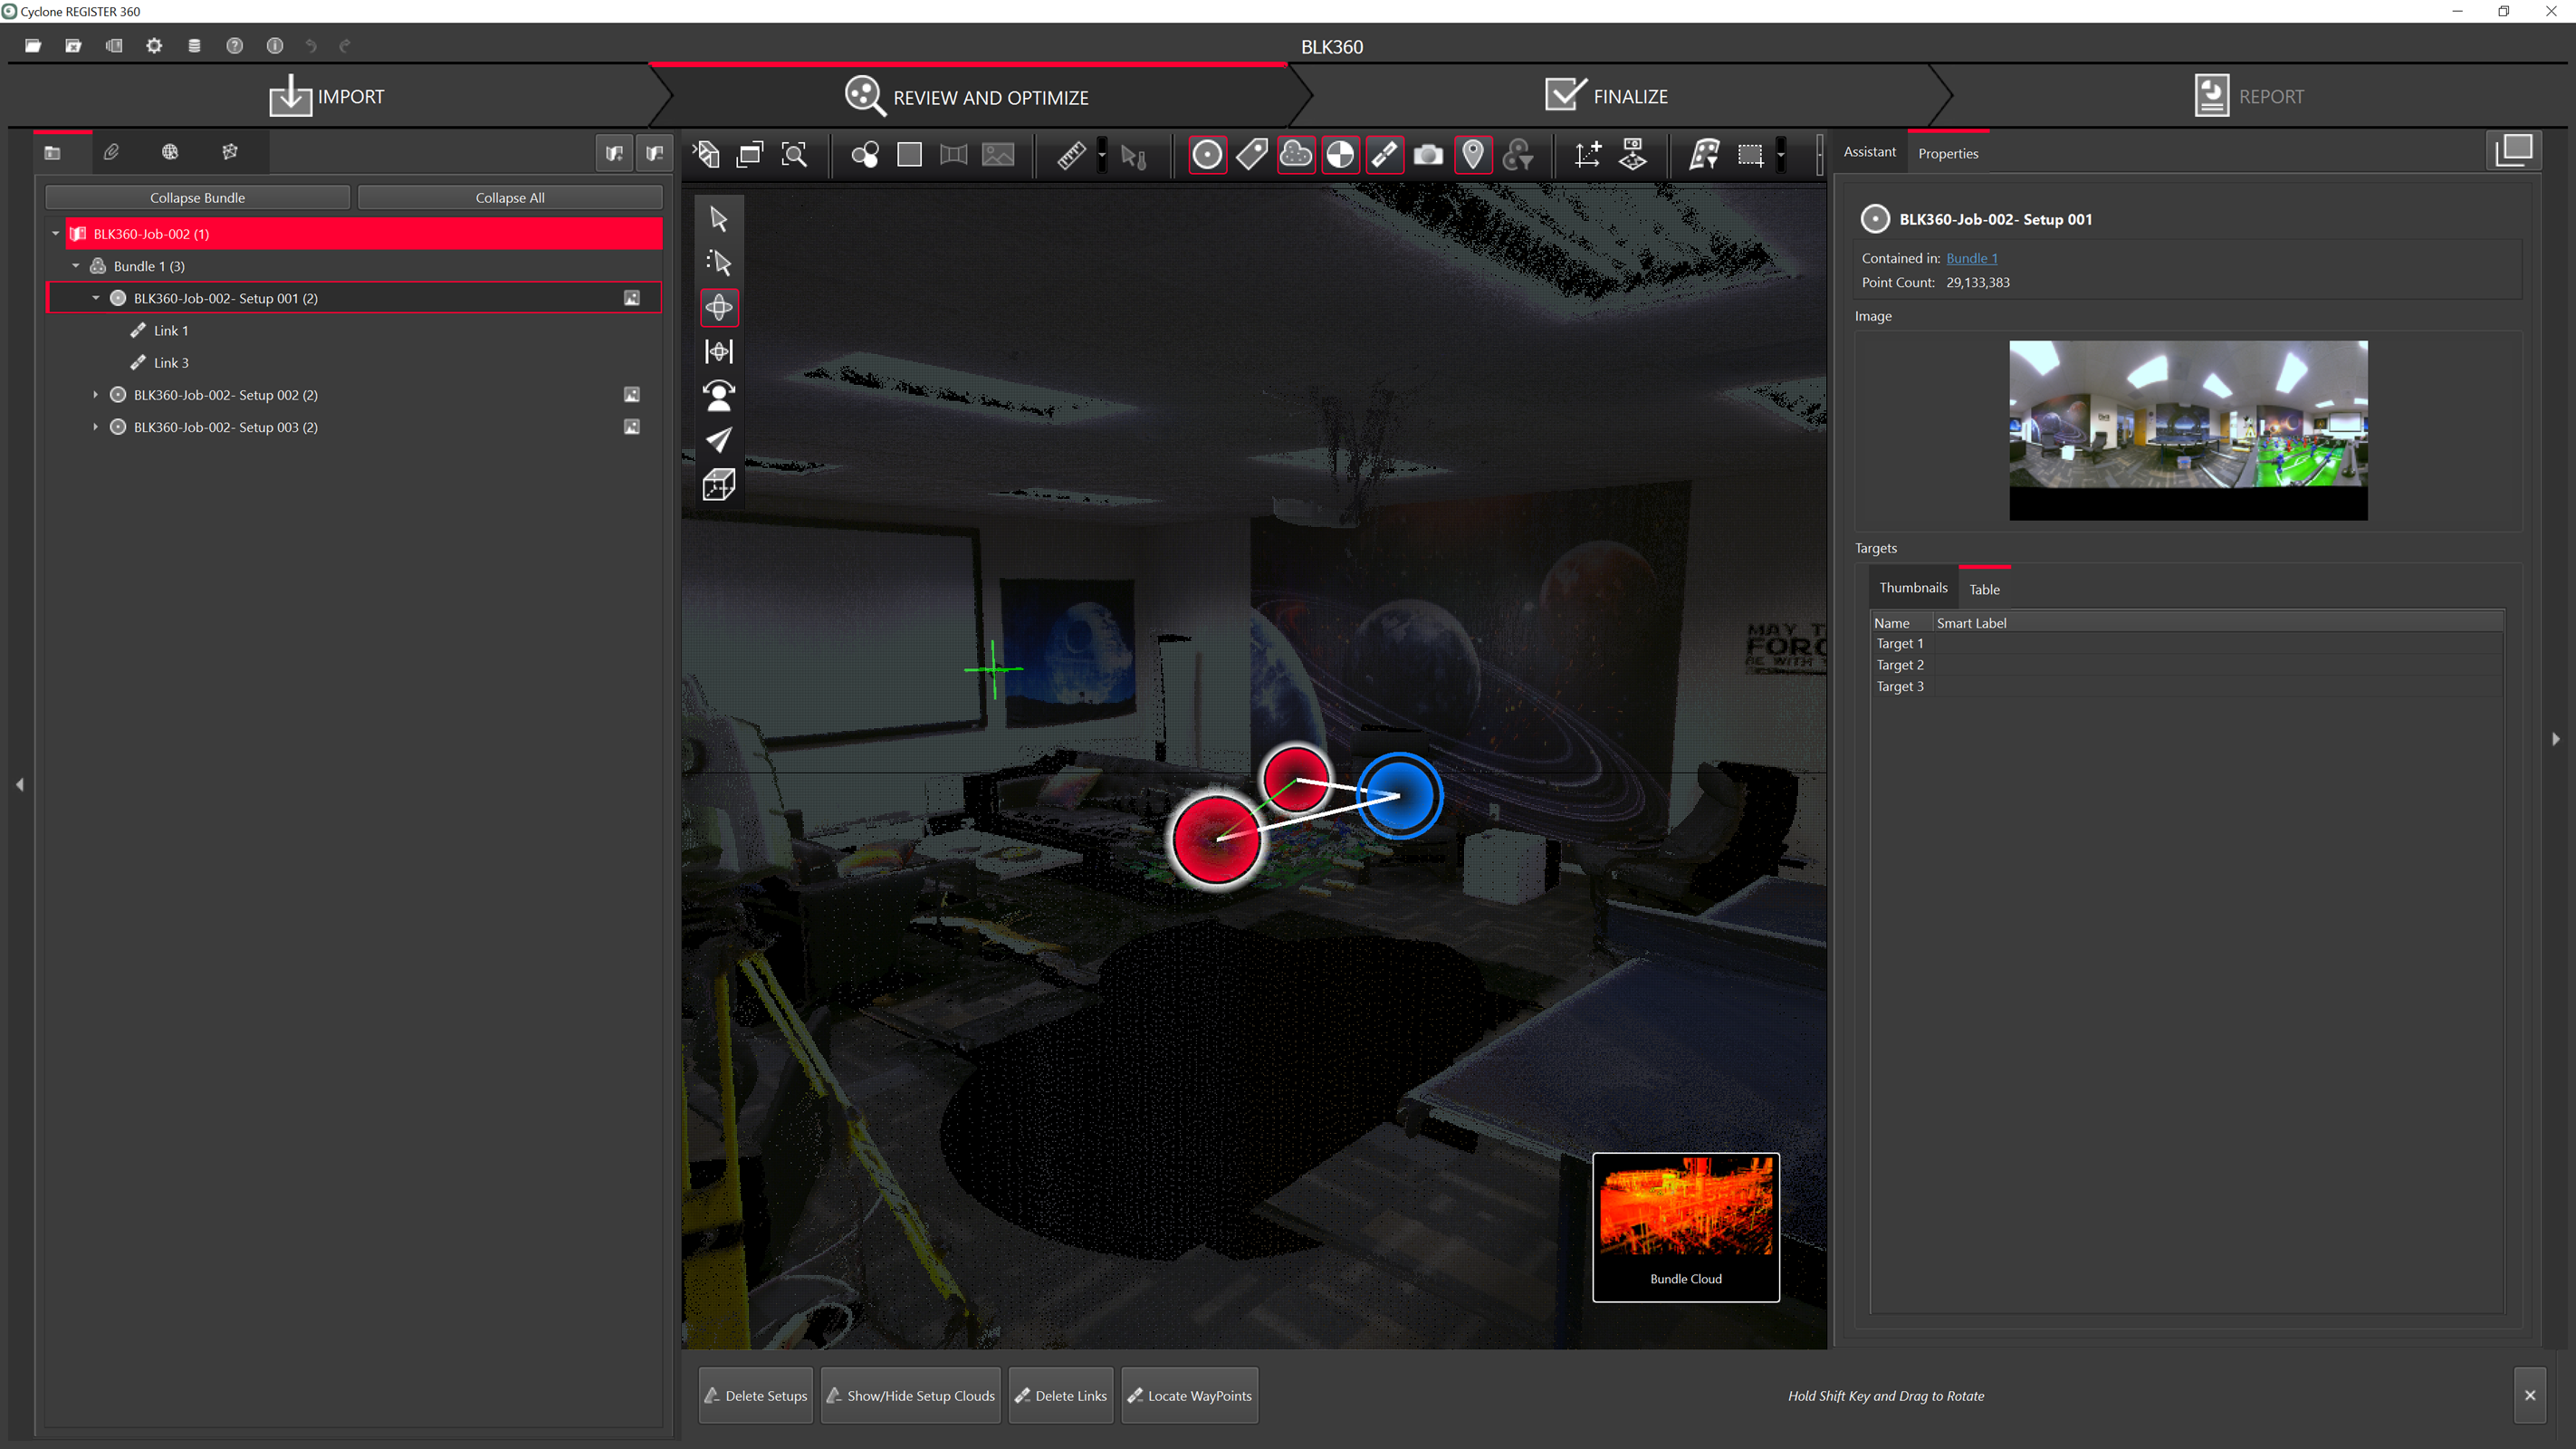
Select the scans or projects to import and click on Add to Project. This will display all available Scans in the import panel and show any links that were created in the field.
There is an option called High-Quality Image Import.

Select one or more Setups in the Import area and right-click to see the new import option.
Using this command will import the highest level of pixels available to form the panoramic Images.
The option is only available when connected directly to the BLK360 scanner.
Select the Bundles and Setups using the check box to the right of each.
Users can set the options for future scans
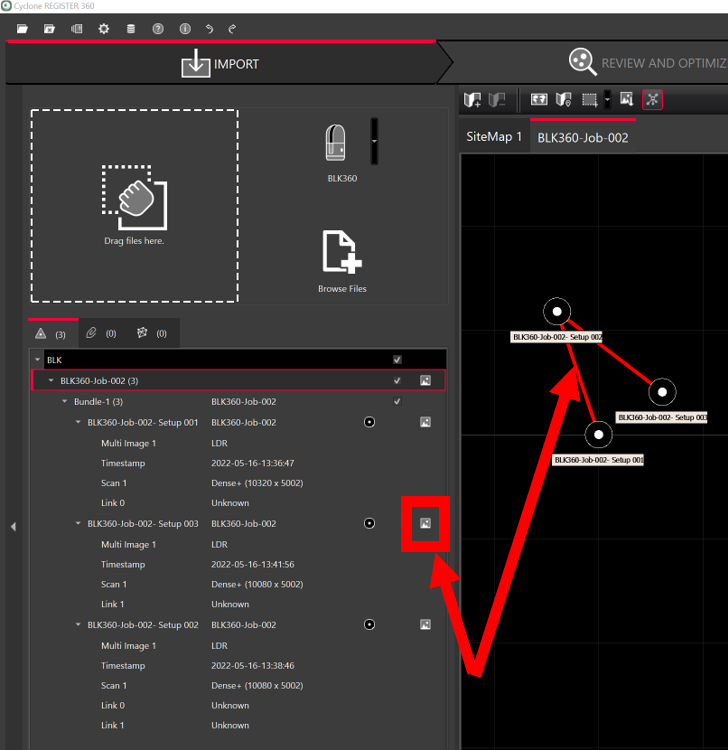
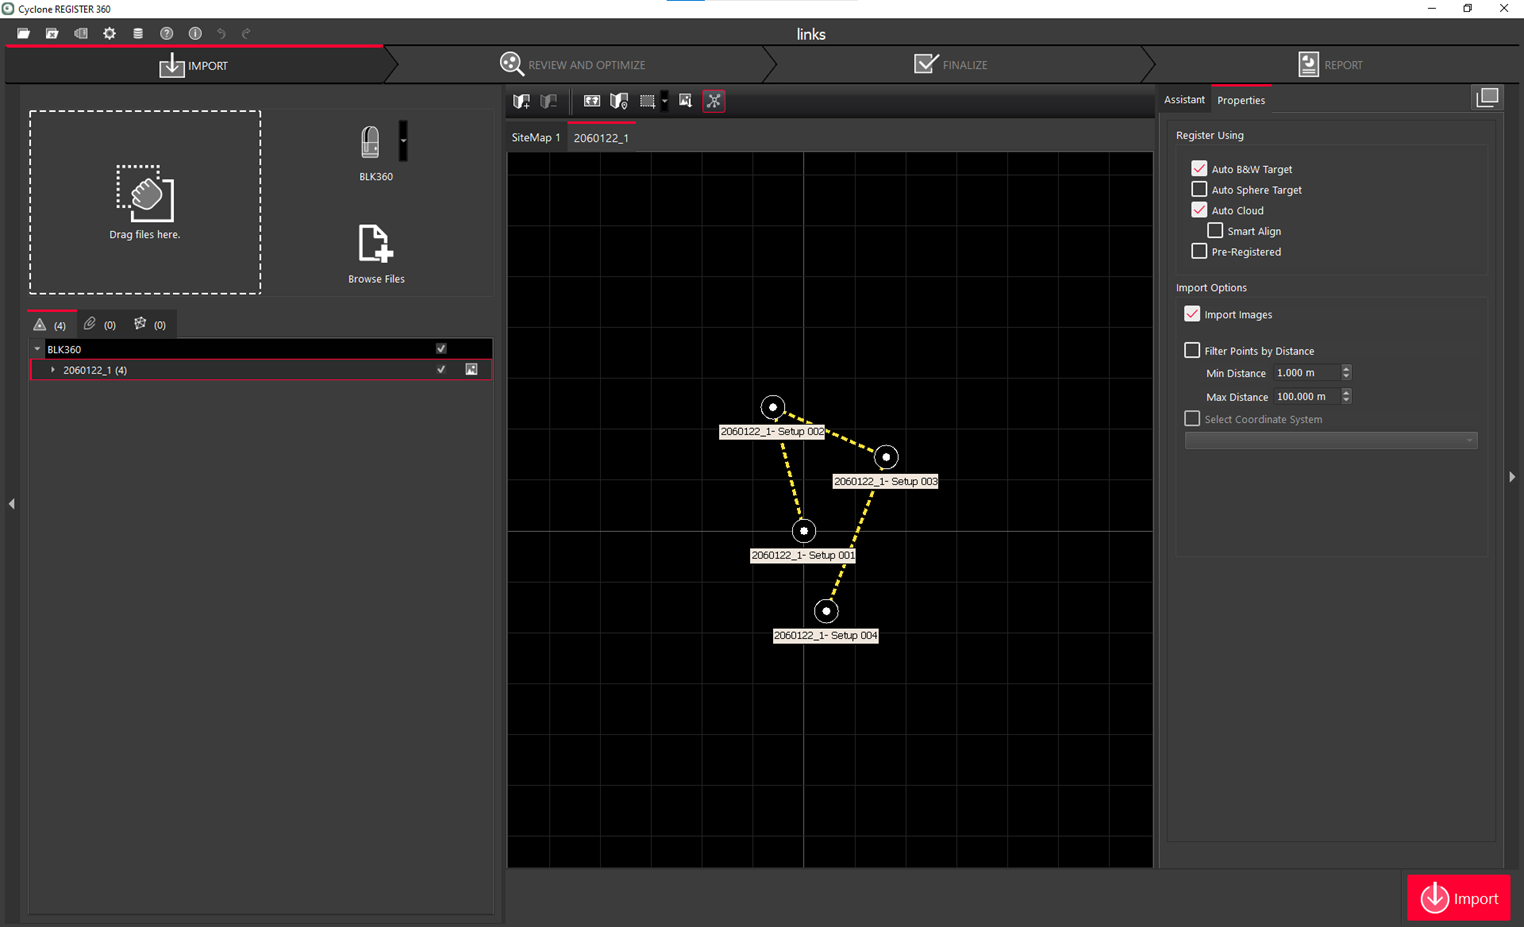
The BLK360 has VIS links like the RTC360, but there are no LWPOs (Light Weight Preview Object that allows a preview of the scan to be seen before importing).
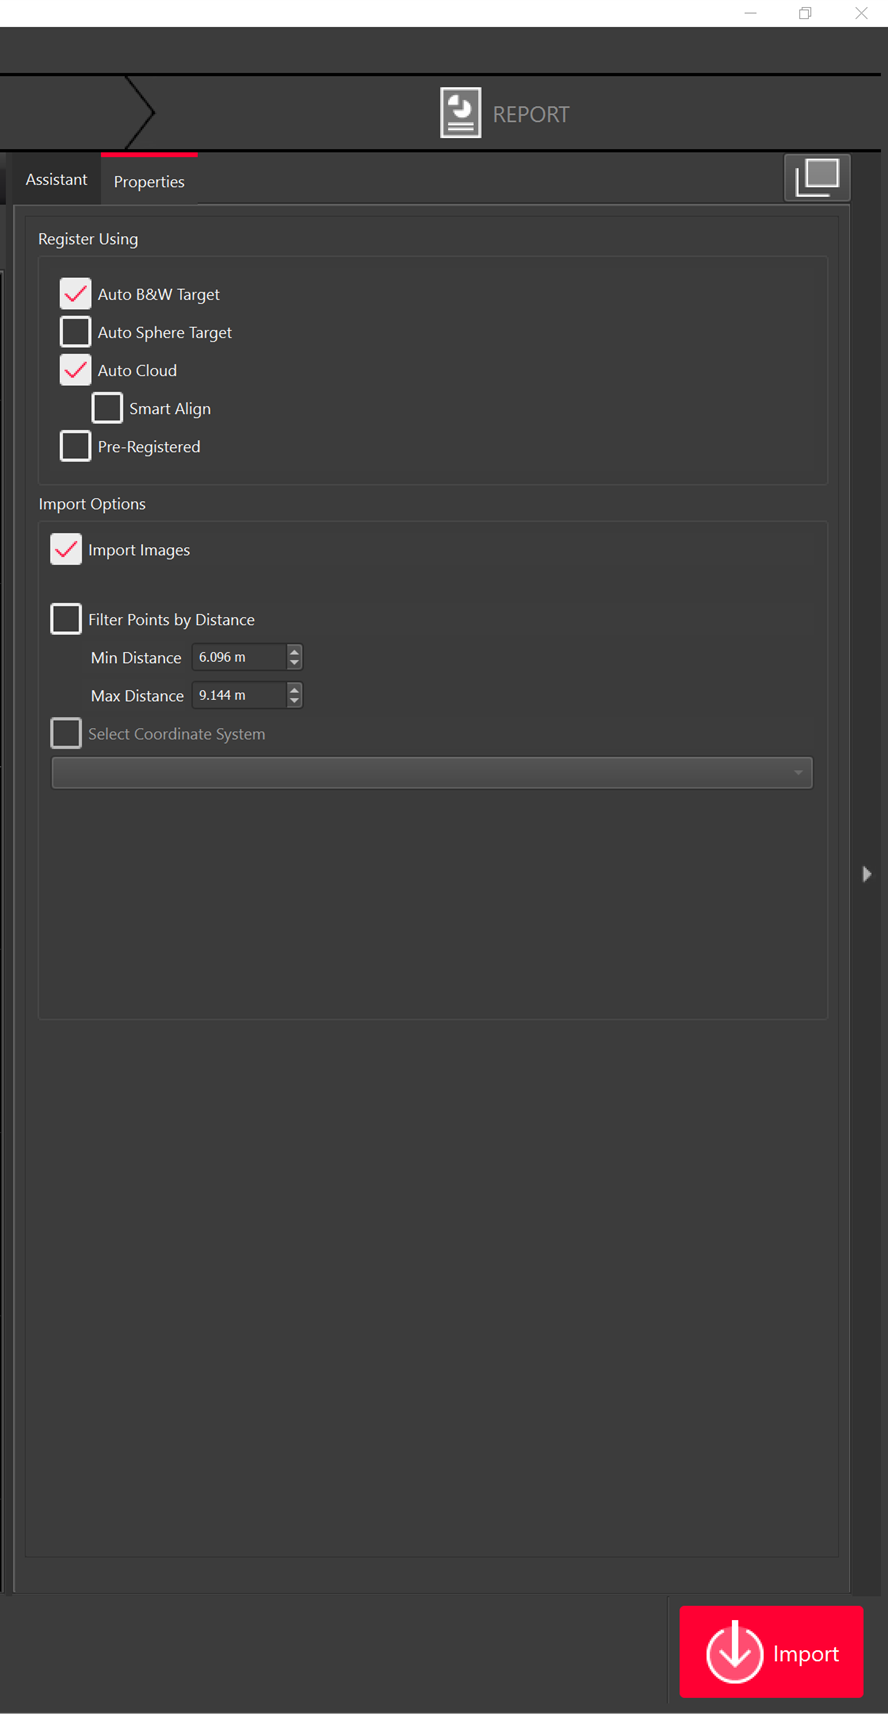
Select the Register Using and Import Options and then click on Import.
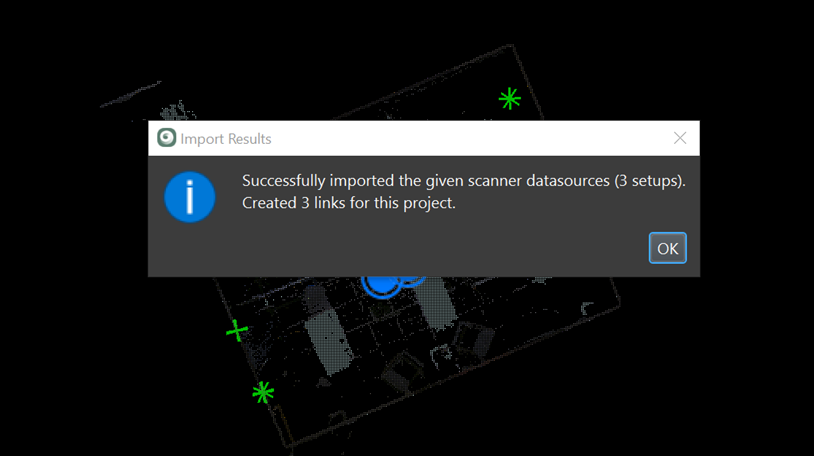
The scans will then be imported.
WiFi connection import workflow:
Connect to the wireless network of the BLK360 scanner.
The Serial number of the scanner is the name of the network and the password.
Open Cyclone REGISTER 360 PLUS Standard or Cyclone REGISTER 360 PLUS (BLK Edition) and create a project.
Select the BLK360 Option to open the connection dialog:
Continue with data download and import beginning with Step 5 in the Cable connection import workflow above.
