2022.1.1 | RTC360 or BLK360 G1 files to registered point clouds exported to E57
Through a CMD window, the user identifies a staging folder on the computer where the data is located. Then the user enters a command in the CMD window to start the registration process. Cyclone REGISTER 360 will use either VIS links or Cyclone FIELD 360 links to import and register the data.
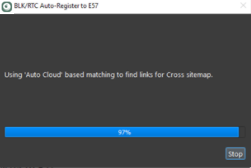
Any setups not linked by VIS or Cyclone FIELD 360 will be registered using the Auto Cloud.
Support for the BLK360 G1 includes Auto Cloud for registration. Cyclone FIELD 360 linking is NOT supported for BLK360 G1 data due to the fact that Cyclone FIELD 360 links are stored exclusively on the tablet. This command does not support .blk files from the new generation BLK360.
Once imported, Cyclone REGISTER 360 will export the current state of the registration to separate e57 files.
A text file showing the registration results will be written to the user-specified staging folder.
Available options for the CLI tool:
Panoramic image resolution (1K-5K). The default is 2k or 2048.
Delete Cyclone REGISTER 360 project after import. The default is to NOT delete the project.
The CLI tool supports automatic registration for scanner data from the RTC360 in the following ways:
RTC360 with VIS link only.
RTC360 with Cyclone FIELD 360 Links only.
RTC360 with no VIS or Cyclone FIELD 360 links (Auto Cloud will be used in this case).
RTC360 with any combination of the above.
The CLI tool supports automatic registration for scanner data from the BLK360 in the following way:
In the form of *.blk files from the BLK Data Manager.
Auto Cloud will be used to register.
Workflow
Create a staging folder on disk to contain the data to register.
2. In this example, the path is set to d:\datasets\staging.
3. Copy scanner data to the staging folder.
NAS drives for the Staging folder are not supported. The staging folder must be on a local drive.
4. Open a CMD prompt.
5. Set the path to the installation directory of Cyclone REGISTER 360.
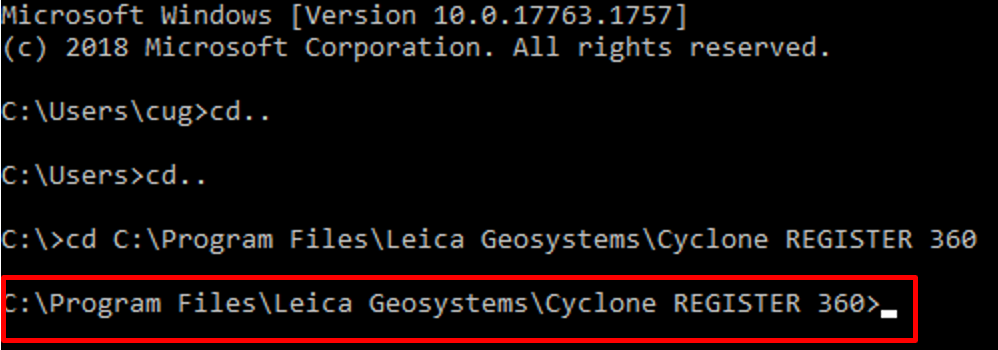
6. Type in the following commands:
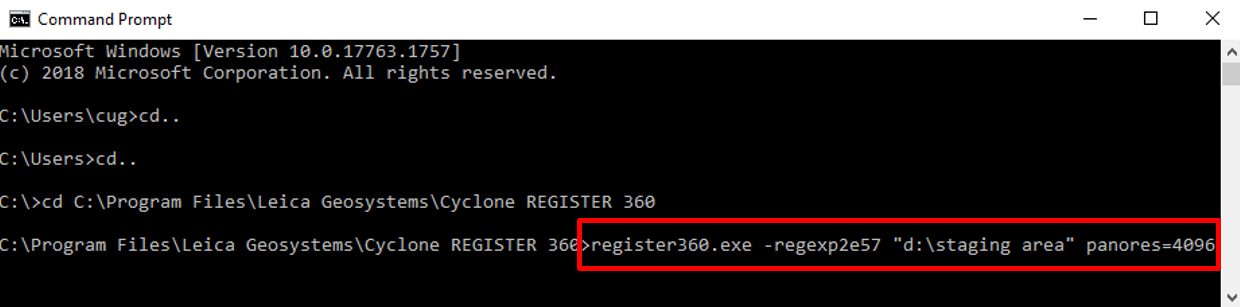
7. Base command to run the CLI tool: register360.exe -regexp2e57
8. Include the path to the staging folder (example shown): "d:\staging area"
If the staging folder path contains spaces then quotes must be included at the beginning and end of the path.
Options if desired:
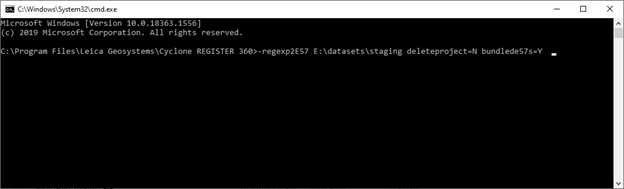
deleteproject=Y or (N) - default is N if option not used.
panores=1024 (or 2048,4096 or 5120)- default is 2048 if option not used.
Example of a CLI entry:
9. Click the return key to start the CLI tool.
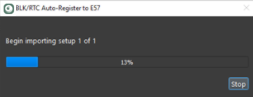
10. Cyclone REGISTER 360 will start in the background and expose a processing dialog:
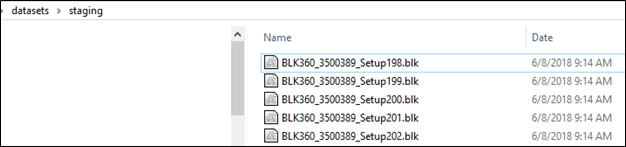
11. Contents of the staging folder after processing is finished:
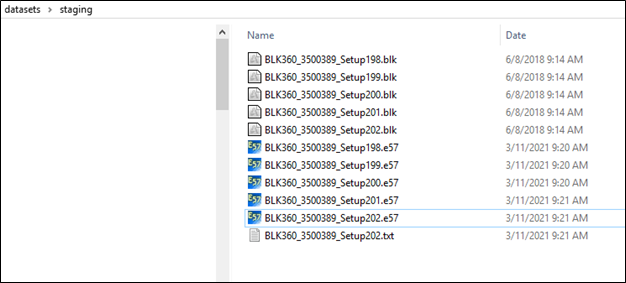
12. The e57 files created with the registration transformation and a text file showing the registration results and bundle errors are copied to the staging folder.
13. Open Cyclone REGISTER 360 to view the project and check the registration.
This step is optional and only for verification.
14. Cyclone REGISTER 360 will shut down after the registration and export of E57 files.
NOTE: This can be used to export all setups into a single E57 using the flag bundlede57s=Y