2022.1.1 | BLK ARC Support
The Leica BLK ARC is an autonomous laser scanning module for robots. It is designed to be integrated with robotic carriers to enable autonomous mobile laser scanning with minimal or no human intervention. Users can simply plan a scan path and set BLK ARC off on its own to scan autonomously.
How to Transfer BLK ARC scanner data
BLK ARC – Wi-Fi import workflow
The scanner has two ports, one for the power supply of the device and another for USB-C cable connection:
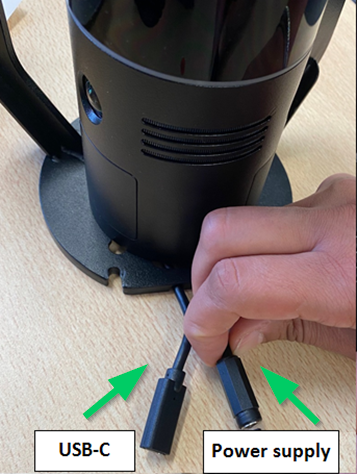
Plugin the external power supply
2. Plugin the USB-C cable that acts as a button On/Off until led turns green.
3. Unplug the USB-C cable.
4. Connect to the wireless network of the BLK ARC scanner. SSID and password are listed at the bottom of the scanner and on the connectivity, card shipped with the scanner.
5. Once connected, open Cyclone REGISTER 360 Standard or BLK Edition and create a project.
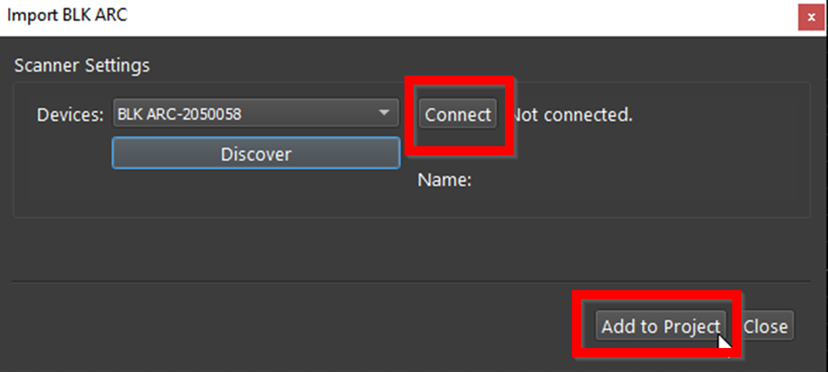
6. Click on the BLK button to open the connection dialog
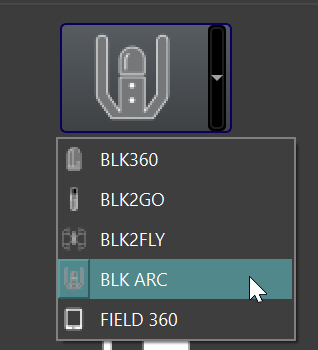
The available scanners will be listed by serial number.
If the dialog is open before a Wi-Fi connection is made, use the Discover button to detect scanners.
7. Click the Connect button to establish a connection to the scanner.
8. Then click the Add to Project button. This will display all available Scans to the import panel
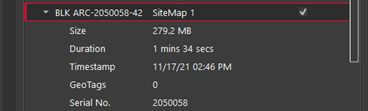
Listed under each Scan is its data size, duration, time stamp and the number of GeoTags it contains:
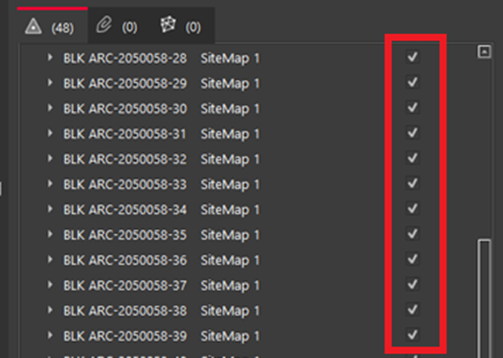
9. Select the Scans to import by using the check boxes to the right of each Scan.
10. Scans can be deleted from the scanner by right clicking selected Scans.
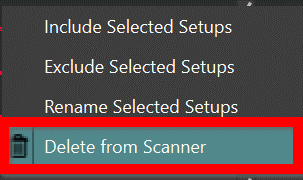
Scans can be also renamed with Rename Select Setups.
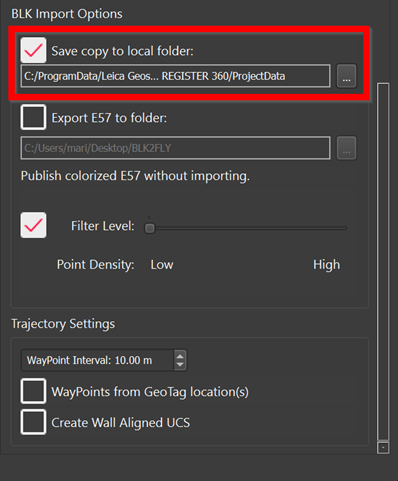
11. Then, on the BLK import section, select the interval for WayPoint creation.
The default is one WayPoint every 10 meters.
WayPoints are inserted Setup positions that only contain pano image data.
The shorter the interval, the more WayPoints will be created.
Each WayPoint will increase import time.
When finished there will be one-point cloud with several WayPoints that contain panoramic image data from a position along the trajectory.
Waypoints can be also created at the GeoTag Location if detail images were captured during the scan.
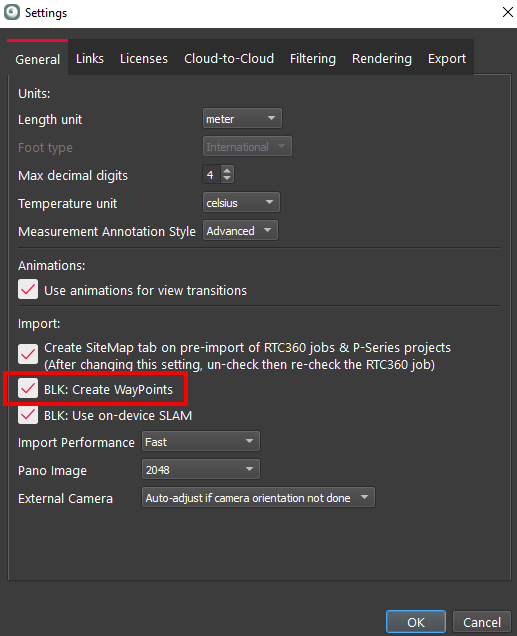
To save time importing BLK data there is an option to import the data without colorizing the data or creating WayPoints that contain panos. To use this configuration, go to Settings and under the General tab un-check the option BLK: Create WayPoints and colorize point cloud.
12. Click the Save copy to local folder check box and then select a download location using the browse button to save a local copy of the scanner data to disk. The file extension is *.b2g.
Note: This step is not necessary but recommended as best practice. Please always store a backup of your raw data.
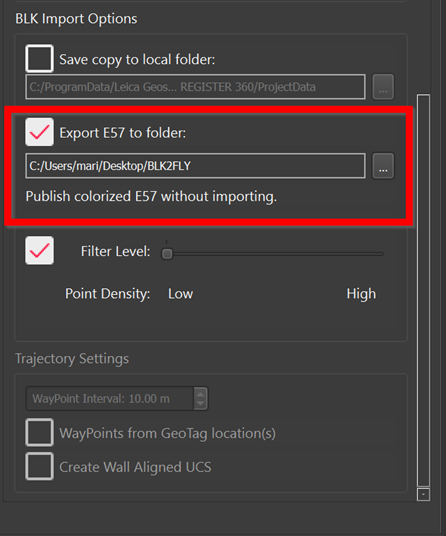
13. To export a scan in e57 format you can choose this option selecting Export E57 to folder, defining the path. This option won’t store any scan into the project.
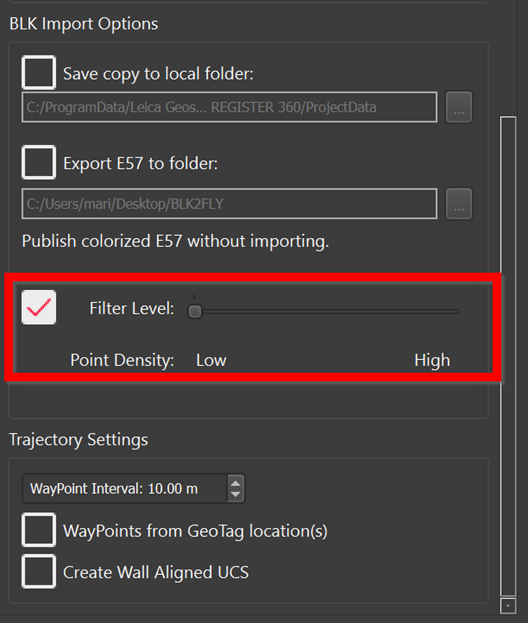
14. To apply filtering of points on the pointcloud select Filter level and then choose between Low or High. The Low filter will provide more points than High filter
15. Press Import and wait until import and processing of the selected Scan is complete.
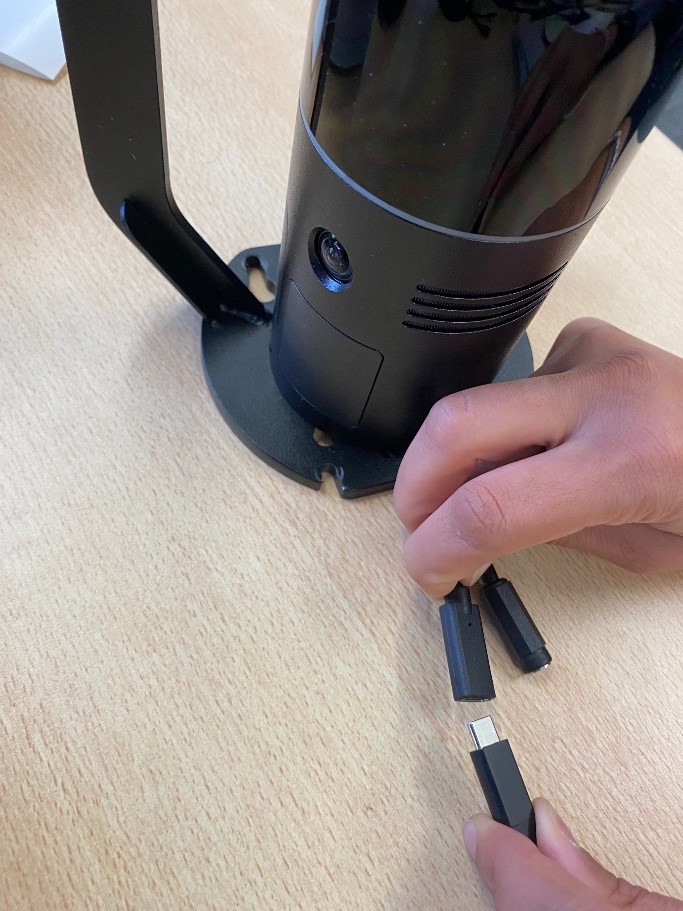
BLK ARC – Cable connection import workflow
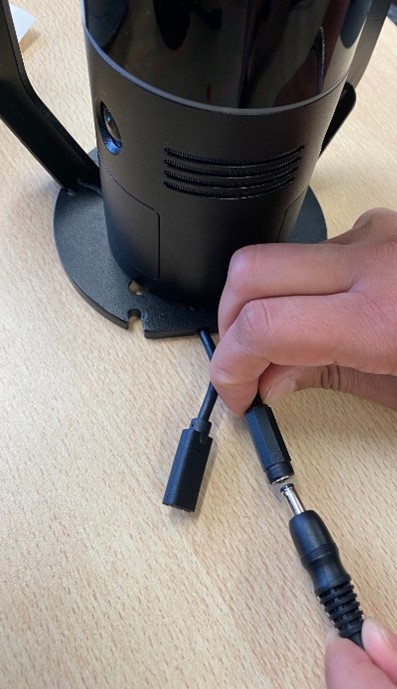
Connect the included USB- C cable to the scanner as in the image. The power supply is provided via the USB-C connection.
2. Connect your scanner to your computer.
3. Continue with data download and import beginning with Step 5 in the WiFi workflow above.