Simplified Azure deployment
This step-by-step guideline demonstrated how to deploy Cyclone ENTERPRISE by using the Azure Resource Manager (ARM) templates on Microsoft Azure.
Note: The provided instructions help to reduce the number of steps required for the deployment of Cyclone ENTERPRISE simplifying the process for the users.
Prerequisites
The following is the list of prerequisites:
An Azure account.
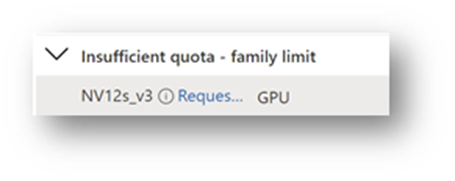
The Azure account should not have limits on applying instances equipped with NVIDIA GPU.
The Azure Resource Manager (ARM) template (*.json).
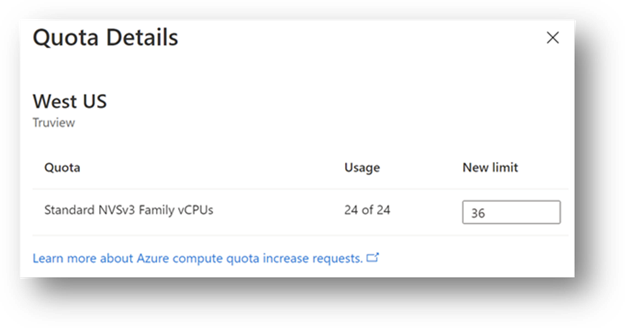
Note: In case of insufficient quota in the account, the quota should be increased to meet the requirements
Deploy an ARM template
The following steps describe how to deploy an ARM template
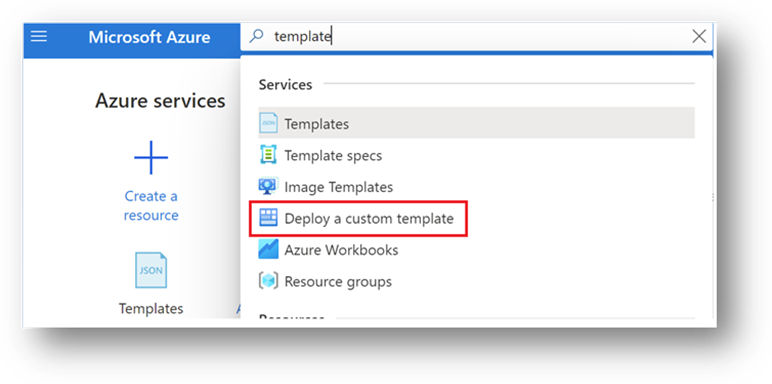
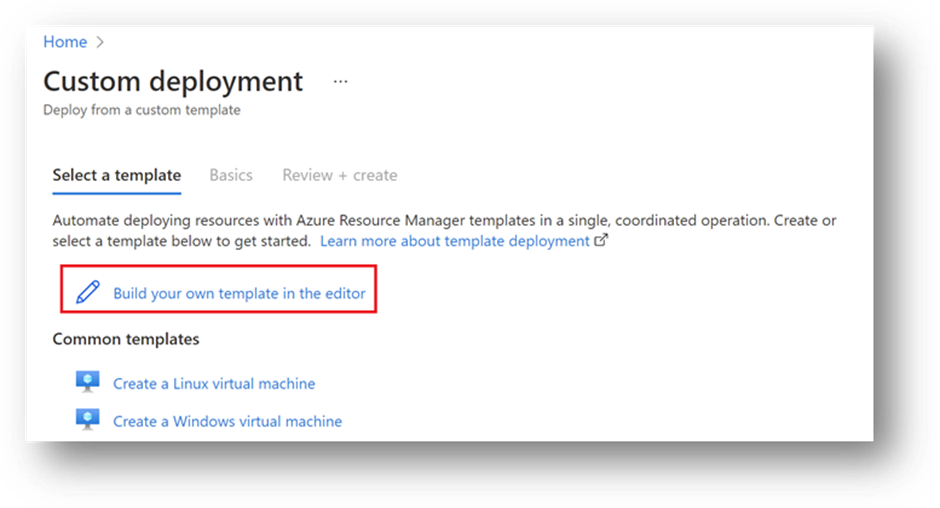
1. Type “templates” in the search bar on top of the Azure dashboard and select “Deploy a custom template”.
2. Choose Build your template in the editor.
3. Upload prepared the provided template file (.json) into Azure.
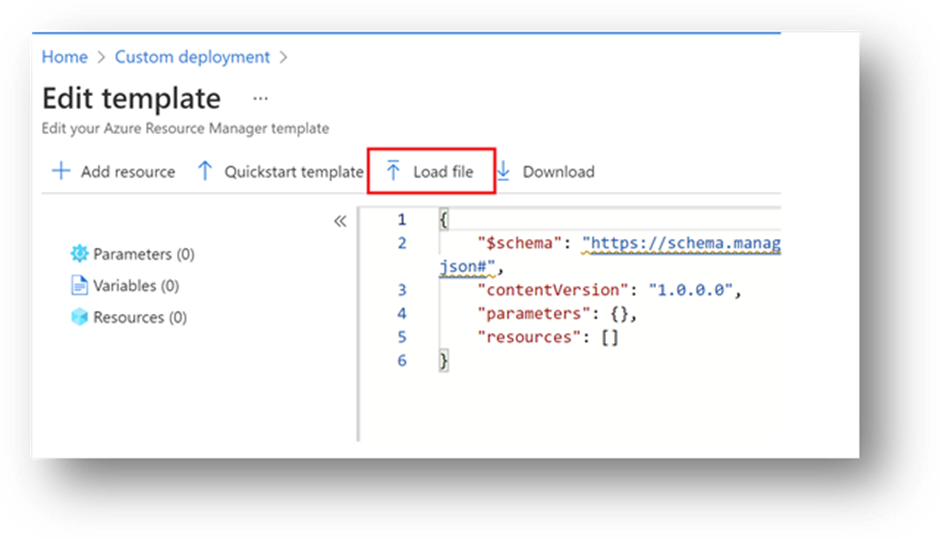
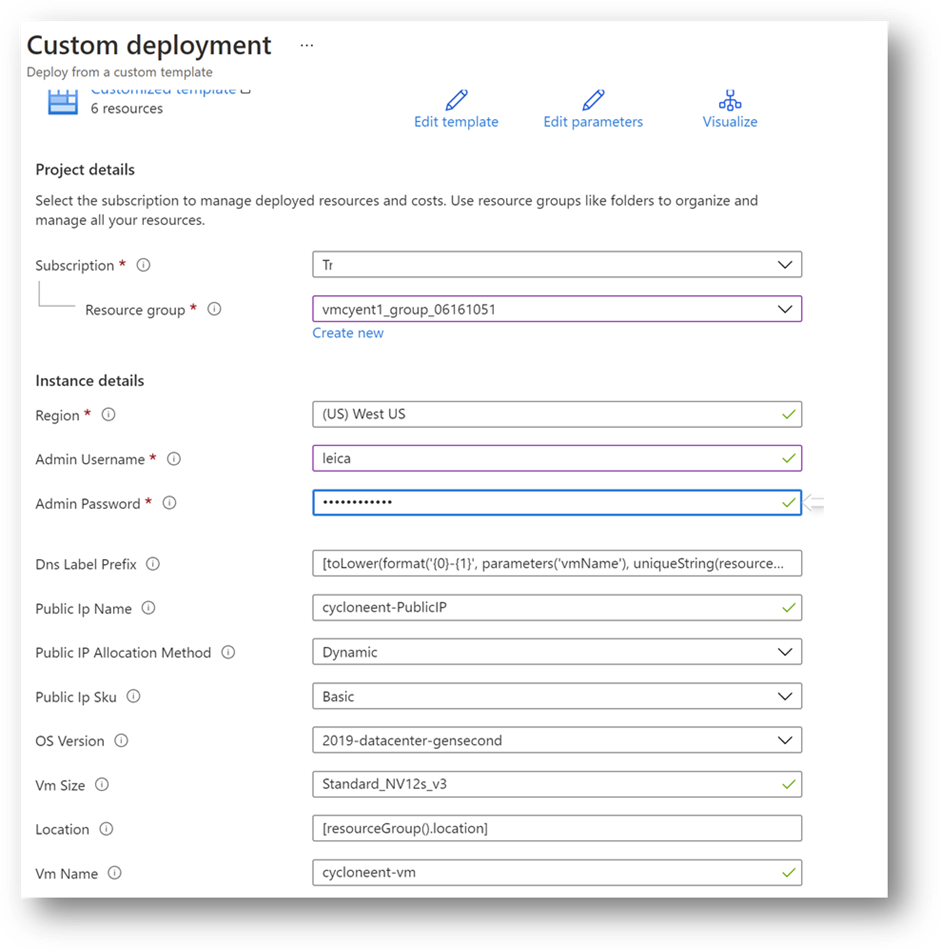
4. Save the template and input the required parameters.
The names of IP/VNet/VMname start with
cycloneent-, by default.The default VMSize is “Standard NV12s v3 (12 vCPU, 112 GiB memory)”.
The default OS version is Windows Server 2019 datacenter (2nd gen).
The default ports allowed within the template are 80/443/3389/5050.
This template will deploy the NVIDIA GPU driver extension for this instance.
The NVIDIA driver will be installed after the VM instance is deployed.
Note: Avoid using phrases like “Admin” or “Administrator” for the Admin Username. It will fail the templates.
Note: The provided password should meet the minimum security requirements. Otherwise, the template will fail.
Execute an ARM template
The following steps describe how to execute an ARM template
Click Review + Create to proceed to the next page, then click Create. The Azure will execute resource deployment automatically.
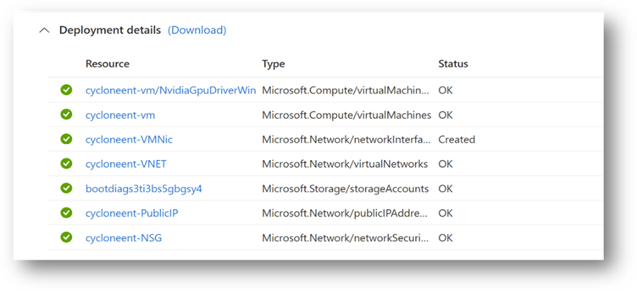
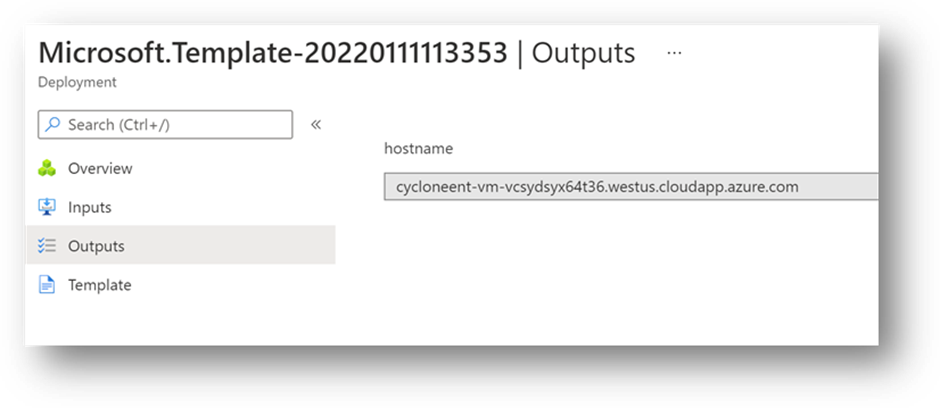
2. After the template is processed, you will the deployment details.
3. If the deployment is successful, click Outputs and copy the public DNS name of the newly deployed VM on Azure. This DNS equals to public IP address, you can use the address to access this server through the remote desktop protocol (RDP).
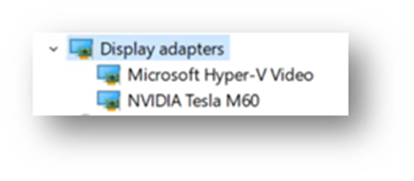
4. Check the NVIDIA GPU Driver
a. The NVIDIA driver will be installed through the NVIDIA GPU Driver Extension.