This guide provides a detailed workflow for extracting duct segments and connecting them into a run using the duct fitter in CloudWorx for Revit.
Practice Data
Importing Project Data
-
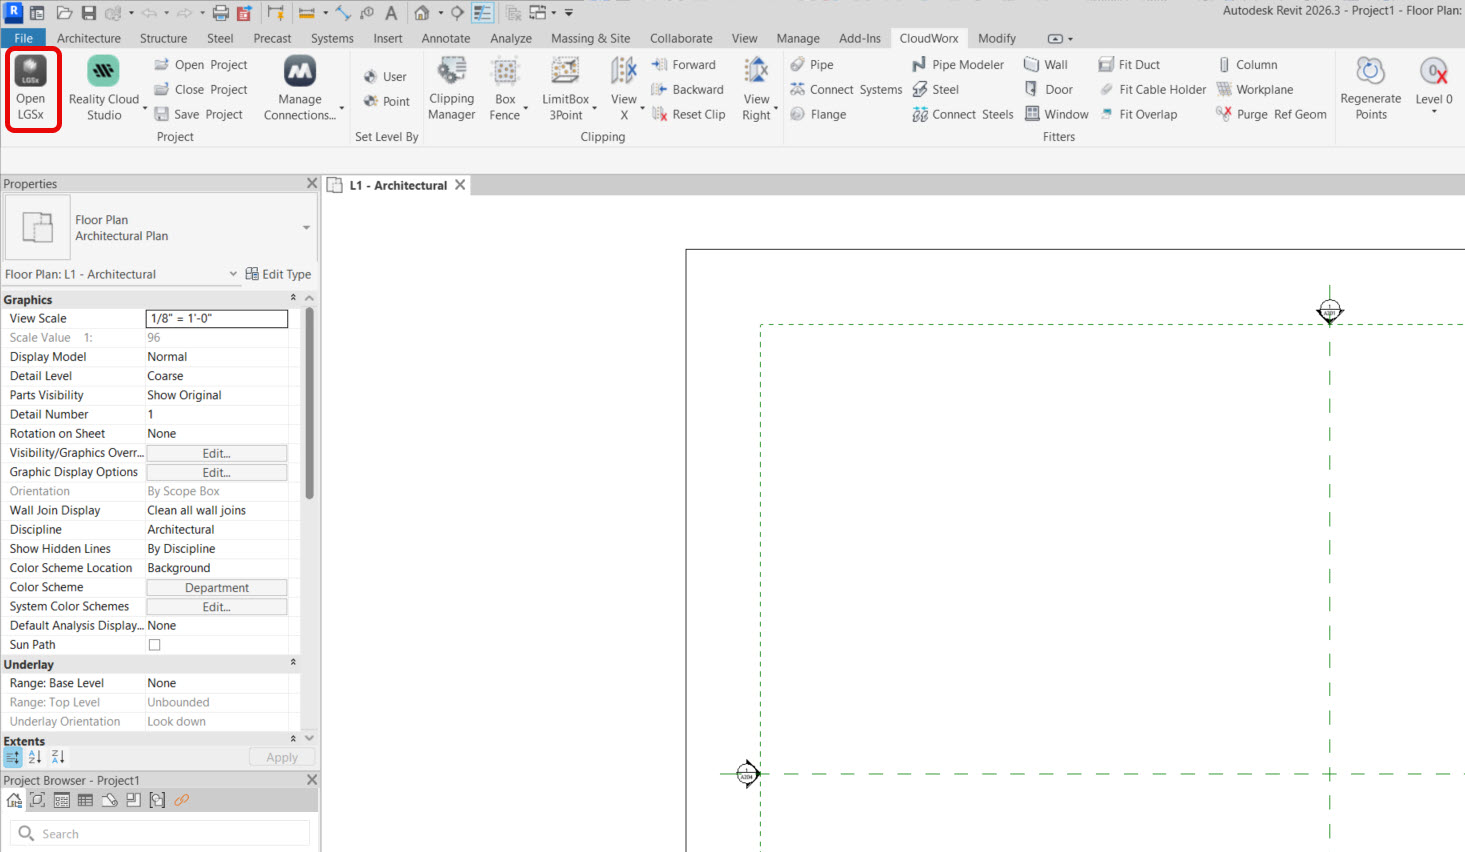
In the Project panel, click Open LGSx.
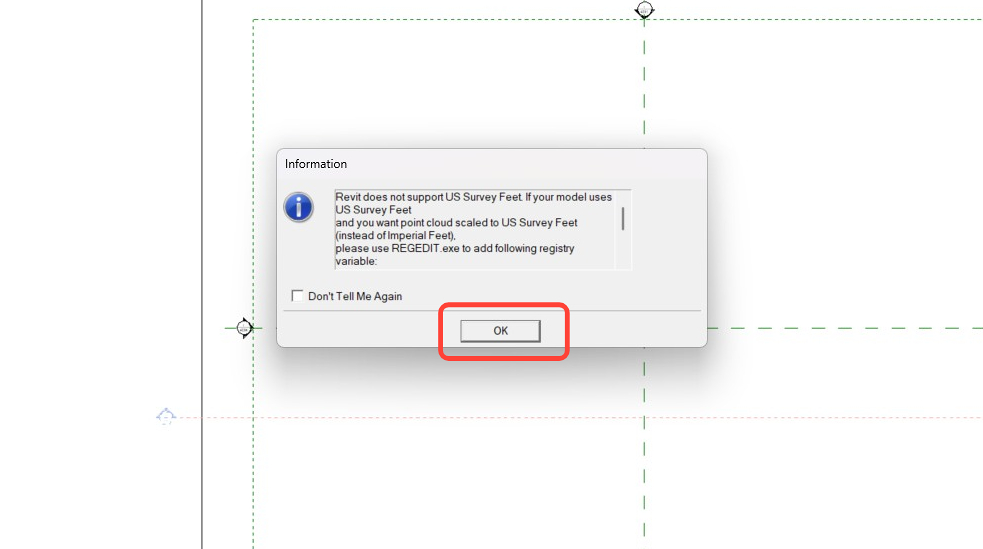
2. Clear the notification regarding the units.
3. Load the dataset containing the duct system.

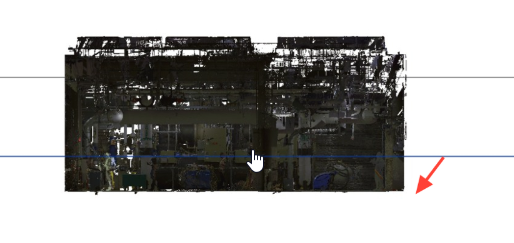
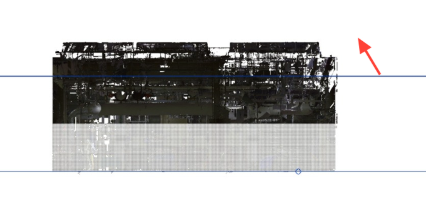
4. Click the ViewCube to go into the front view.

Model Preparation
Adjusting Levels
-
For proper 3D visualisation of elements, adjust levels to match the floor and the ceiling of the imported model.
-
Navigate to the CloudWorx ribbon and, in the Rendering panel, click Silhouette.

-
Now you can see the ducts without the need to clip or cut them out. Rotate the ViewCube to the left.

Setting Fence
-
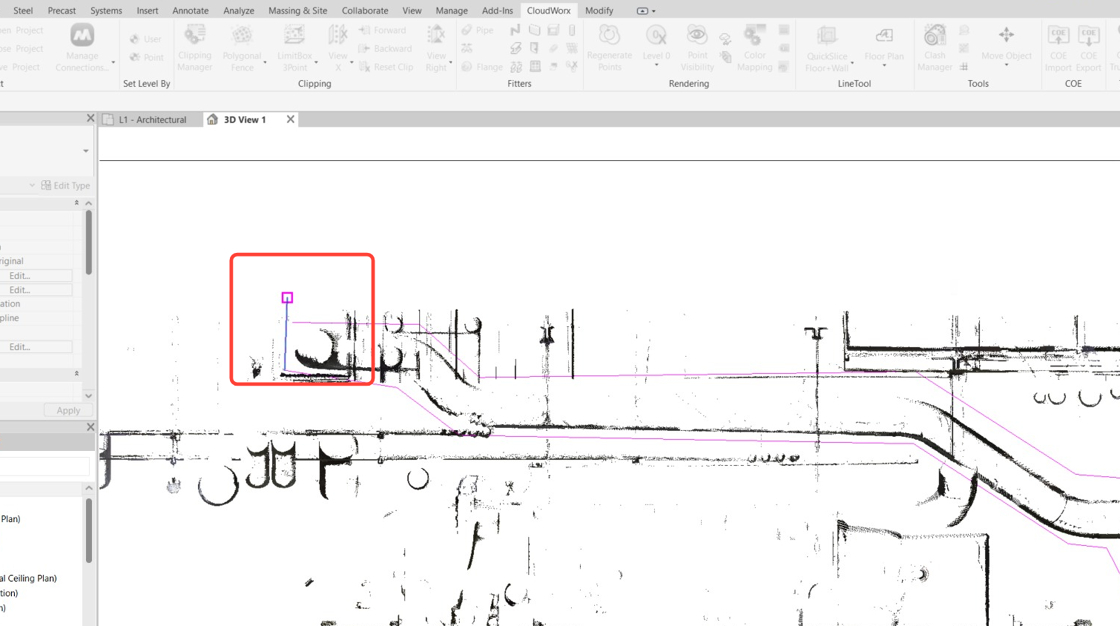
To speed up the processing of point cloud data, temporarily hide unnecessary points using the fence tools. Click Fence | Polygonal Fence.

-
Trace the outline of the duct. A purple line will appear with your mouse clicks. To close the fence, click its starting point.

-
Rotate the view to the back.

-
Select polygonal fence clipping again.

-
Outline the duct system of interest.
-
You now have a clean duct run to extract. Toggle off silhouette mode.

Now the model is adjusted and prepared for using the duct fitter.
Duct Extraction
Setting Fitter Parameters
-
In the Fitters panel, click Fitters | Duct.

-
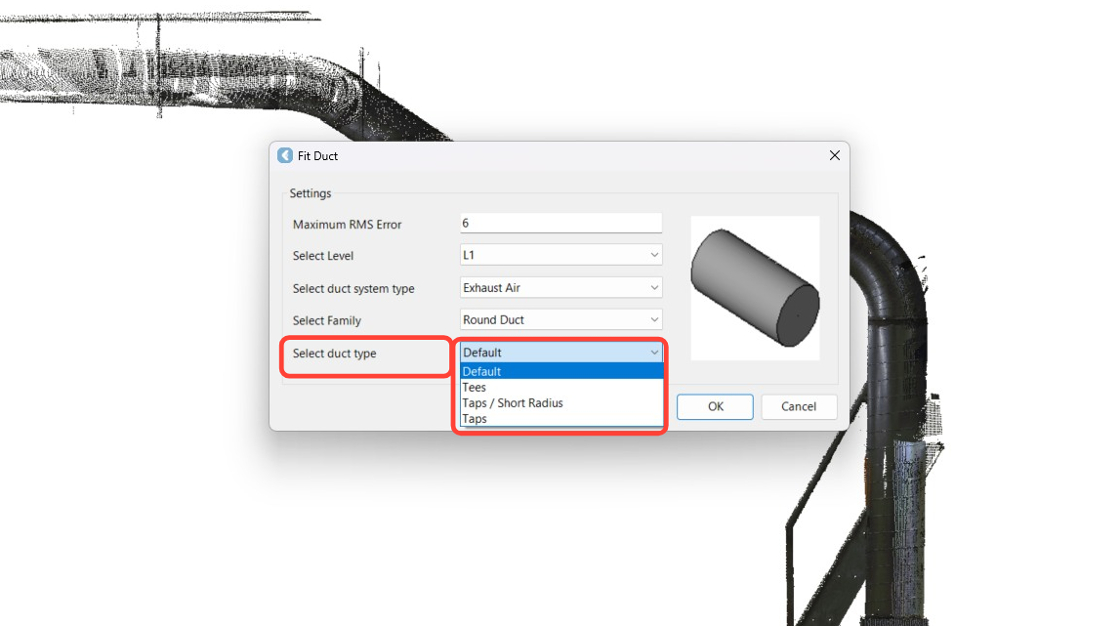
When the Fit Duct dialog appears, in the field for selecting the duct system type, select the option that best meets your project's requirements. In this example, it is Exhaust Air.

-
In the Select Family field, select Round Duct.

-
Duct type is project-based. In this example, keep the Default value.
-
Click OK to apply the selected options.

Creating Duct Sections
-
Duct extraction requires a single click. Select any point on the duct, but avoid picking up stray noise points.

-
In this case, the size of the duct does not match the preloaded types.
Note that the diameter field indicates a value of 406. A new type can be created on the fly by selecting the Create new type check box and clicking OK. This new type will be available for future use.

-
Select another straight segment of the duct.
-
Note that the new type is available and automatically matched to the extracted section. Click OK.

-
Continue extracting the straight segments of the duct run.

-
In difficult areas, rotate the view to ensure a good pick.

-
Continue extracting segments until the run is complete. To exit the command, press Esc.

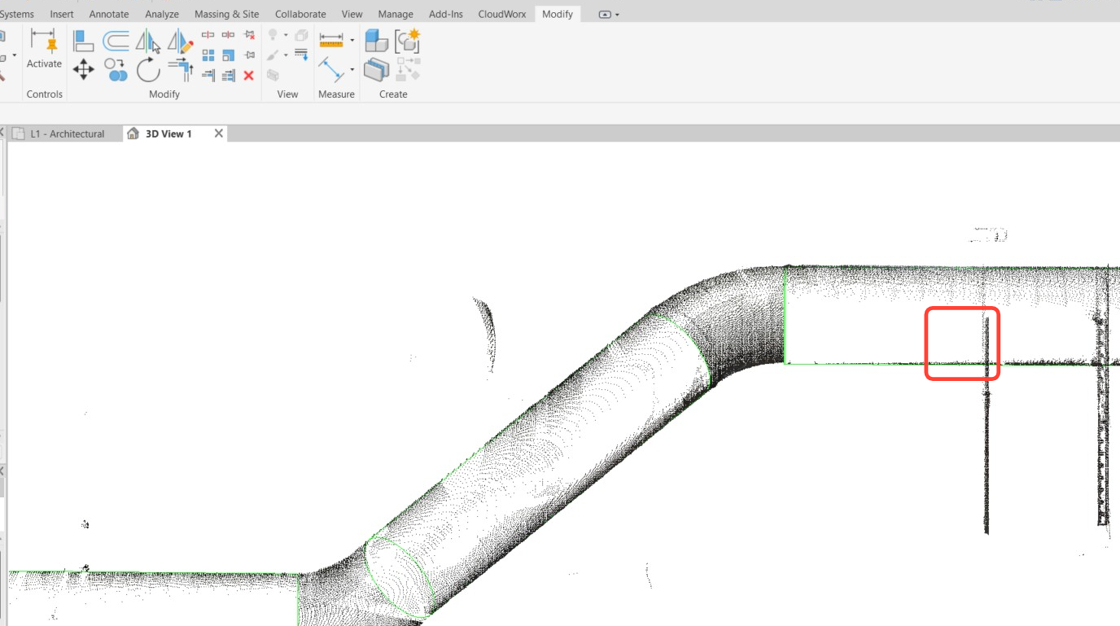
Adjusting Bends in Duct Sections
-
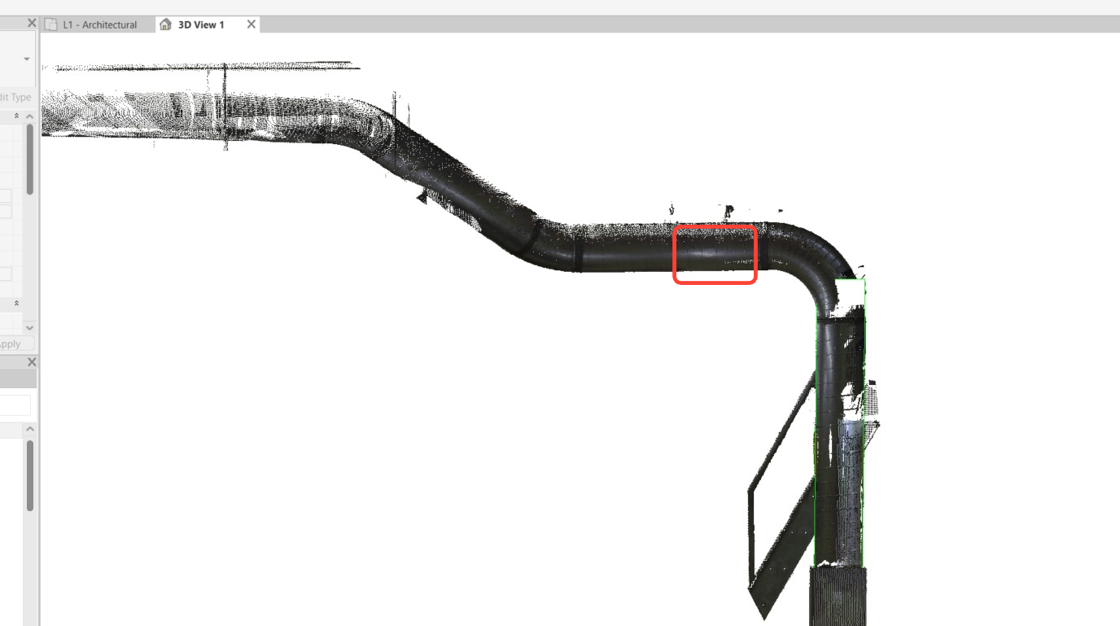
In certain sections, the extraction can extend beyond straight areas into bends. To properly connect sections with elbows, they need to be adjusted.
Simply drag the sections to ensure their start and end points are perfectly aligned.

-
Segments can also be trimmed using Revit's Split Element command.
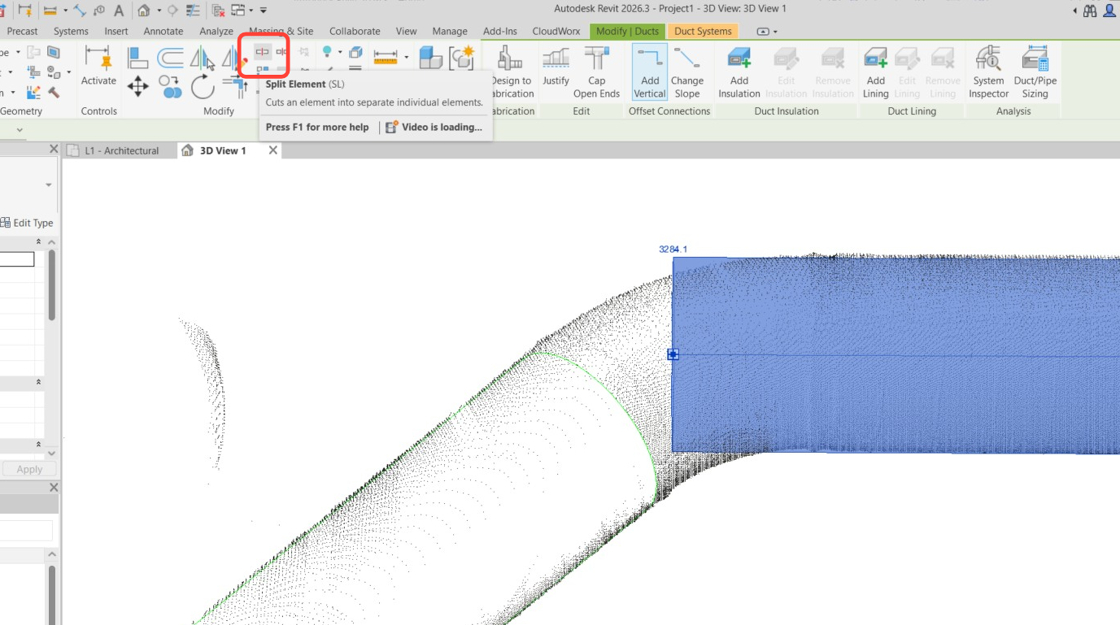
-
Click on the element at the point where you would like it to be split.

-
When you press Esc, the command exits, and you can proceed to select and delete an element. Pressing Enter activates delete mode, prompting you to select the piece to be trimmed. Pressing Enter again will delete the selected piece.

-
In this example, select the piece to be trimmed and press Delete.

The piece is now trimmed.
-
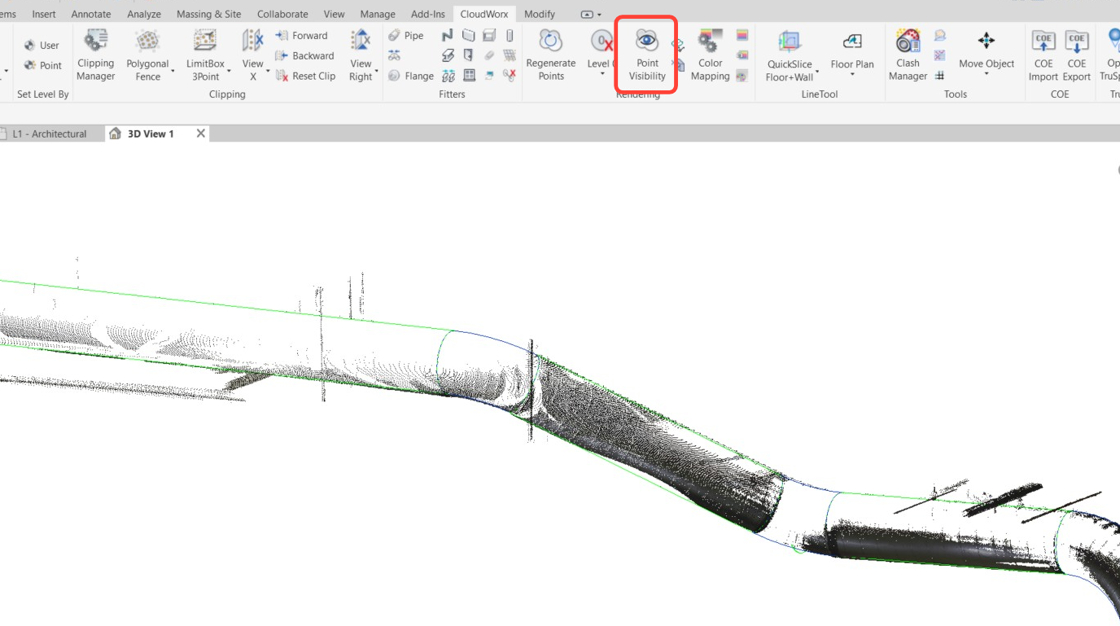
Disable point visibility to clearly view the created segments.


Now the straight segments can be connected into a continuous run.
Connecting Duct Segments
-
In the Fitters panel, click Connect Systems.

-
The Connect Systems tool works by connecting two segments at a time. So, click the first segment and then click the second segment.

-
The Connect Systems tool attempts to find the best fit based on the geometry of the two selected segments. However, it is possible to change the radius by deselecting the Insert elbow check box and entering a custom radius. Other families with standard radii can be selected as well. In this exercise, use the default option.

-
The new elbow is automatically fitted and placed. Continue connecting segments in pairs throughout the run.

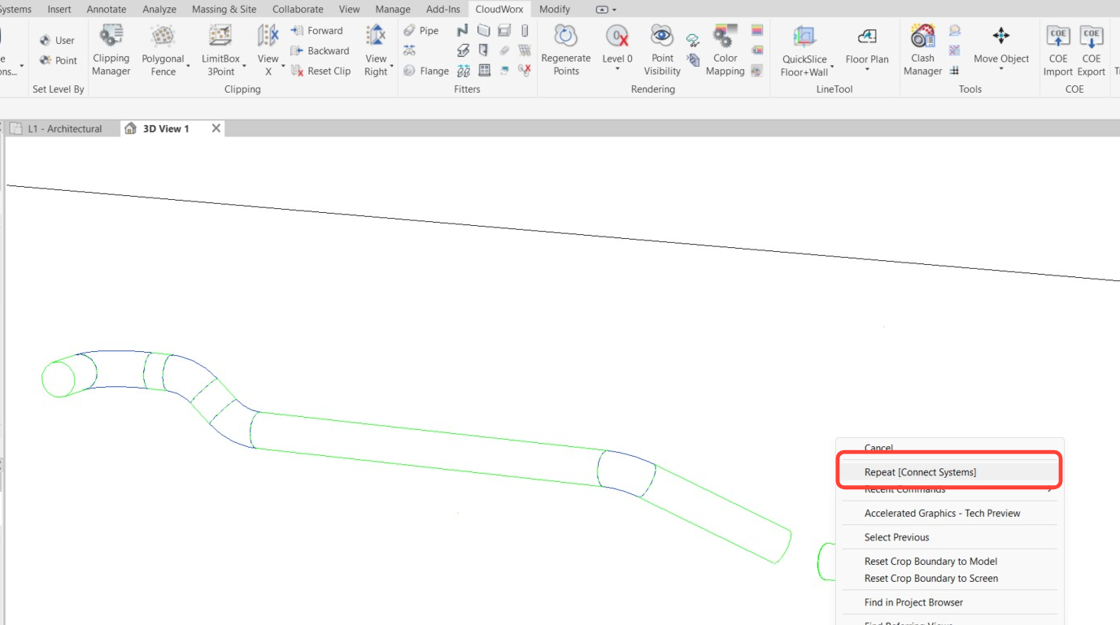
-
During this process, the Connect Systems command can be repeated by right-clicking and selecting the Repeat [Connect Systems] option from the context menu.
-
The duct run is complete. Review the result.
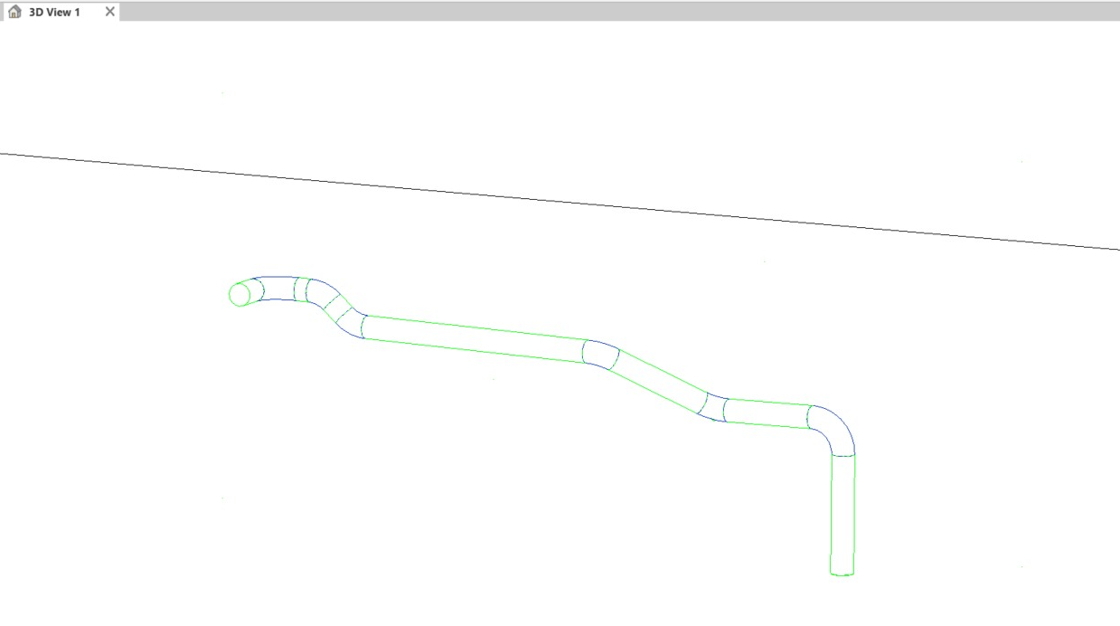
-
Enable point visibility to compare the extracted elements with the cloud.