This guide provides a comprehensive overview of the column extraction workflow using the Column fitter in CloudWorx for Revit.
Practice Data
Initial Procedures
Importing Project Data
-
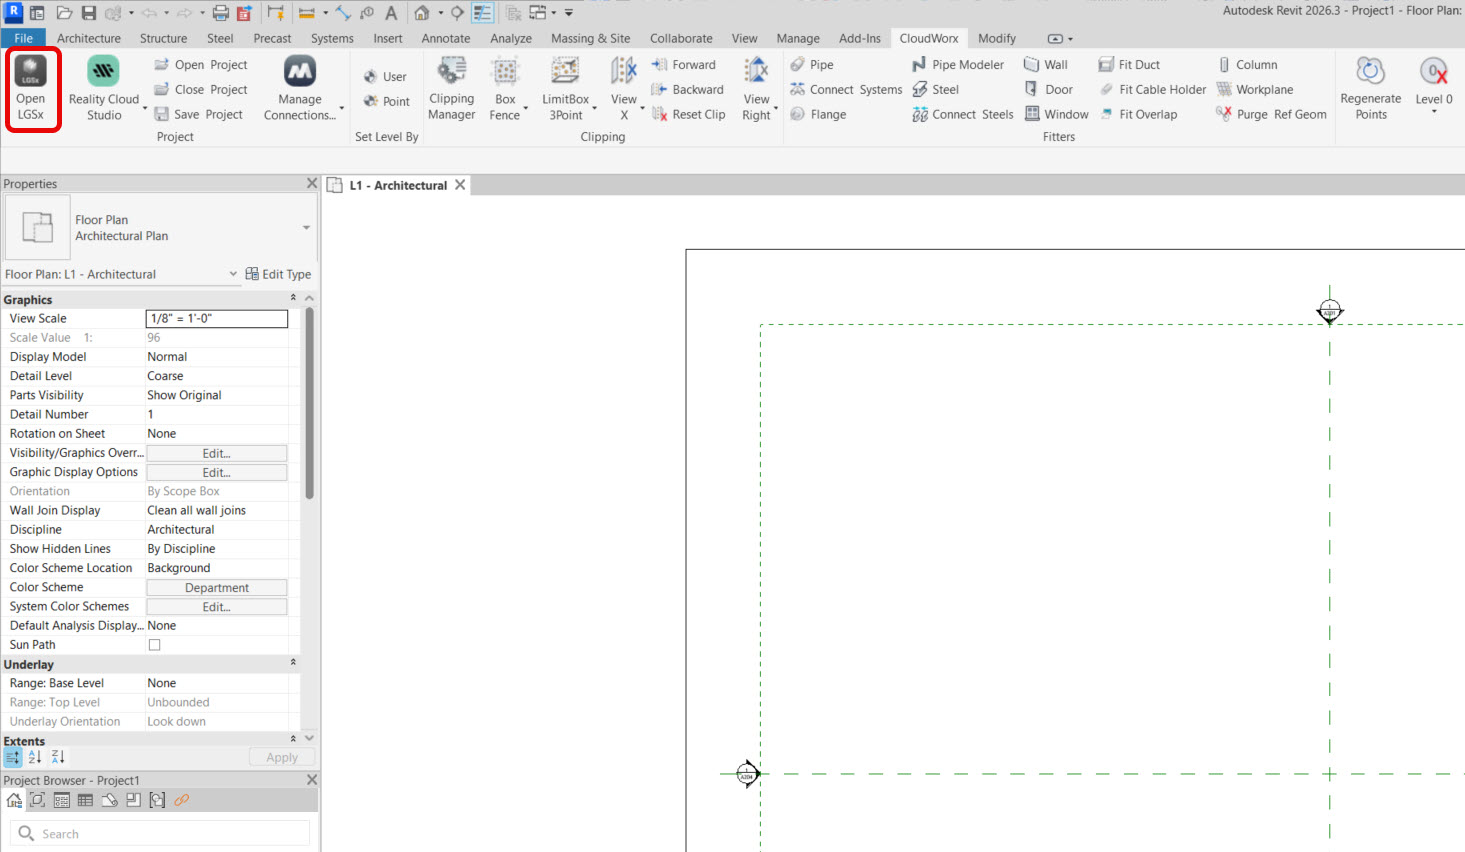
In the Project panel, click Open LGSx.
-
Click OK to clear the notification regarding the units.

-
Browse for the necessary dataset and сlick OK to import it into CloudWorx.

-
Remove the scope boxes since they are not required for this workflow. Simply click any edge of a box and press Delete.
Creating Fence
-
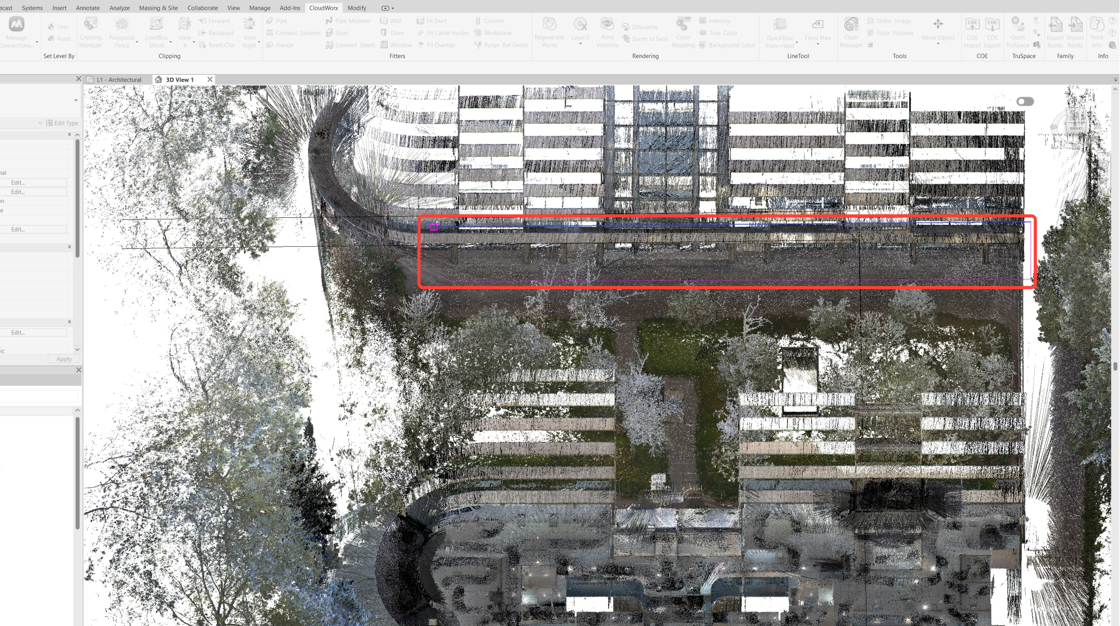
To speed up the processing of point cloud data, temporarily hide unnecessary points using the fence tools. Click Fence | Polygonal Fence.

-
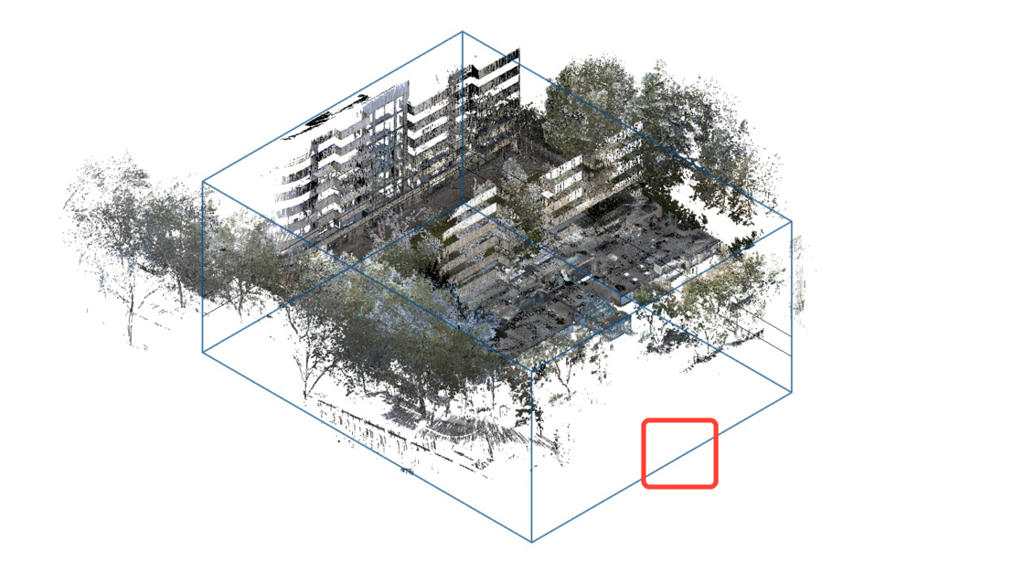
Draw a polygon around the area of interest. To close the polygon and complete the command, select the first point again.
-
Rotate the view to the front using the ViewCube, then enable the Polygonal Fence tool again. Use it to remove the stray tree branches remaining from the initial clip.

Adjusting Level Extents
-
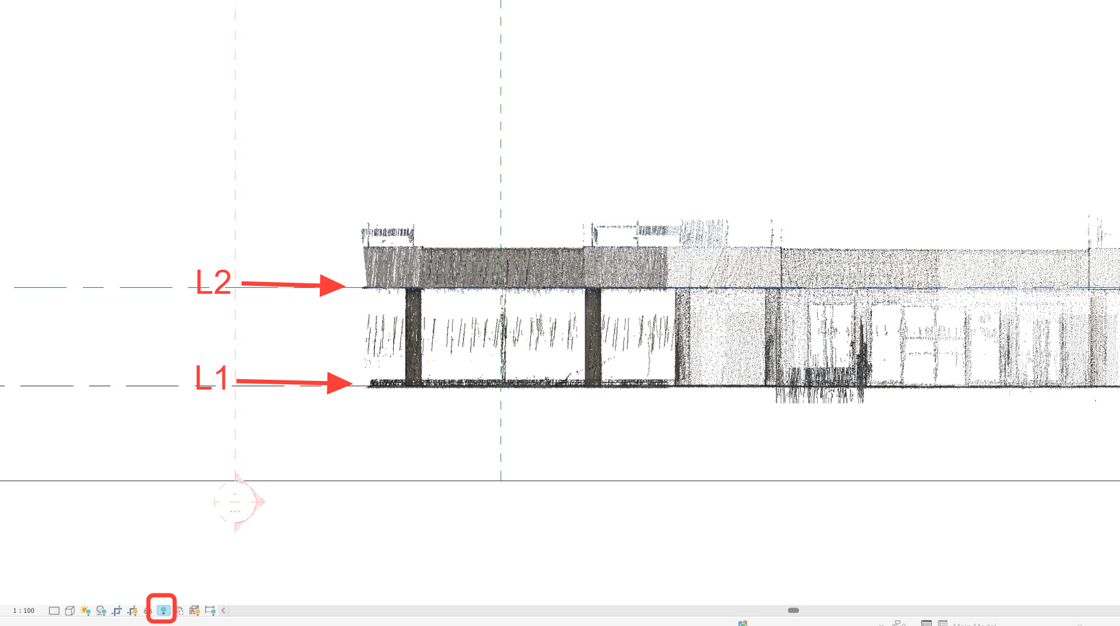
In Revit’s Project Browser, navigate to Elevations and select the desired elevation view. In this case, it’s East.

-
Adjust the elevations to match the floor and ceiling levels. Then enable the Reveal Hidden Elements mode.
Locating Project Base Point and Survey Point
-
Set both the project base point and the survey point to L1 to fix the elevation.
Note: Don't forget to unclip the survey point before moving it and clip it again once it has been relocated.

-
Click Close Reveal Hidden Elements to exit the mode and navigate to the 3D view.

Column Extraction
Adding Column Type from Autodesk Family
-
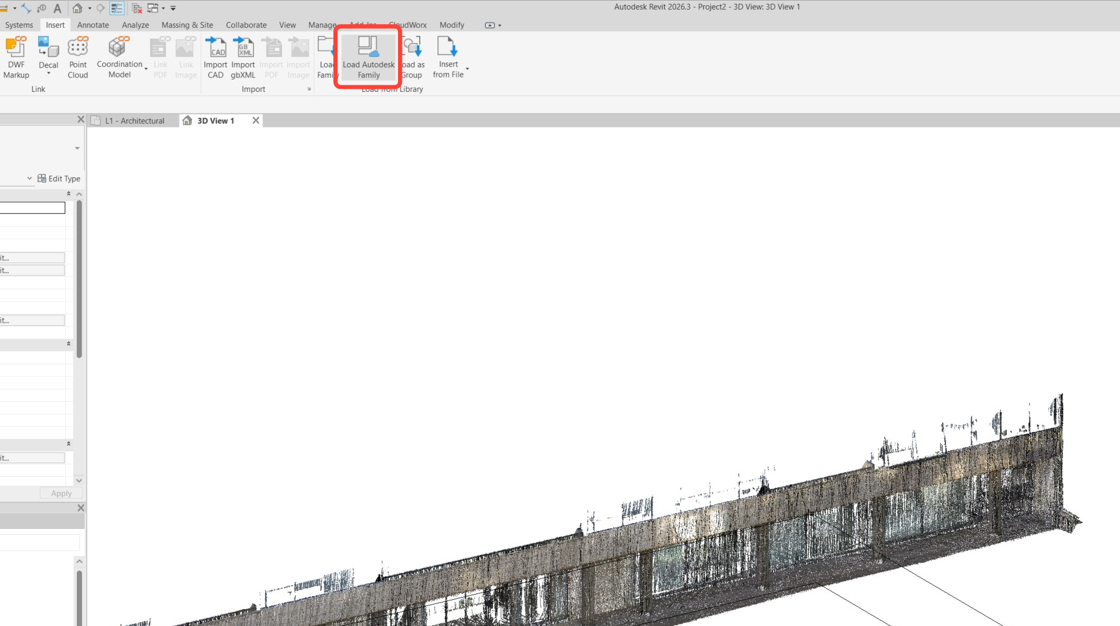
Go to the Insert tab and click Load Autodesk Family to find the necessary column type.
-
In the search bar of the Load Autodesk Family dialog, type ‘column’.

-
Select the appropriate column type—in this workflow, it is a round column—and click Load.
.png?cb=f6cf877b768953976ff36ea59028cc5b)
Creating Column Geometry
-
Navigate to CloudWorx | Fitters and click Column.

-
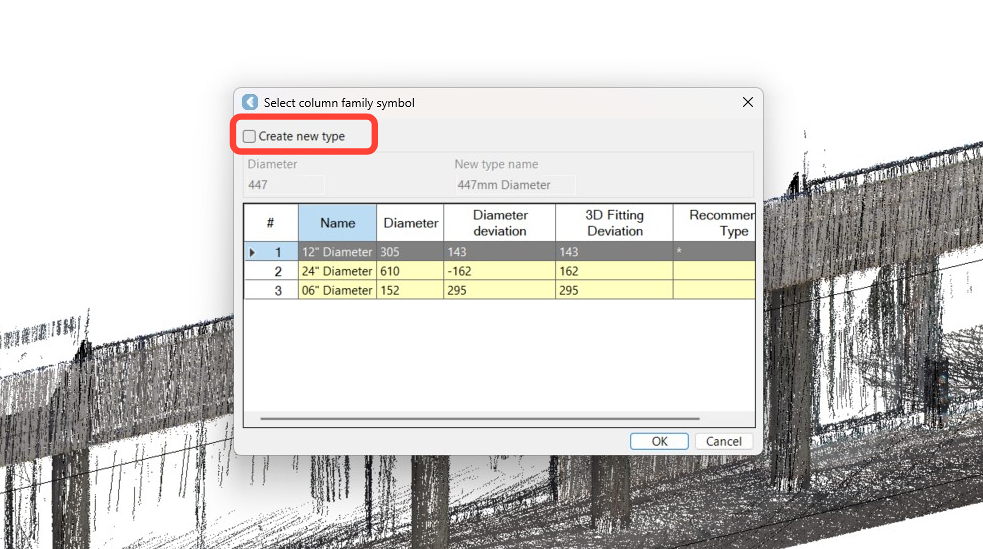
When the Fit Column dialog appears, select the Round Column family, which is now available in the drop-down list. Click OK.

-
Columns are extracted with a single click. Click anywhere on the first column.

-
In this case, the size of the column does not match the preloaded types. So, select the Create new type check box and click OK.
-
Hold down the mouse wheel to pan, and keep adding the remaining columns. To end the command, press Escape.
-
In the Rendering panel, click Point Visibility to hide cloud points and review the created column geometry.
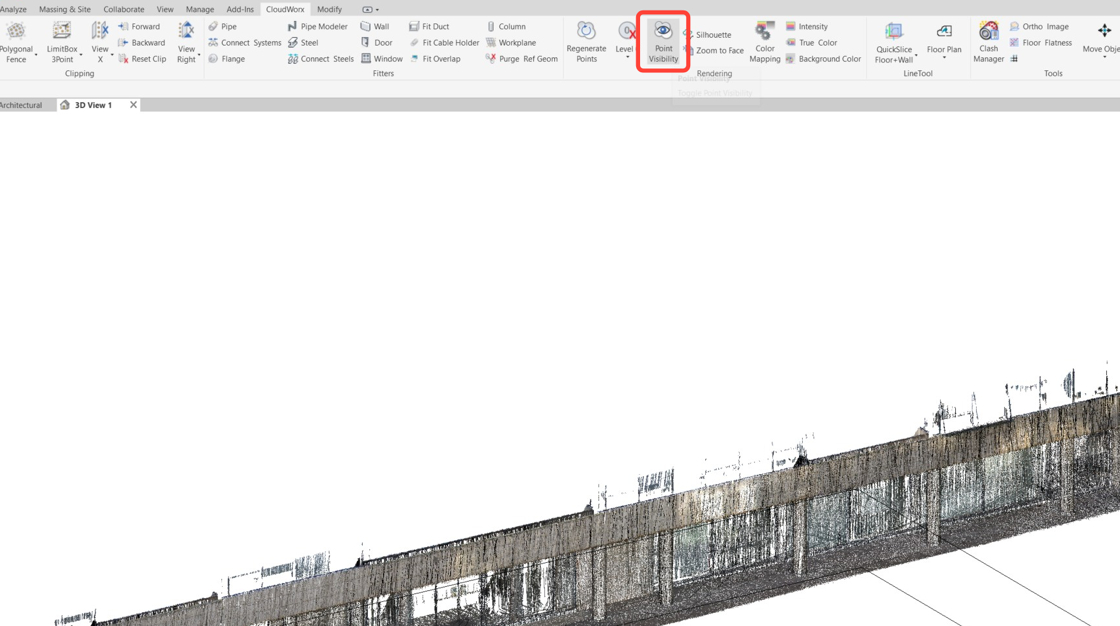
The extracted columns are now clearly displayed in the 3D view.
