This guide explains how to extract steel shapes and fit them to the point cloud using the Steel Fitter tool in CloudWorx for Revit.
Practice Data
Initial Procedures
Importing Project Data
-
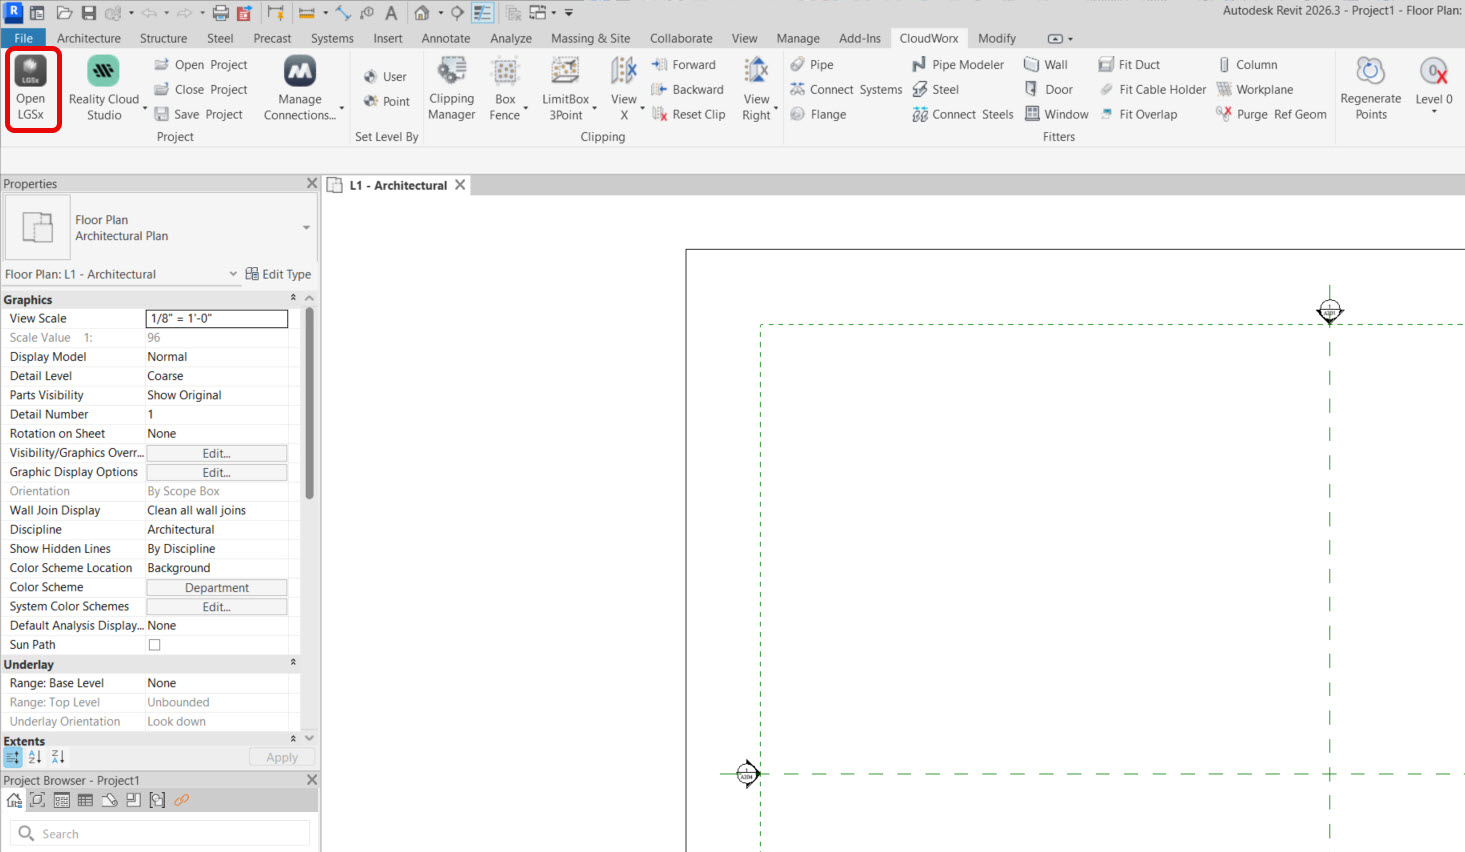
In the Project panel, click Open LGSx.
-
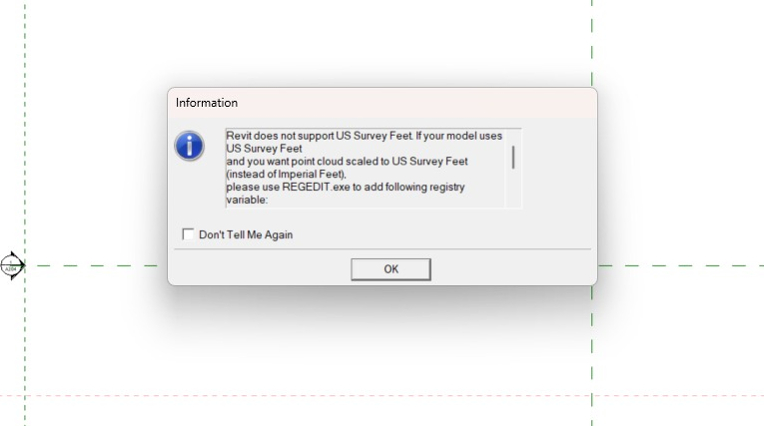
Click OK to clear the notification regarding the units.
-
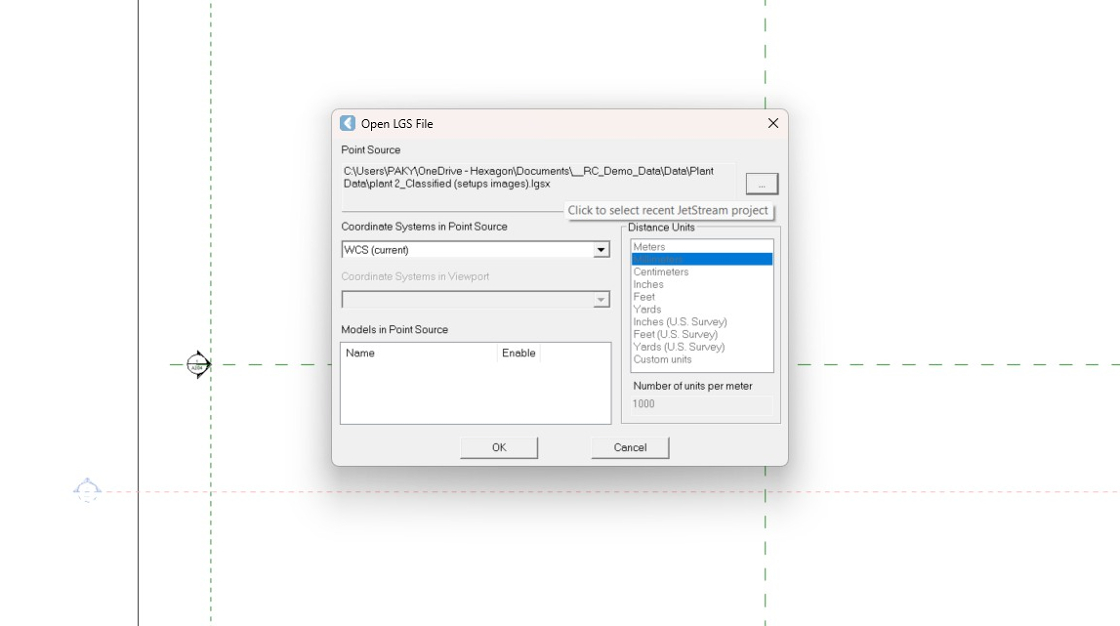
Browse for the necessary dataset and сlick OK to import it into CloudWorx.
-
Remove the scope boxes since they are not required for this workflow. Simply click any edge of a box and press Delete.

Adjusting Level Extents
-
In Revit’s Project Browser, navigate to Elevations and select the desired elevation view. In this case, it’s East.

-
Click and drag the view area boundary to expose the entire point cloud.

-
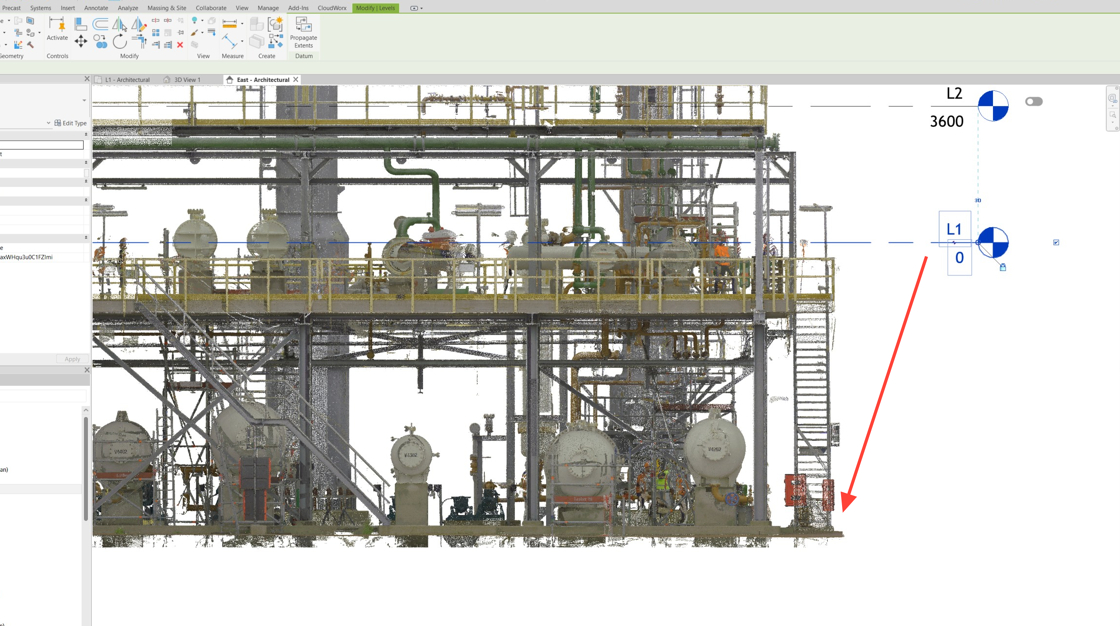
Drag Level 1 so that it aligns with the ground level of the steel at the concrete footings.
-
Drag Level 2 to the top of the Level 2 columns.

-
As a result, the levels should be adjusted as shown below.

-
Switch to the 3D view.

Steel Extraction
Steel Objects Classification
-
Use the classification feature to identify steel shapes in the point cloud and streamline steel modelling. Go to Rendering | Color Mapping.

-
In the Point Cloud Color Mapping dialog, select Classification from the Global Mapping drop-down list and click Apply.
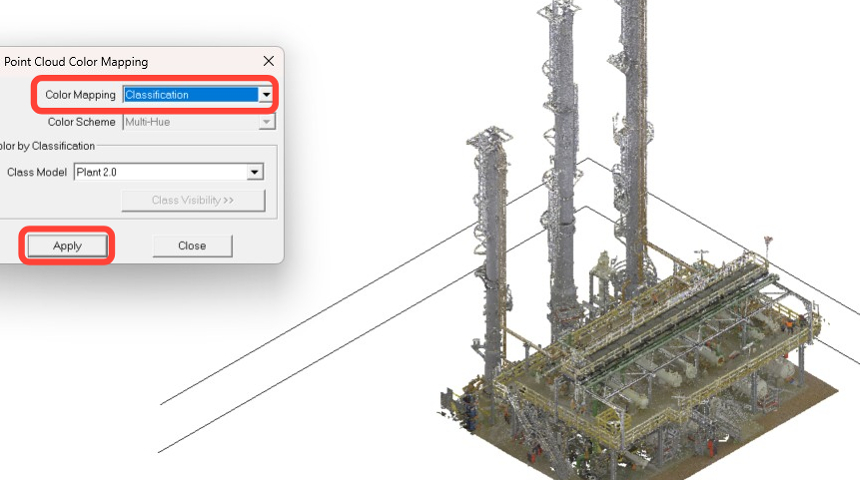
-
The Class Visibility button should become active. Click it, and the Point Cloud Classification dialog will open.

-
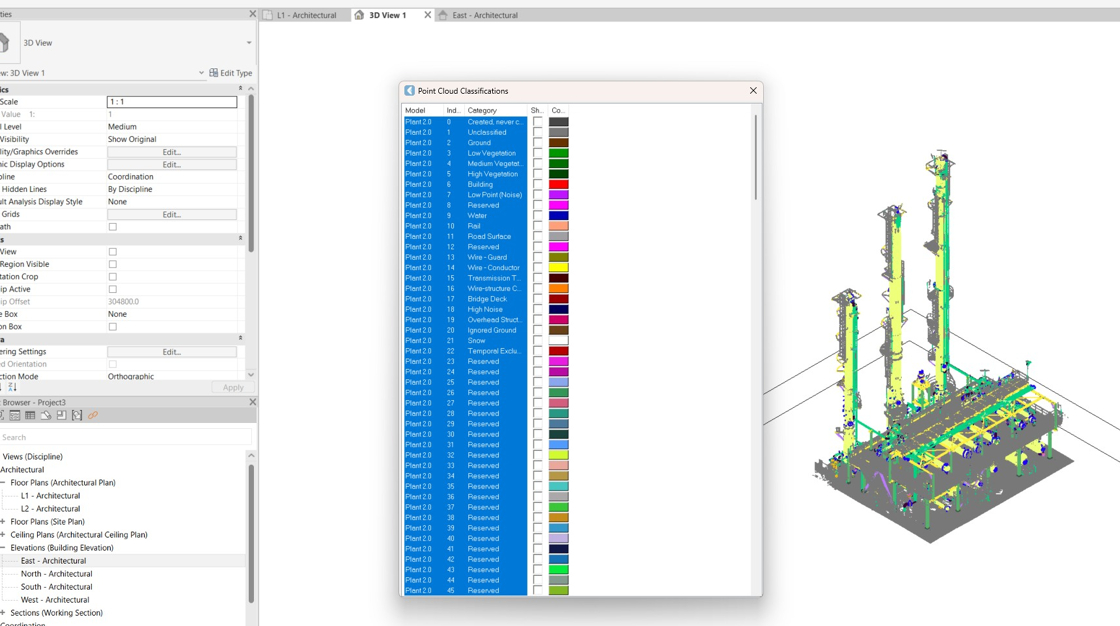
Turn off all layers.
Tip: While holding the Shift key, select the first and last layers, and then click any check box to deselect all.
-
Scroll through the class list to Index 130, labelled Steel structure column, and select the check box next to it. Close the Point Cloud Classifications dialog.

-
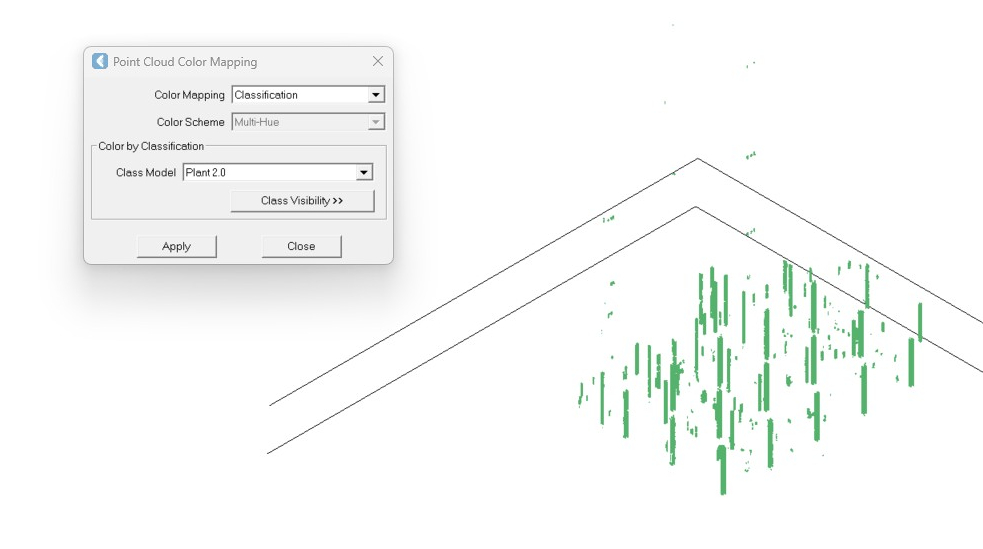
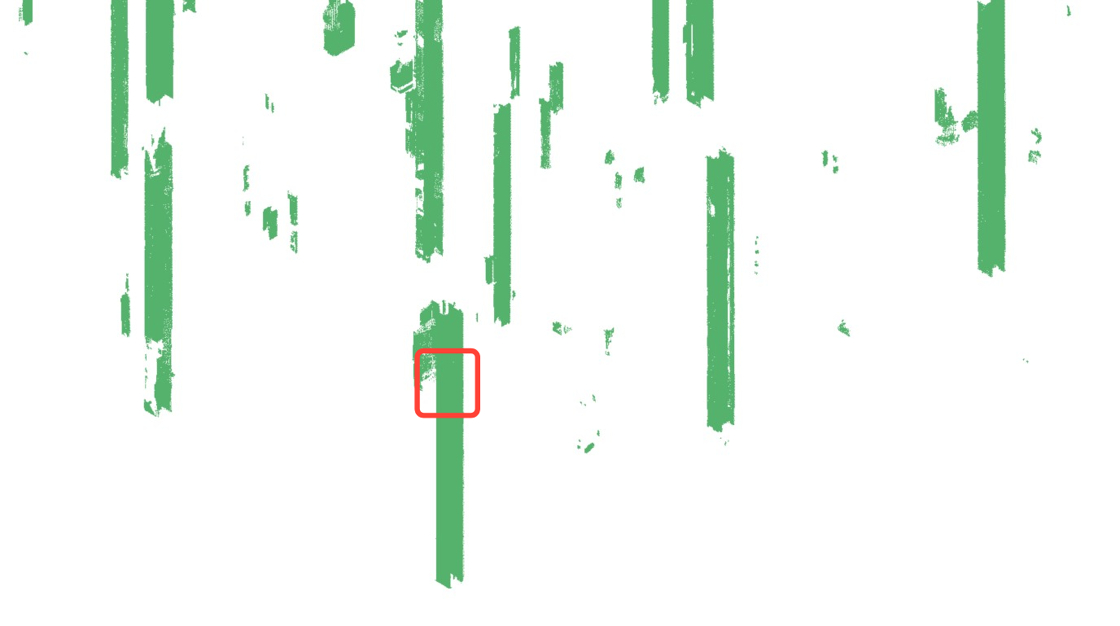
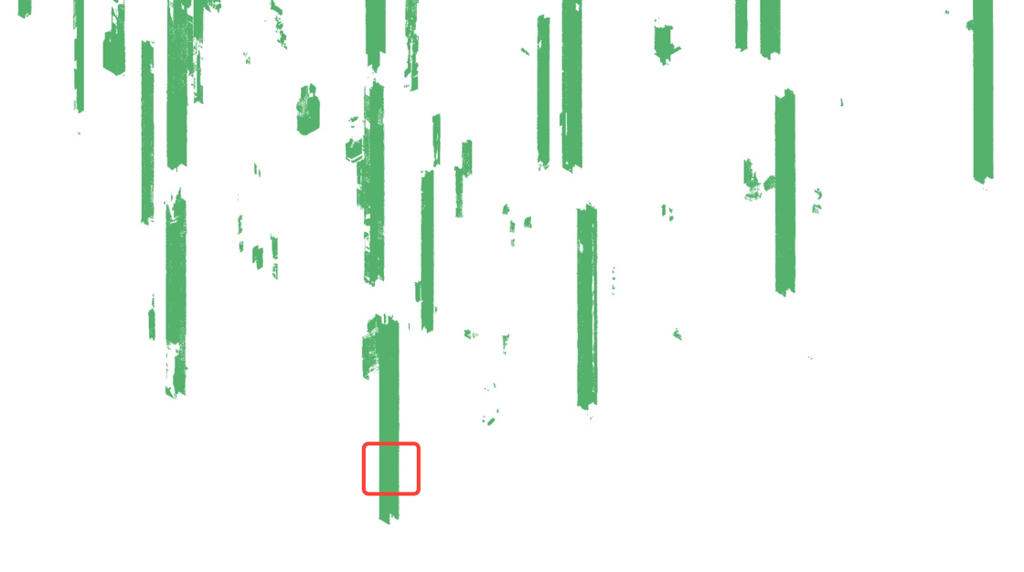
Close the Point Cloud Color Mapping dialog. Now, only steel column objects are displayed.
Fitting Steel Objects
-
Navigate to Fitters | Steel.

-
In the Fit Steel dialog:
-
Select the Use Steel Catalog check box and then select the necessary steel catalog. For this workflow, it is Europe.
-
Select the Set vertical steel settings check box.
-
Set L1 for the bottom level and L2 for the top level.
-
Click OK.
-

-
Steel fitting requires two clicks. Click the upper and bottom points of the selected steel column.
-
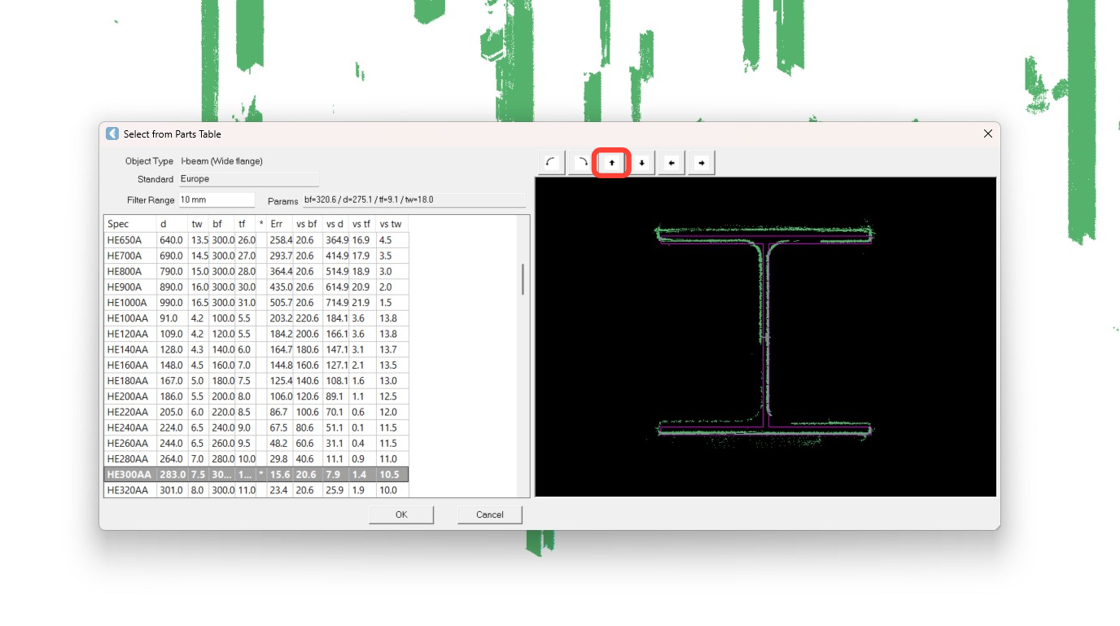
Review the catalog options and select the most appropriate one for the extracted steel geometry. Then click OK.
When we use the Catalog option, CloudWorx matches the point cloud to the best fit from a catalog of families loaded when the command is first initialised in the project.
The initial guess is marked with an asterisk. You can scroll the catalog to find a better fit if needed.
On the right side of the panel, a cross section of the cloud is overlaid with a magenta line showing the selected steel's cross section. Micro-adjustment arrows above the right panel let you adjust the fit if the cloud is noisy.

-
Repeat Steps 19-20 to extract more columns.
-
Now, let's take a look at the example of a poor fit, which requires some adjustments. To fix it, click the up arrow multiple times until the magenta fit line aligns with the cloud. Click OK to save the changes.
-
To exit the command, press Esc.
-
In the Rendering panel, click Point Visibility to hide the point cloud and review the extracted steel columns.
